Tag: wet laying

  • Silver Award at 2023 Goldsmiths’ Craftsmanship & Design Awards

    Silver Award at 2023 Goldsmiths’ Craftsmanship & Design Awards

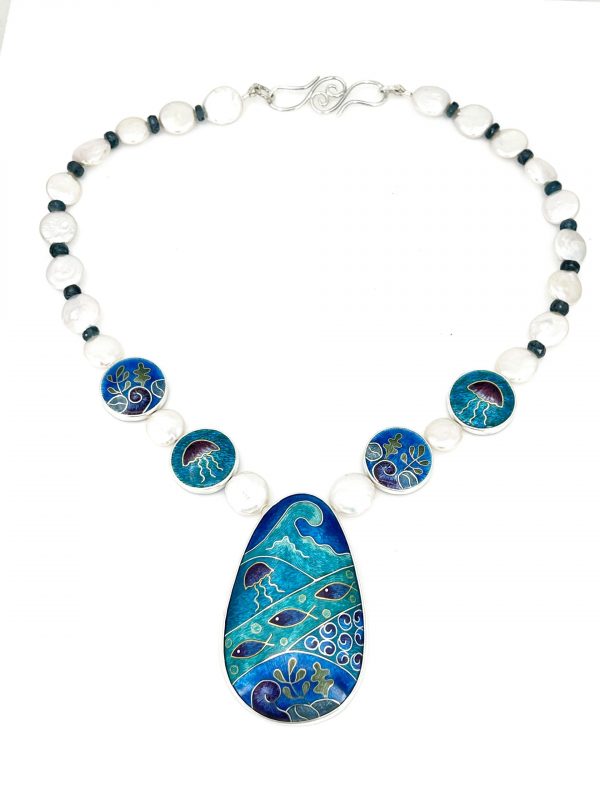
    I am really excited to announce that I won a silver award at this year’s Goldsmiths’ Craftsmanship & Design Awards for my necklace, “All I want is to be beside the sea”.

    “All I want is to be beside the sea” – silver and gold cloisonné necklace with freshwater pearls and double sided enamel beads

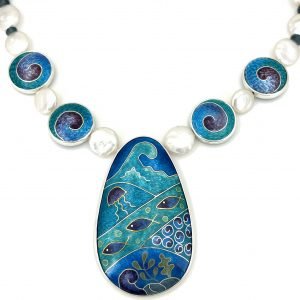
    The necklace features a central drop which is fine silver and gold cloisonne on engraved silver in a silver setting. The side beads are double sided with different designs on each side, interspersed with fresh water pearls.

    Close up of “All I want is to be beside the sea” necklace and showing the reverse side of the double sided enamel beads.

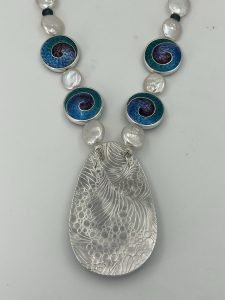
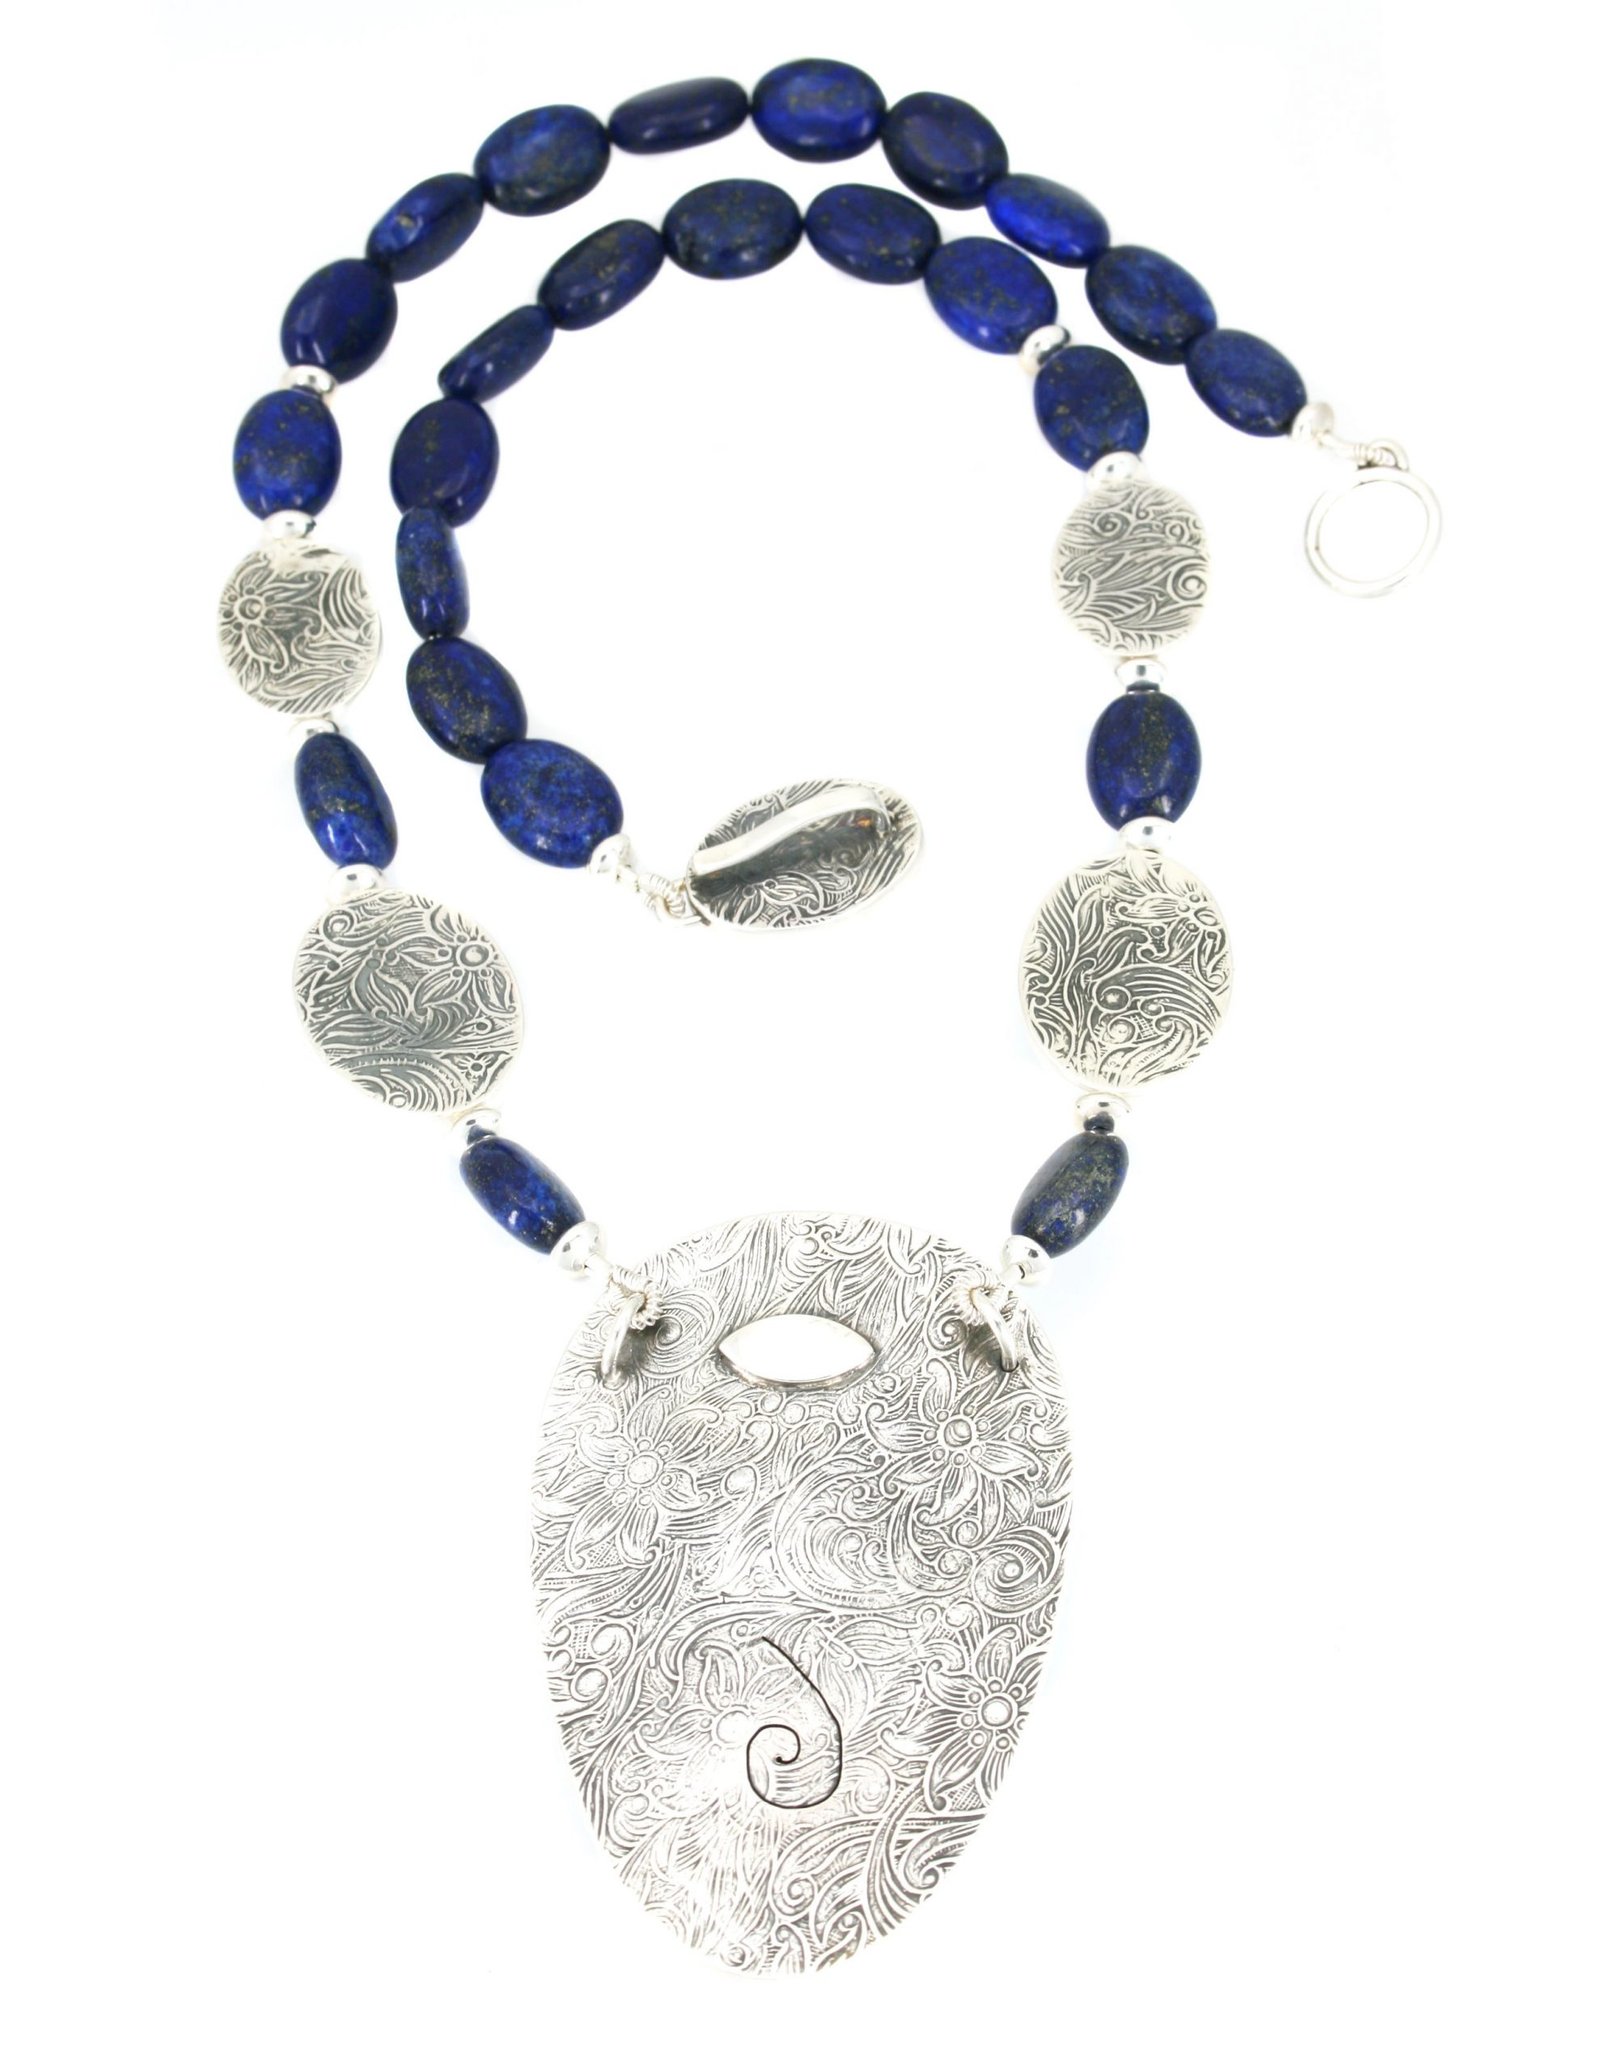
    The reverse of the necklace has a embossed wave design and will also carry the hallmark of the London Assay Office together with the special mark for the Coronation of King Charles.

    Reverse of “All I want is to be beside the sea” necklace
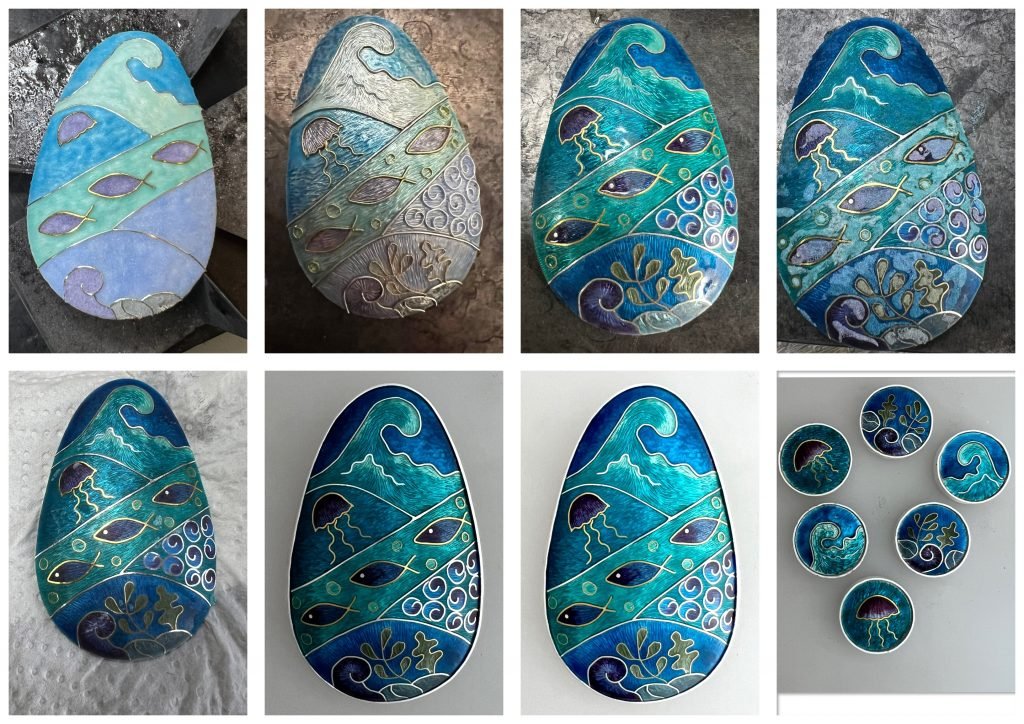
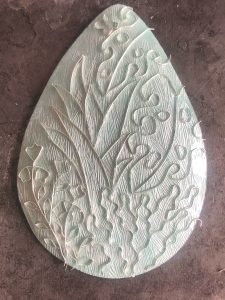
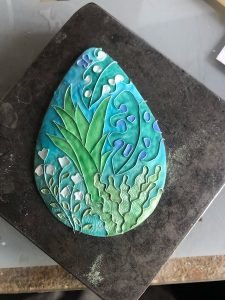
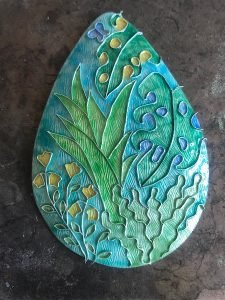
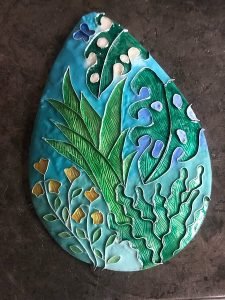
    Work in progress pictures showing some of the stages.
    Presentation of my certificate at the Awards ceremony at Goldsmiths’ Hall

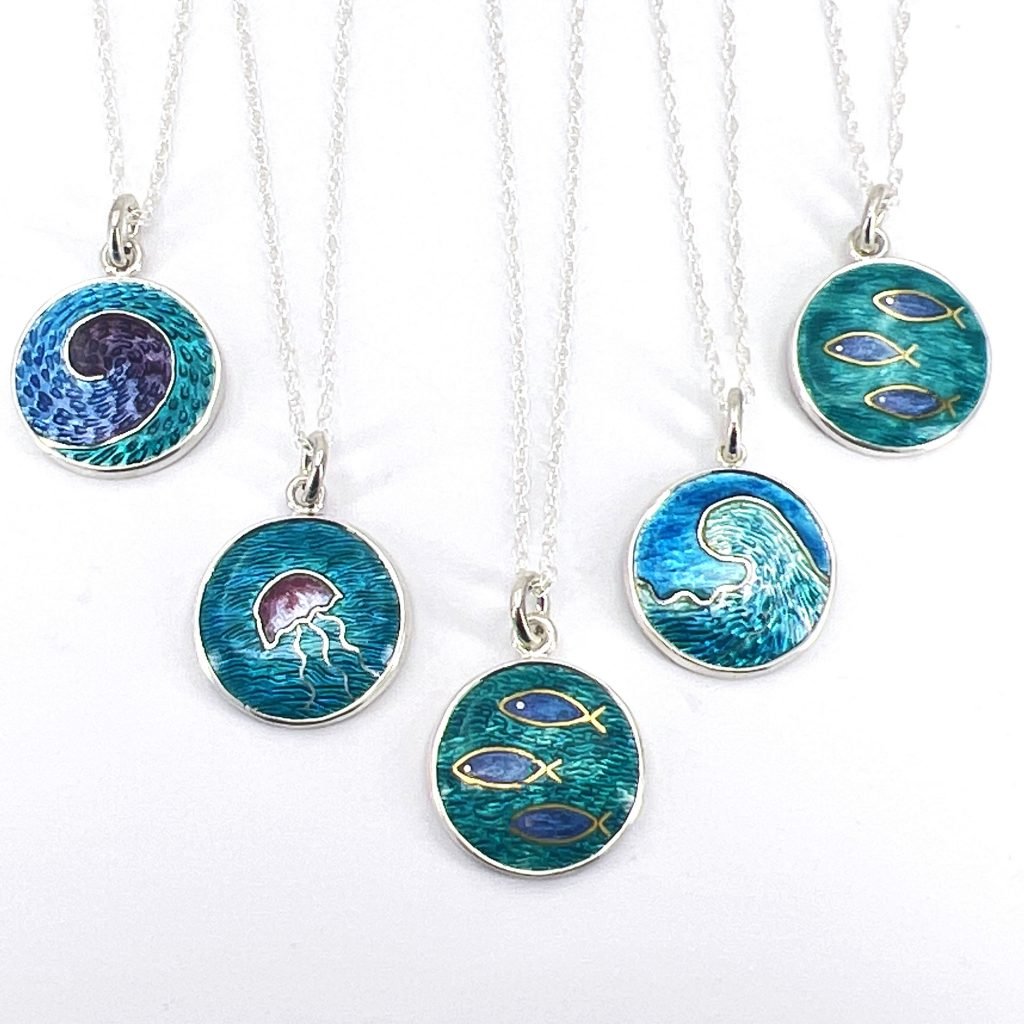
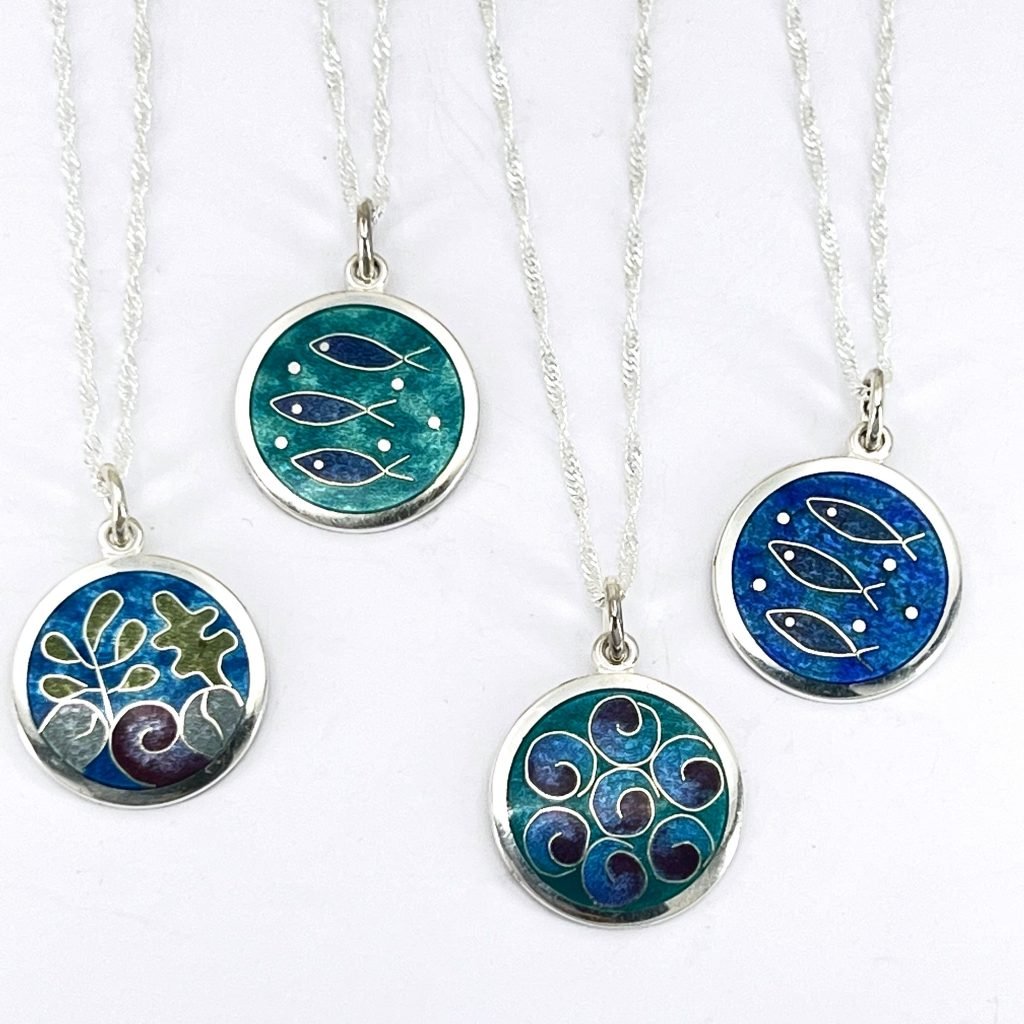
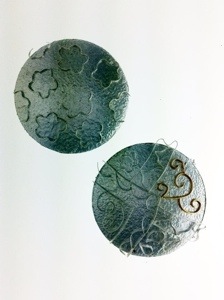
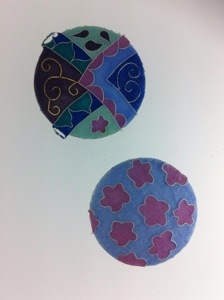
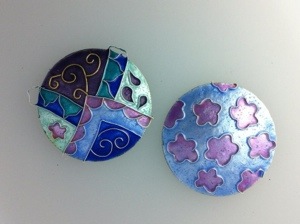
    As part of the process of developing the design I made a number of smaller pieces which are now earrings and pendants. These will go into my online shop and will be available at Shows this year.

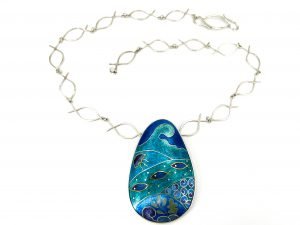
    I also made another version of the large necklace but this time with a custom silver fish link chain. It is similar in design to the winning necklace but has some subtle differences. With pieces like these I always aim to make everyone of them unique.

    All I want is to be beside the sea necklace with custom silver fishy links chain.

    I made a short film showing this in detail. here is the link.

  • Blue Vase Necklace

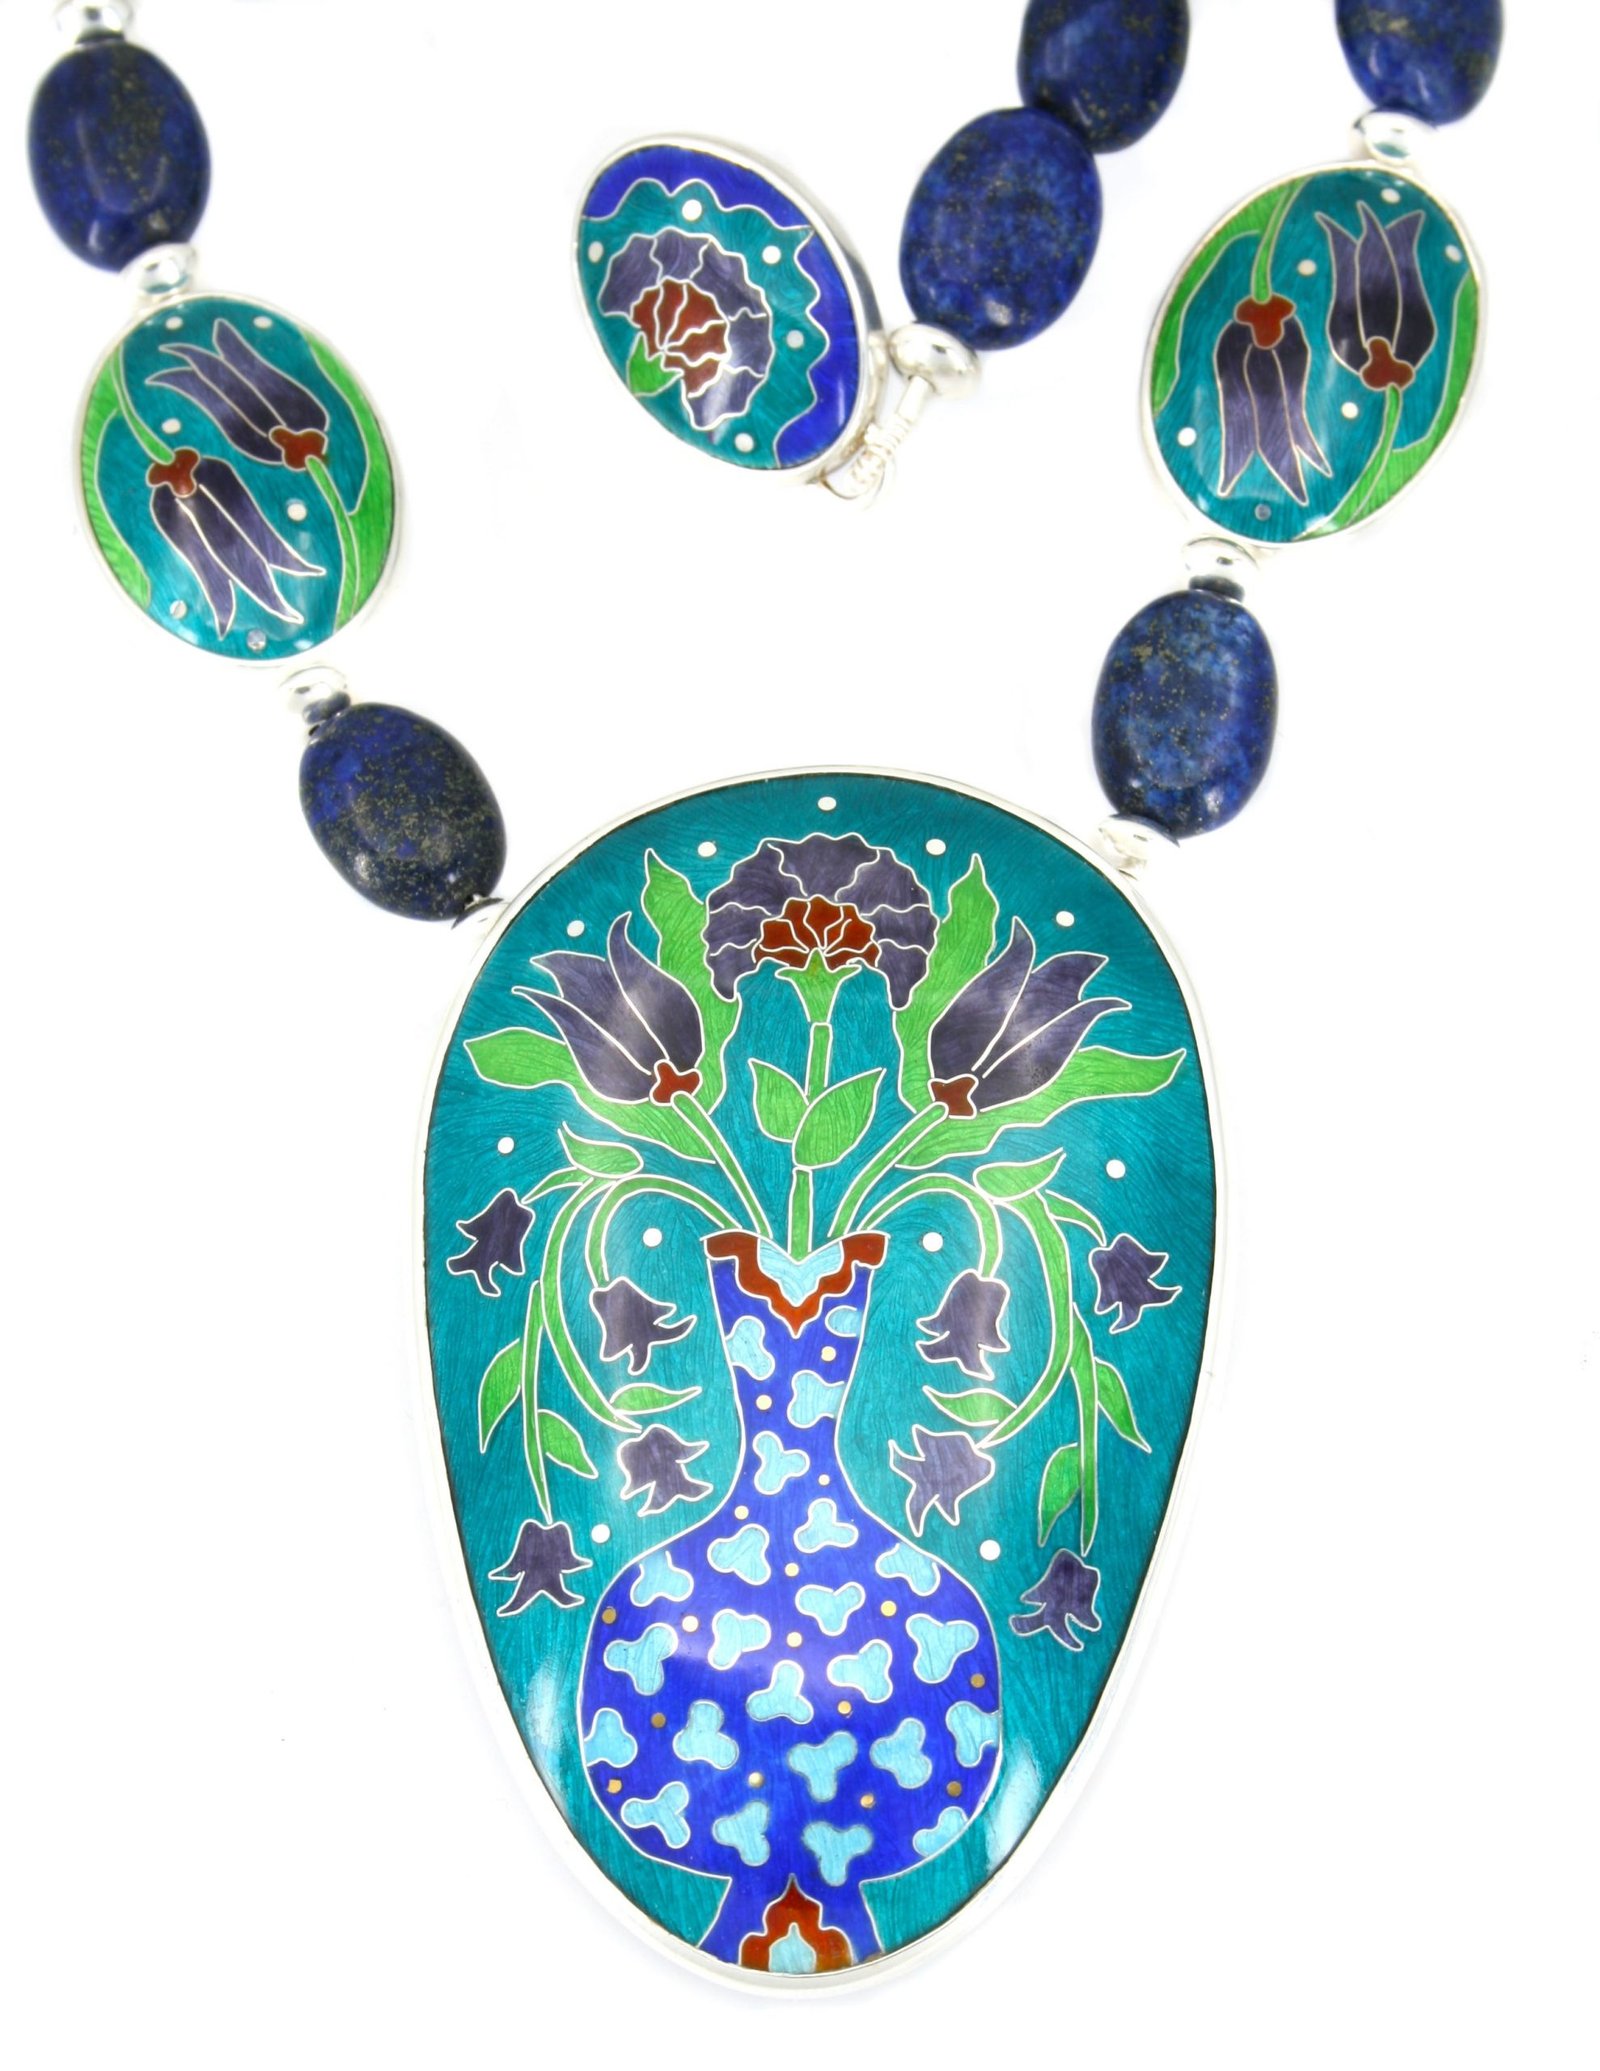
    Blue Vase Necklace

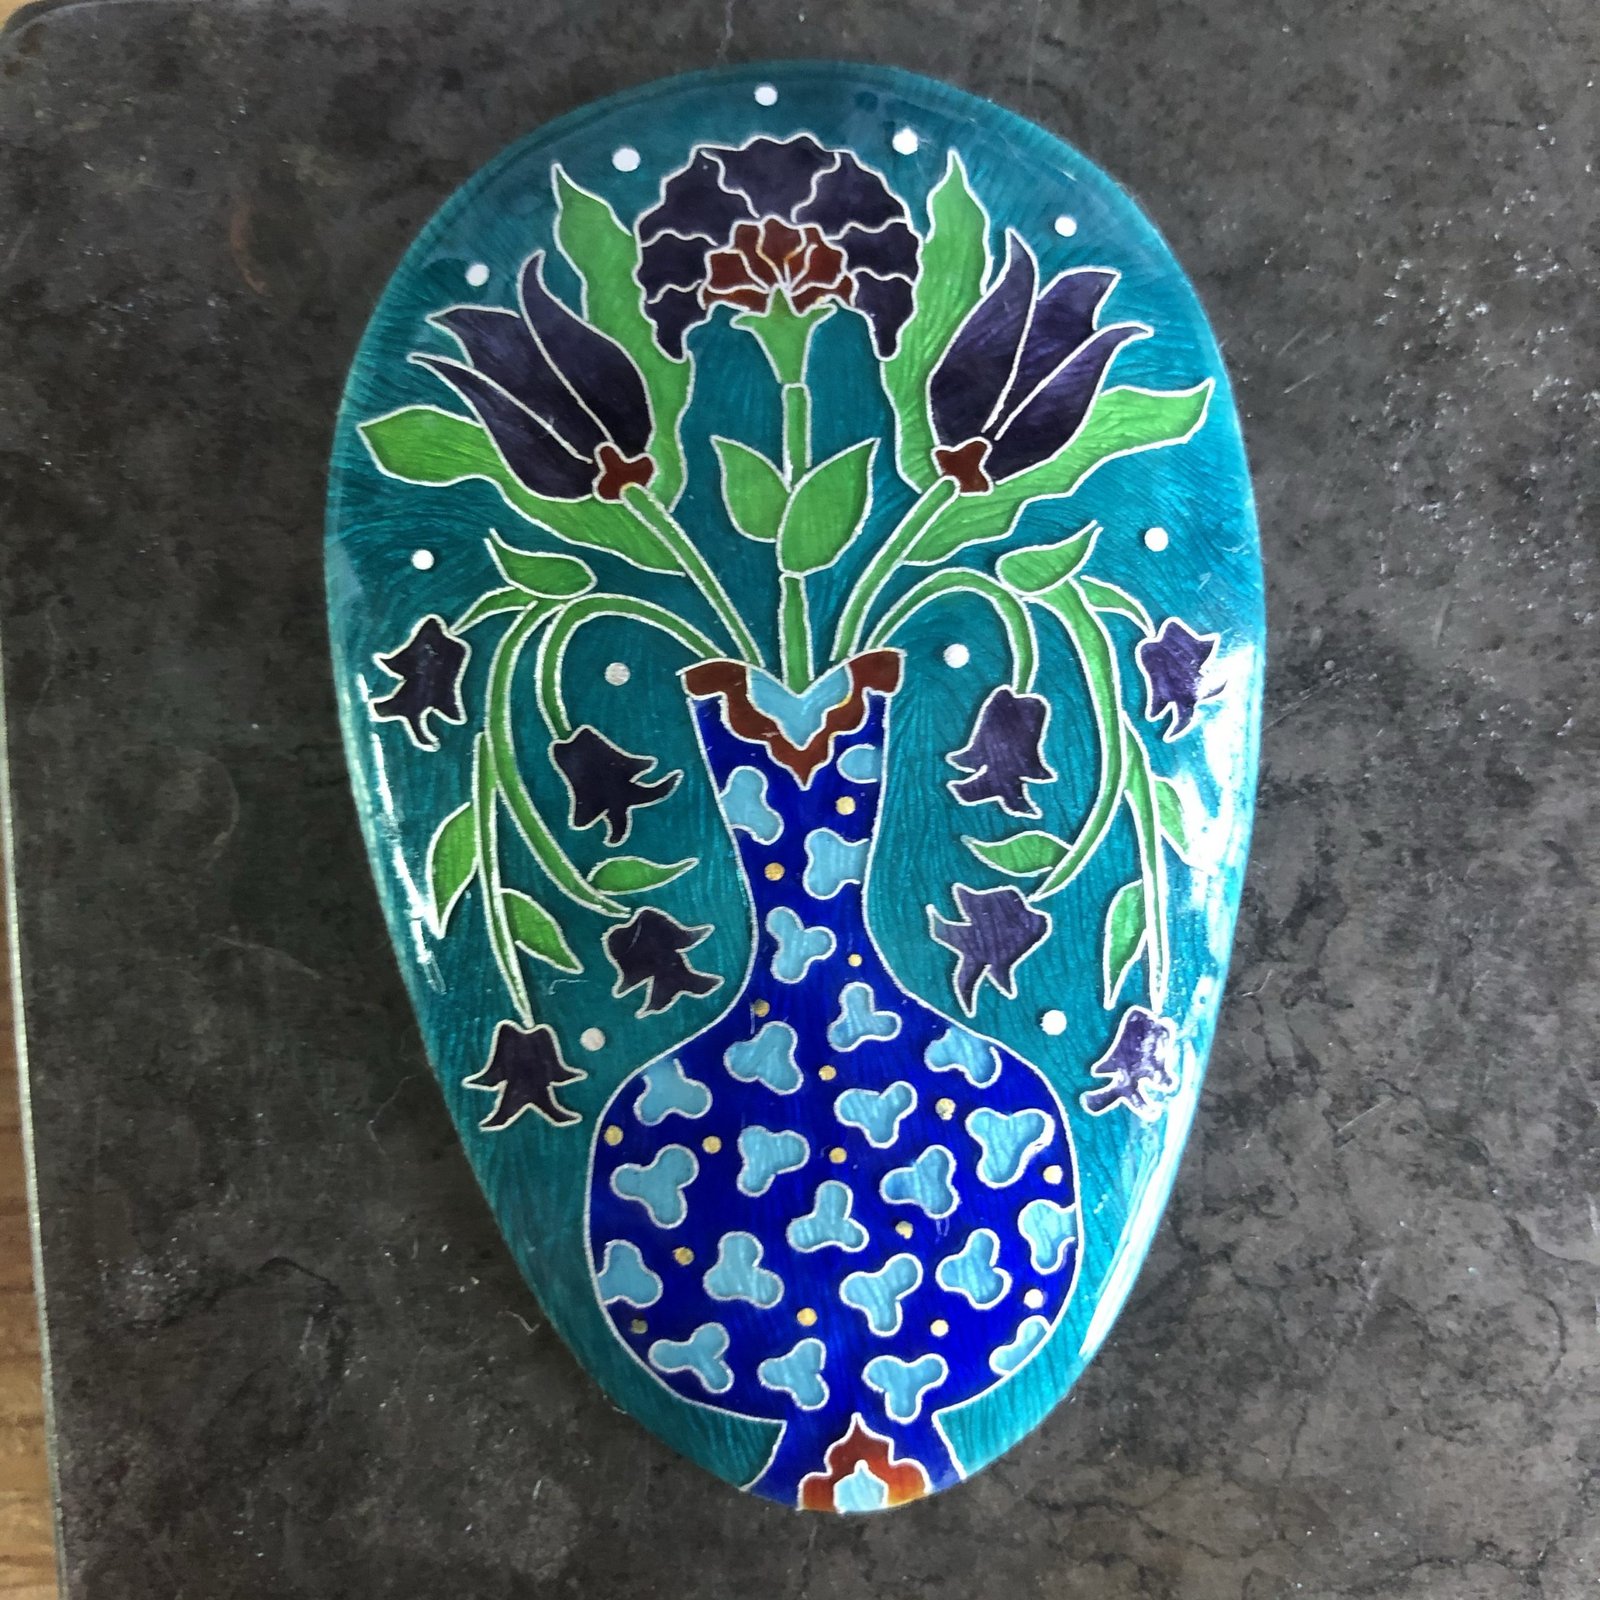
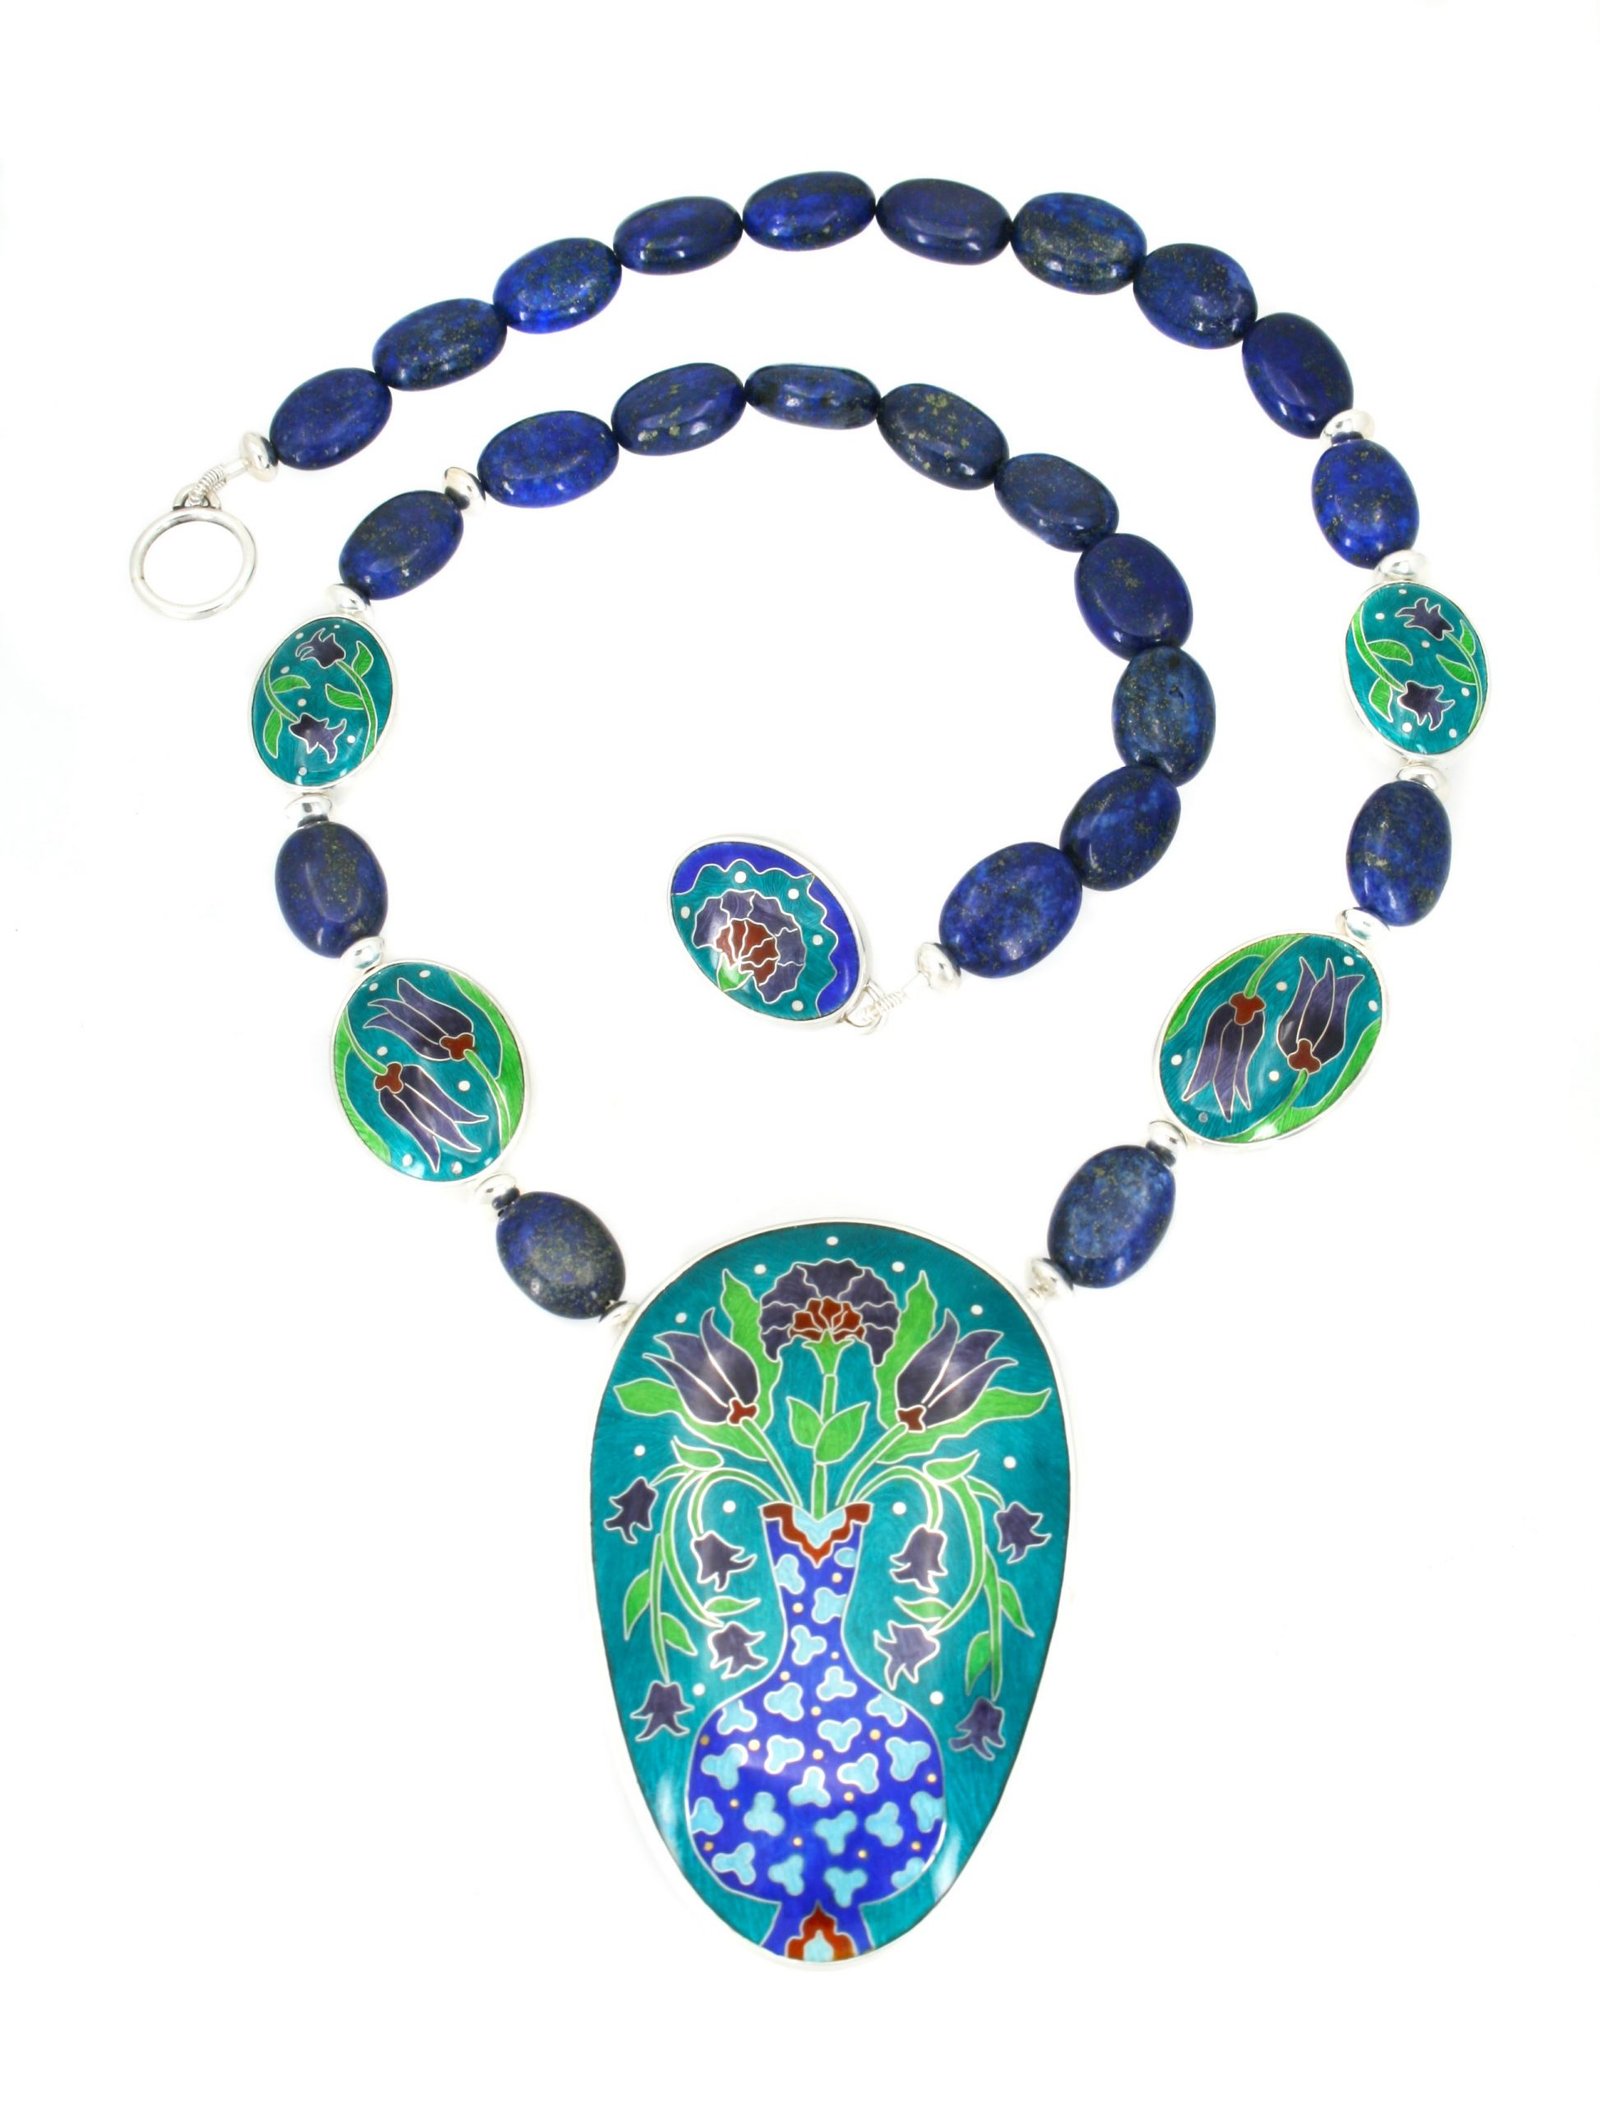
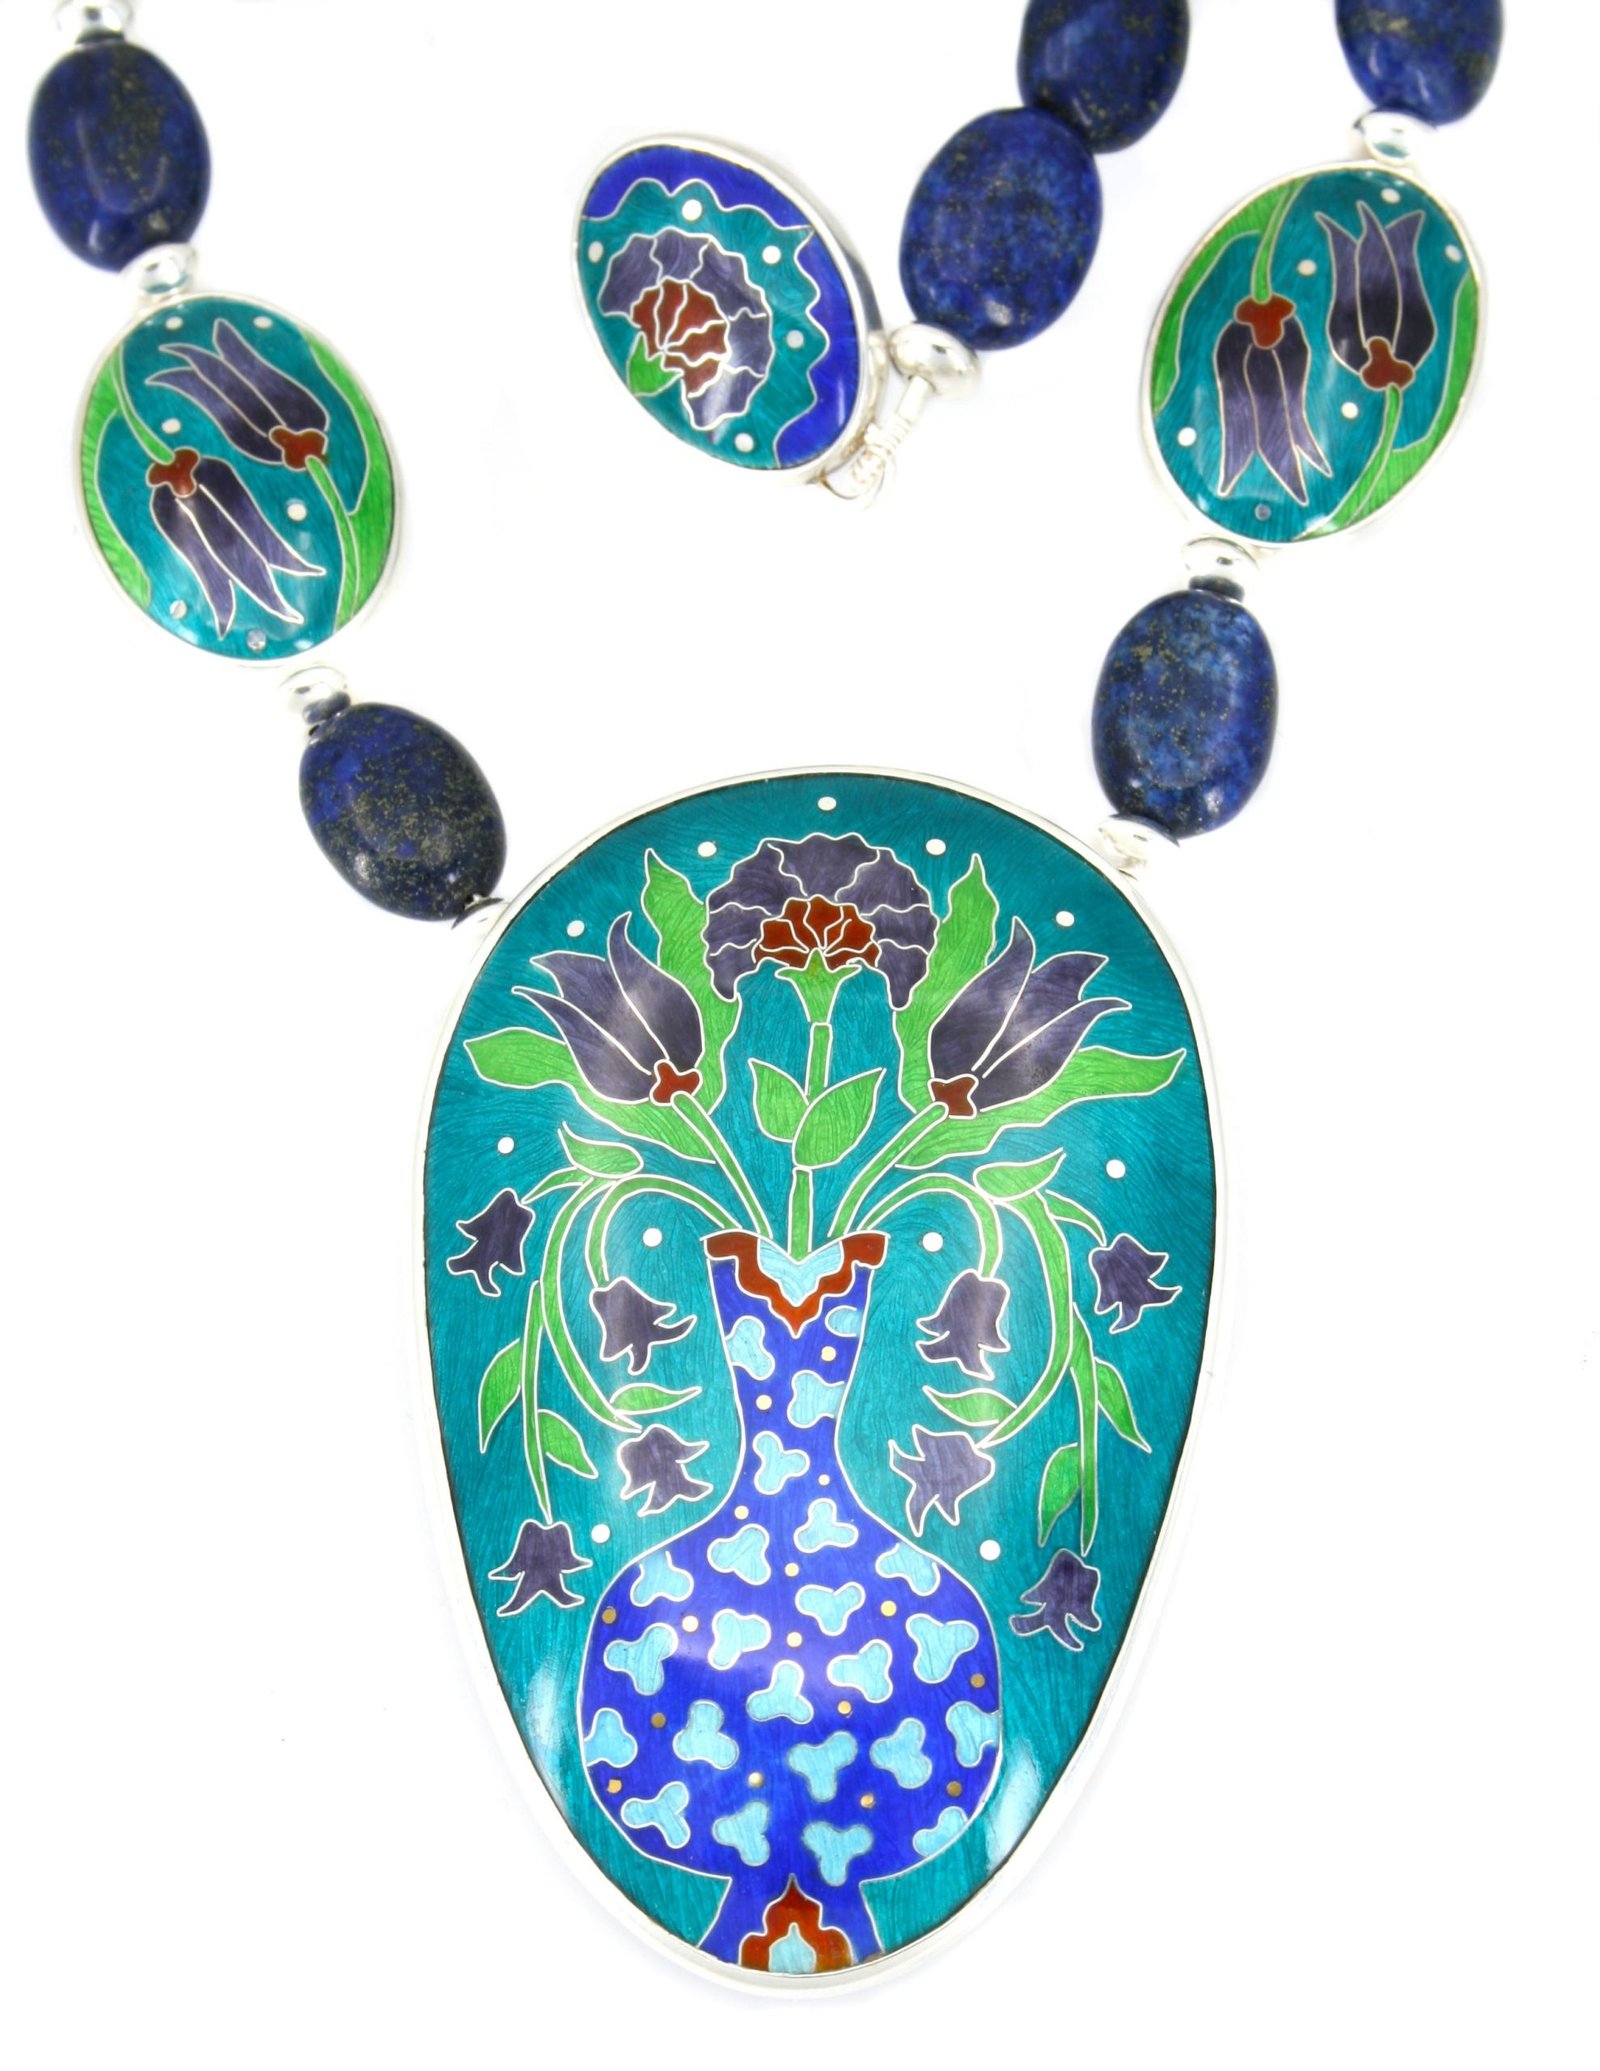
    I have been doing some online Art Classes with Leighton House Museum, London. It was the former home and studio of the leading Victorian artist, Frederic, Lord Leighton. It grew into a ‘private palace of art’ and for me the highlight is the amazing Arab Hall with beautiful intricate mosaics and Islamic Tiles from Isnik, Damascus and Persia. William De Morgan who is one of my art heroes, undertook the challenge of replicating tile fragments to repair some of the historic panels and doubtless this work influenced much of his own work as part of the British Arts and Crafts Movement. See their website to access recordings of the classes.

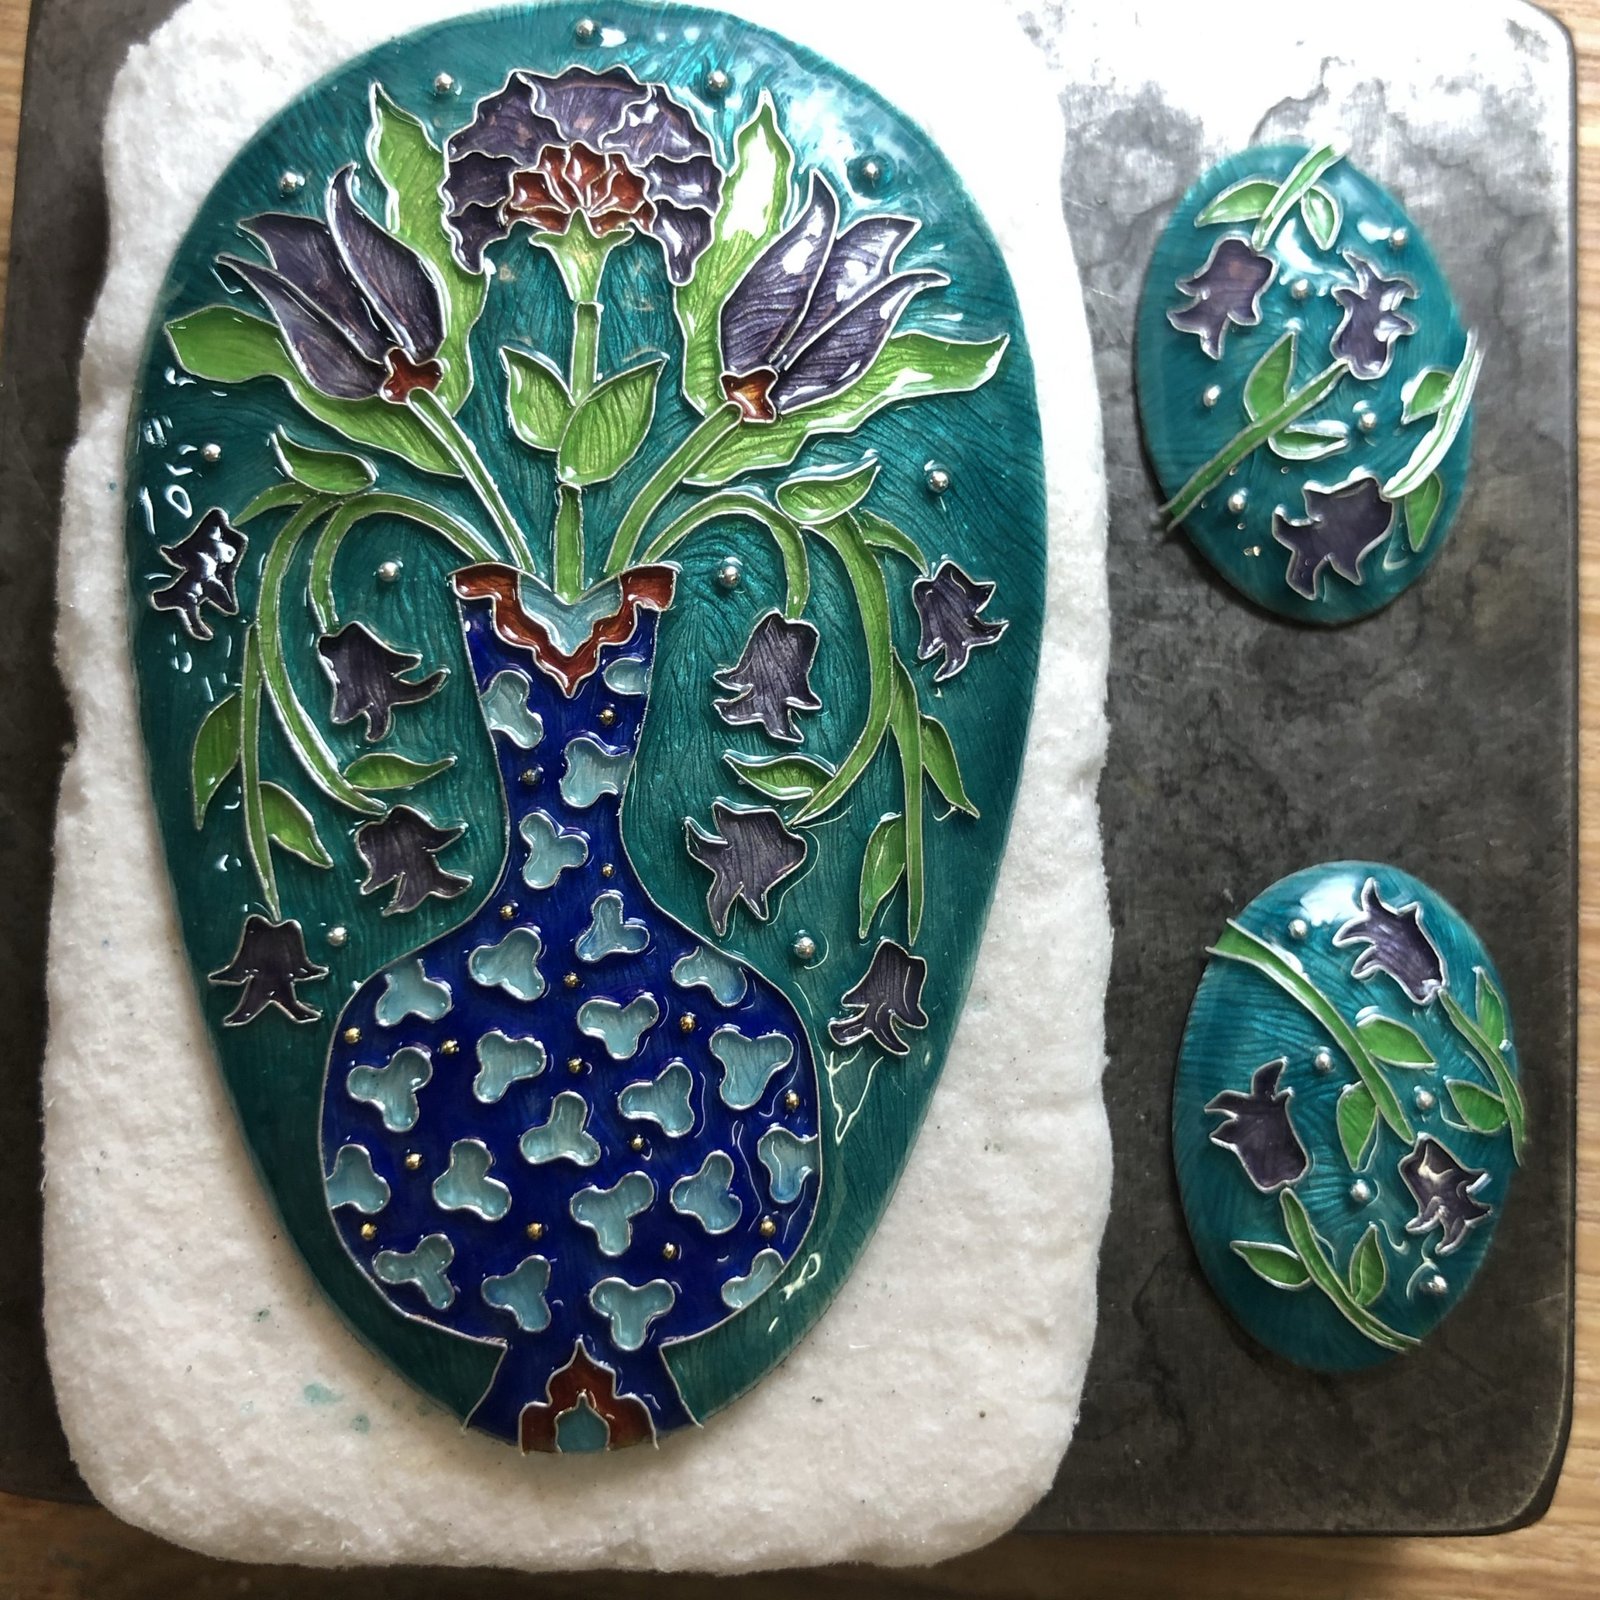
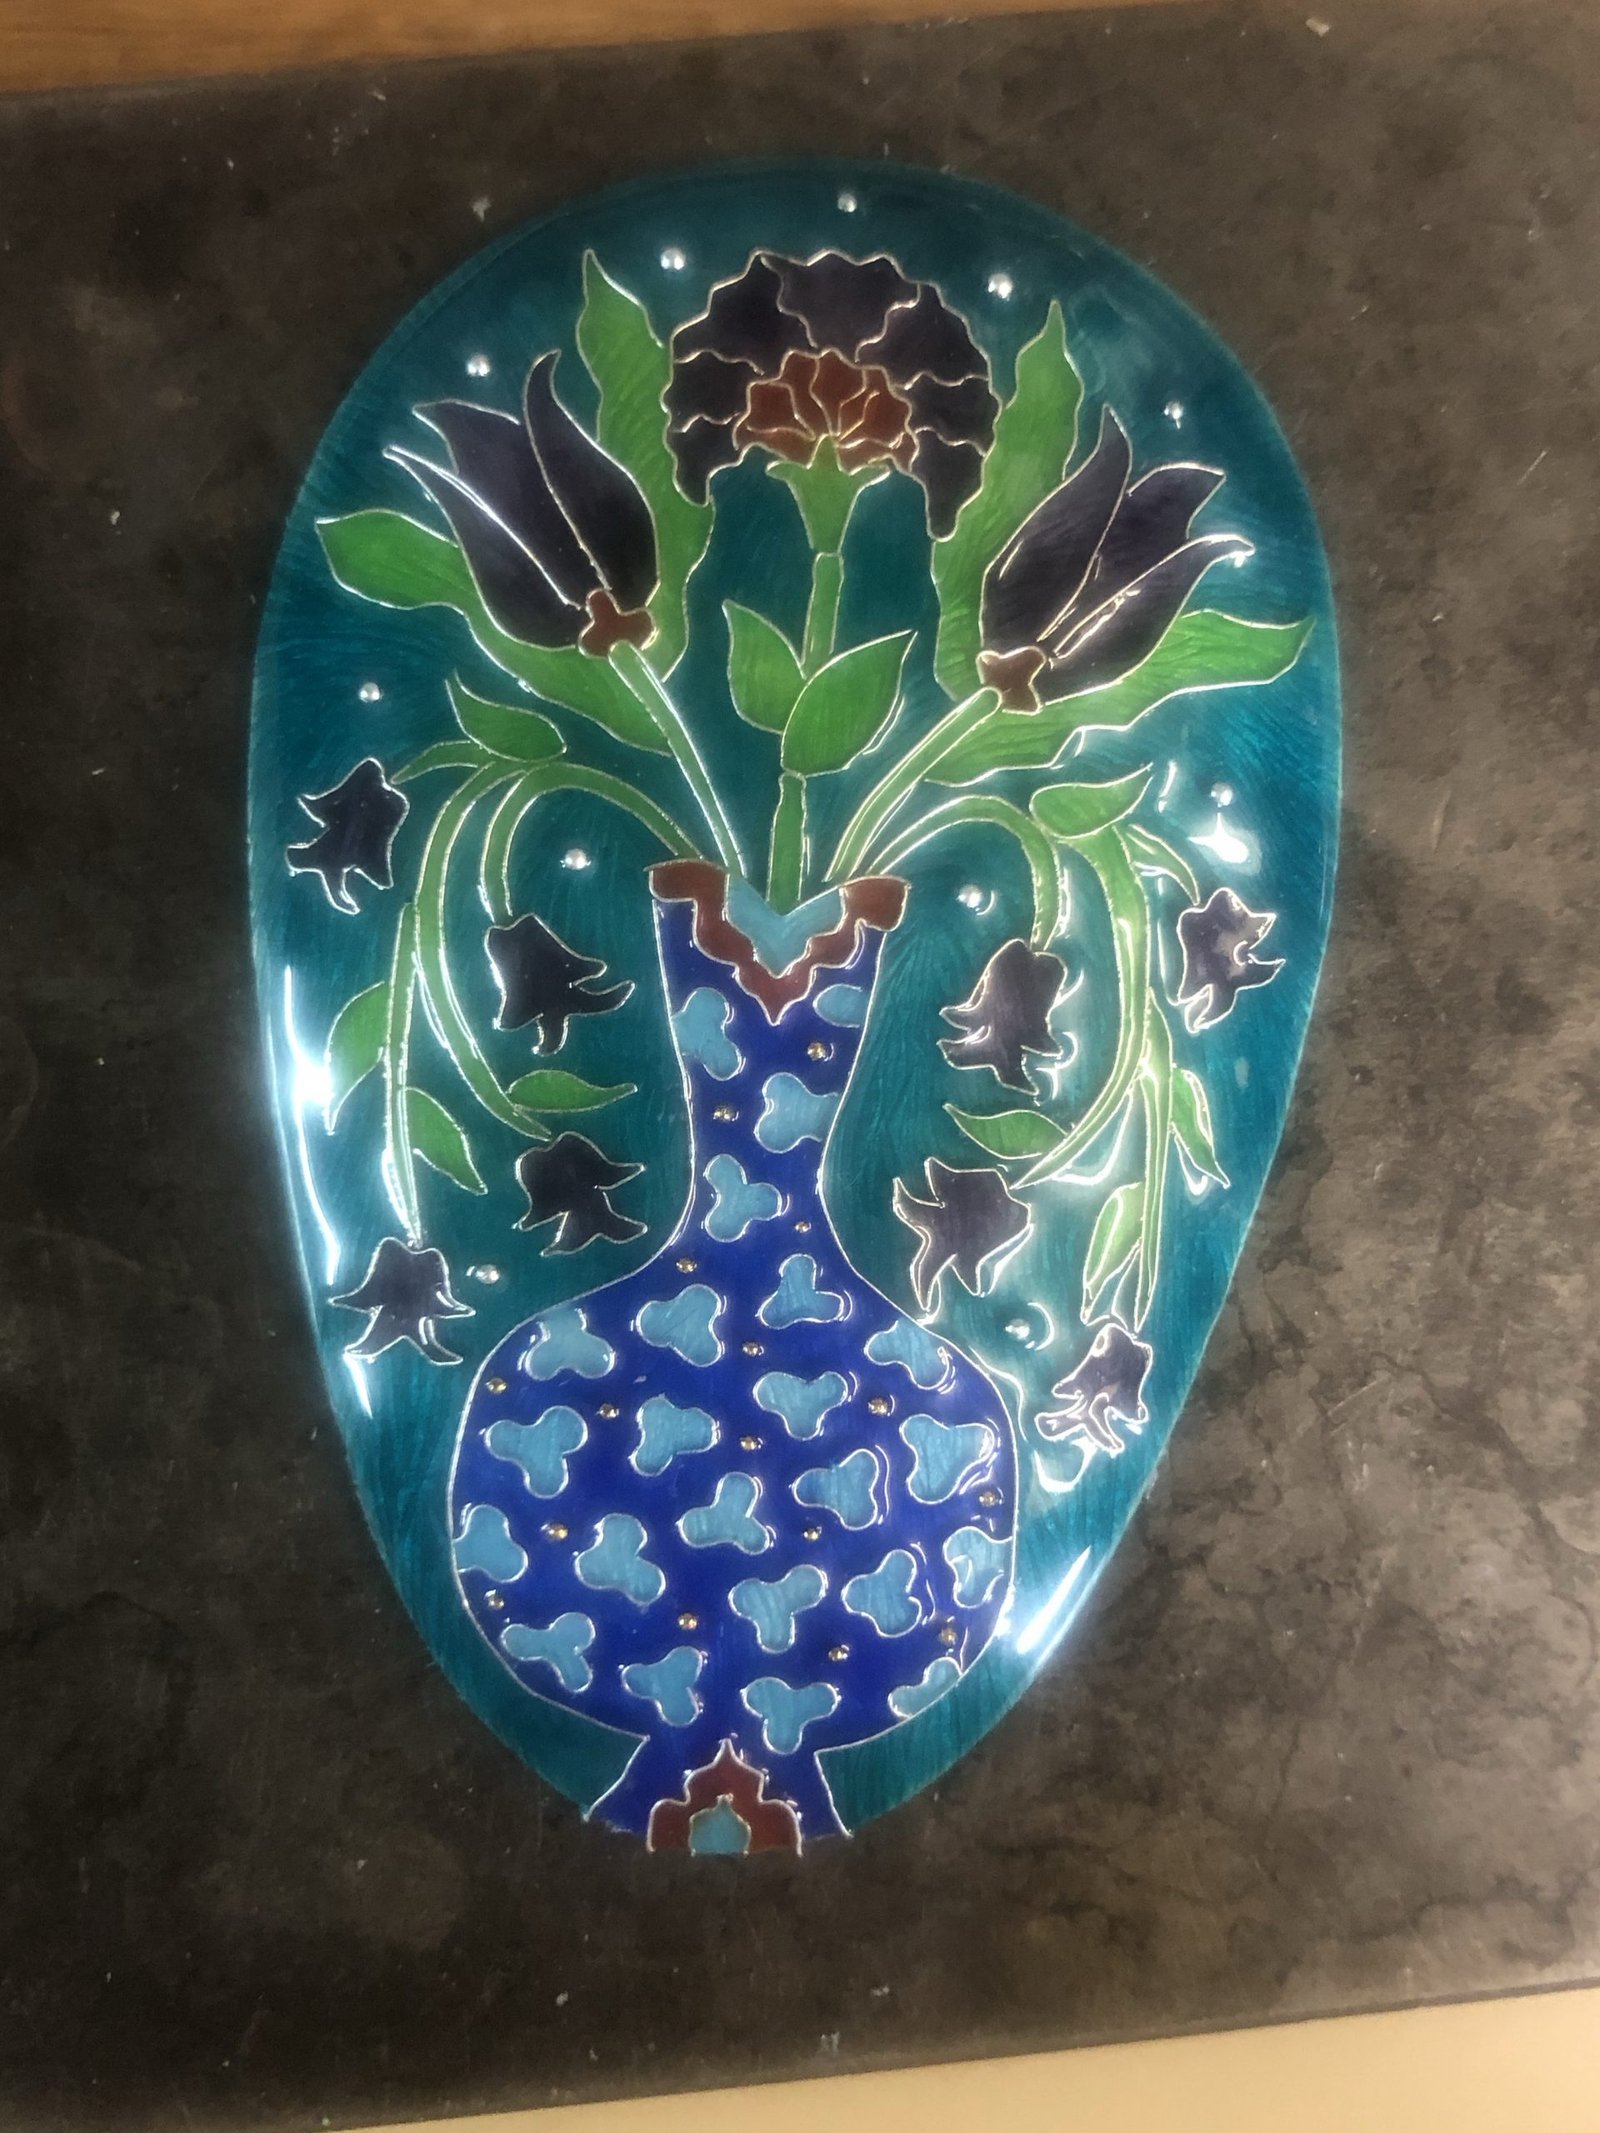
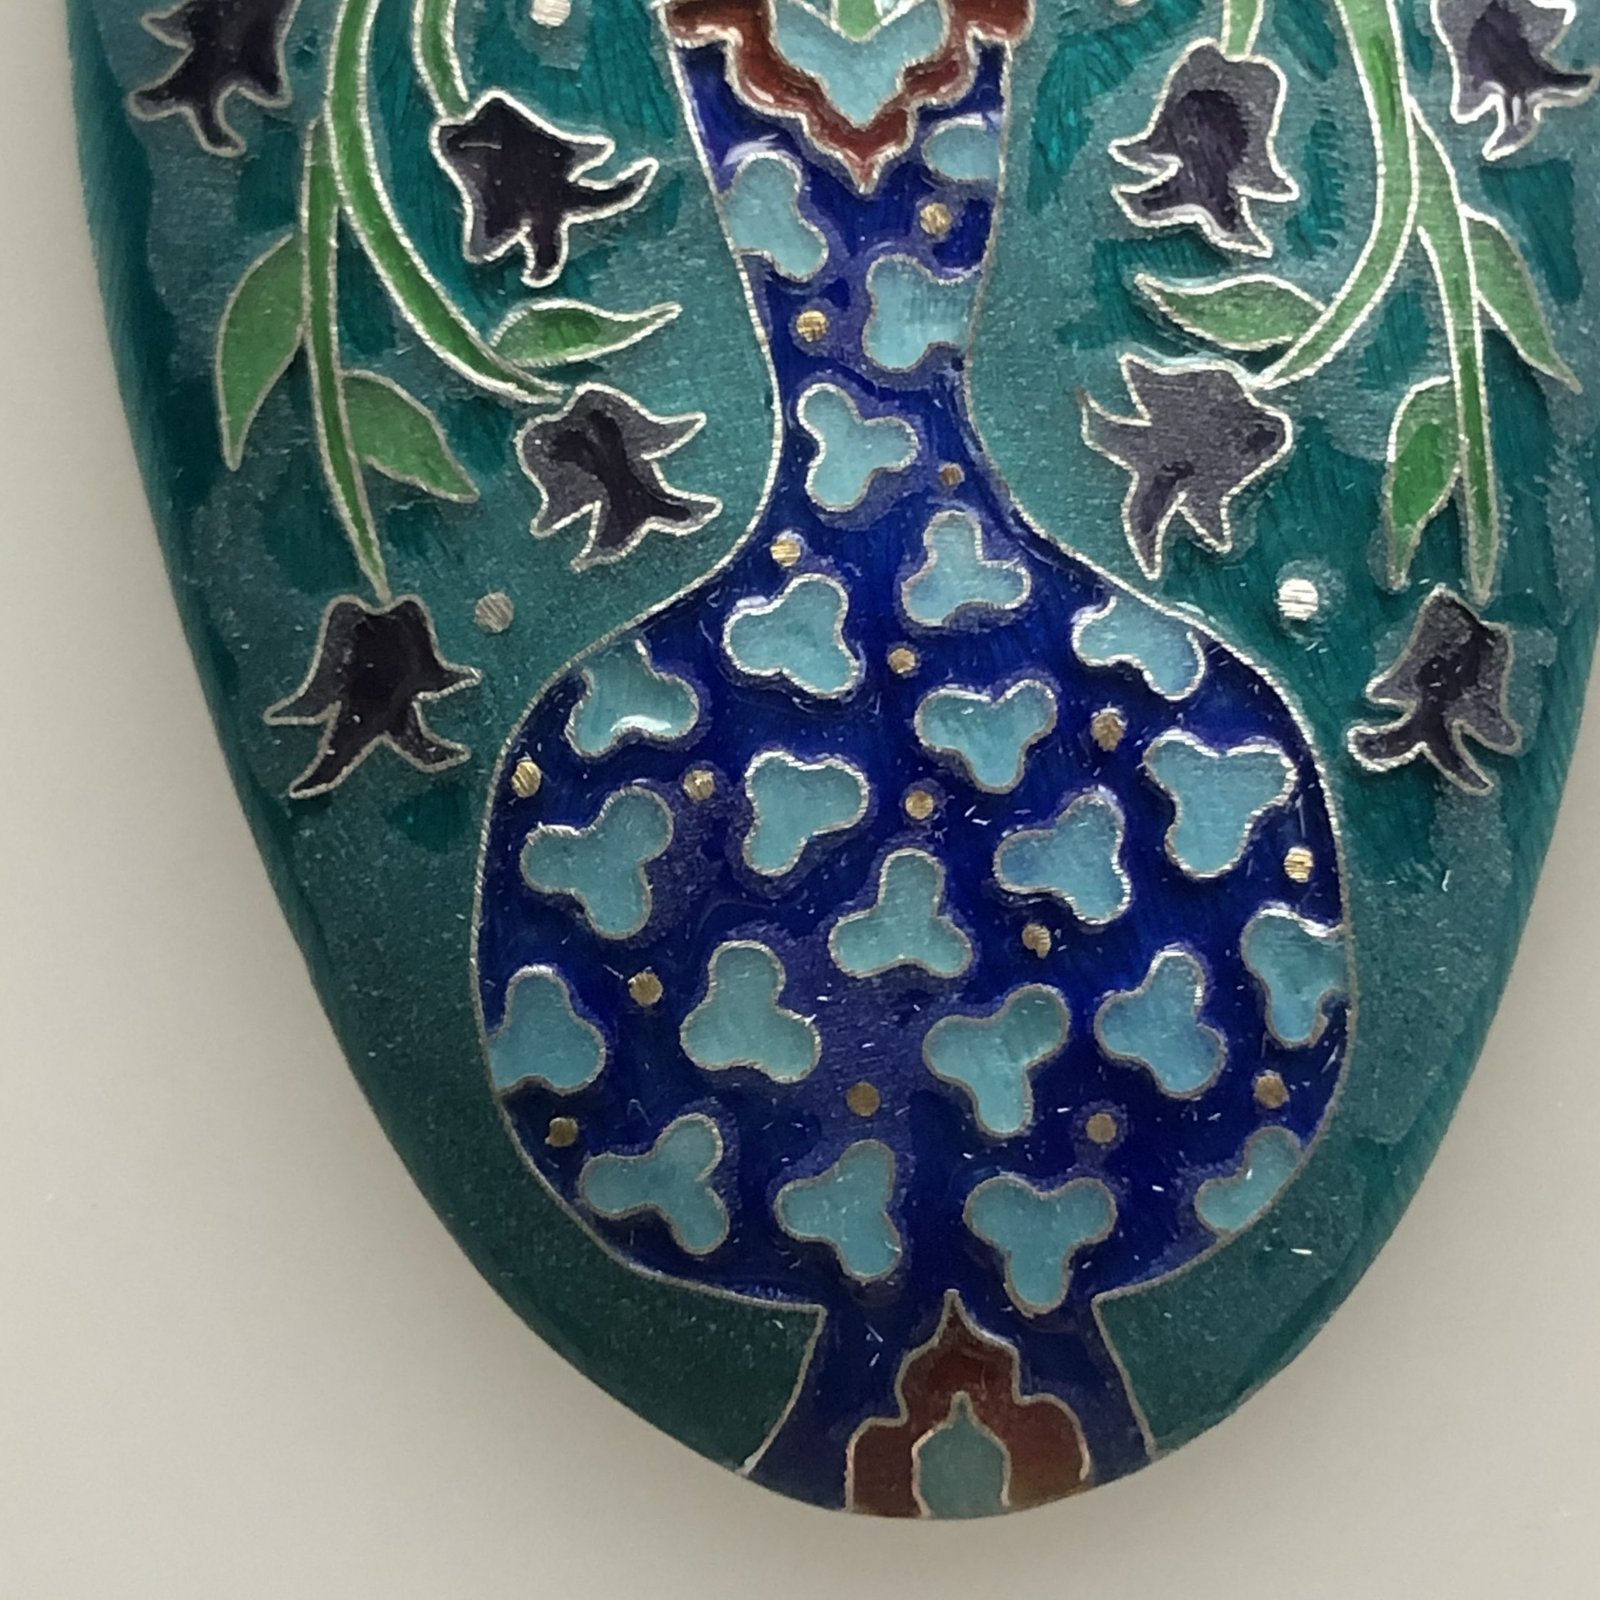
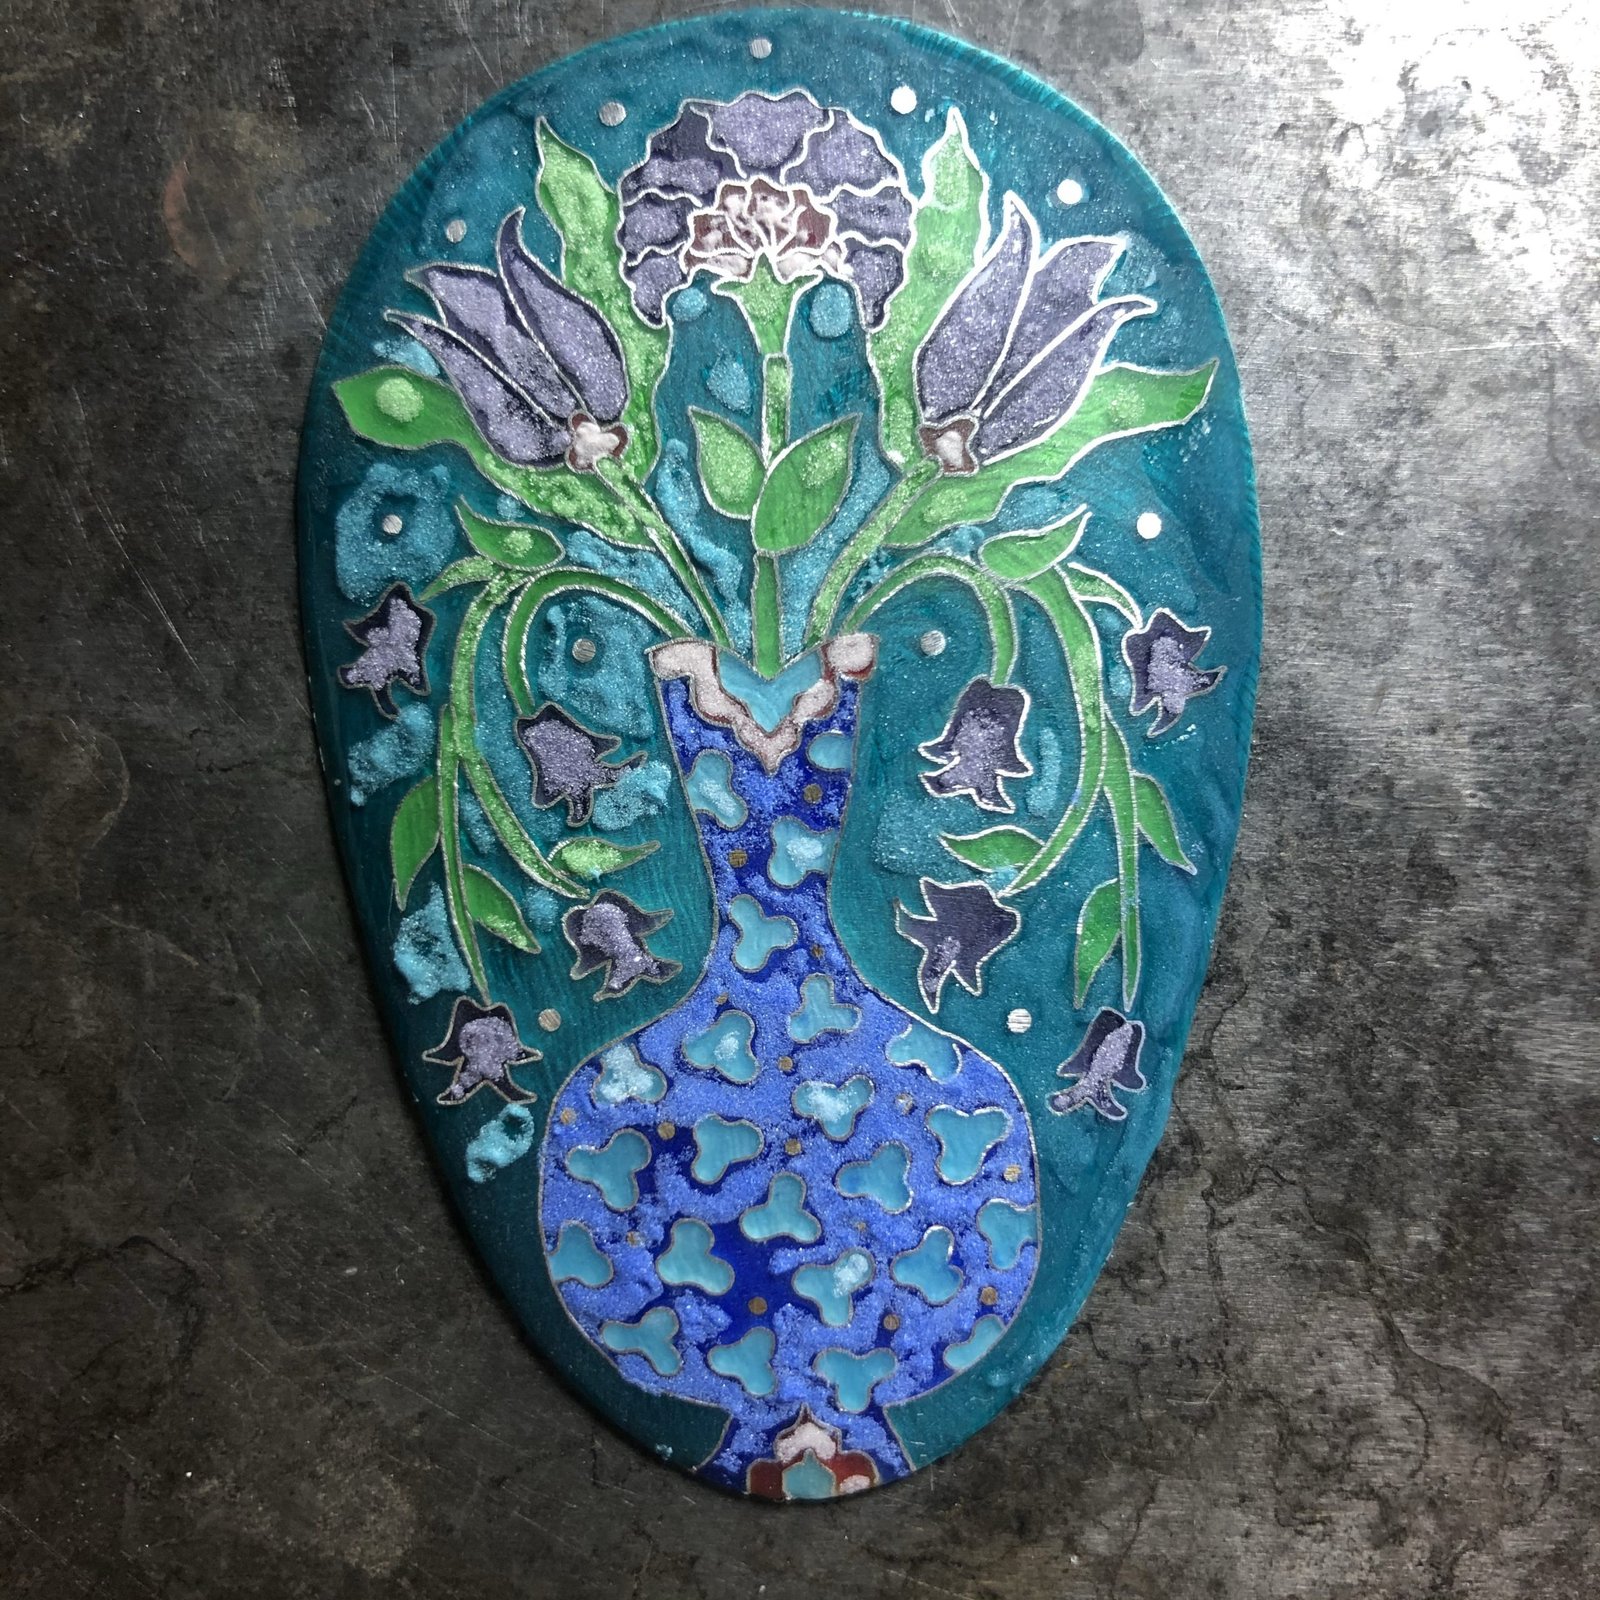
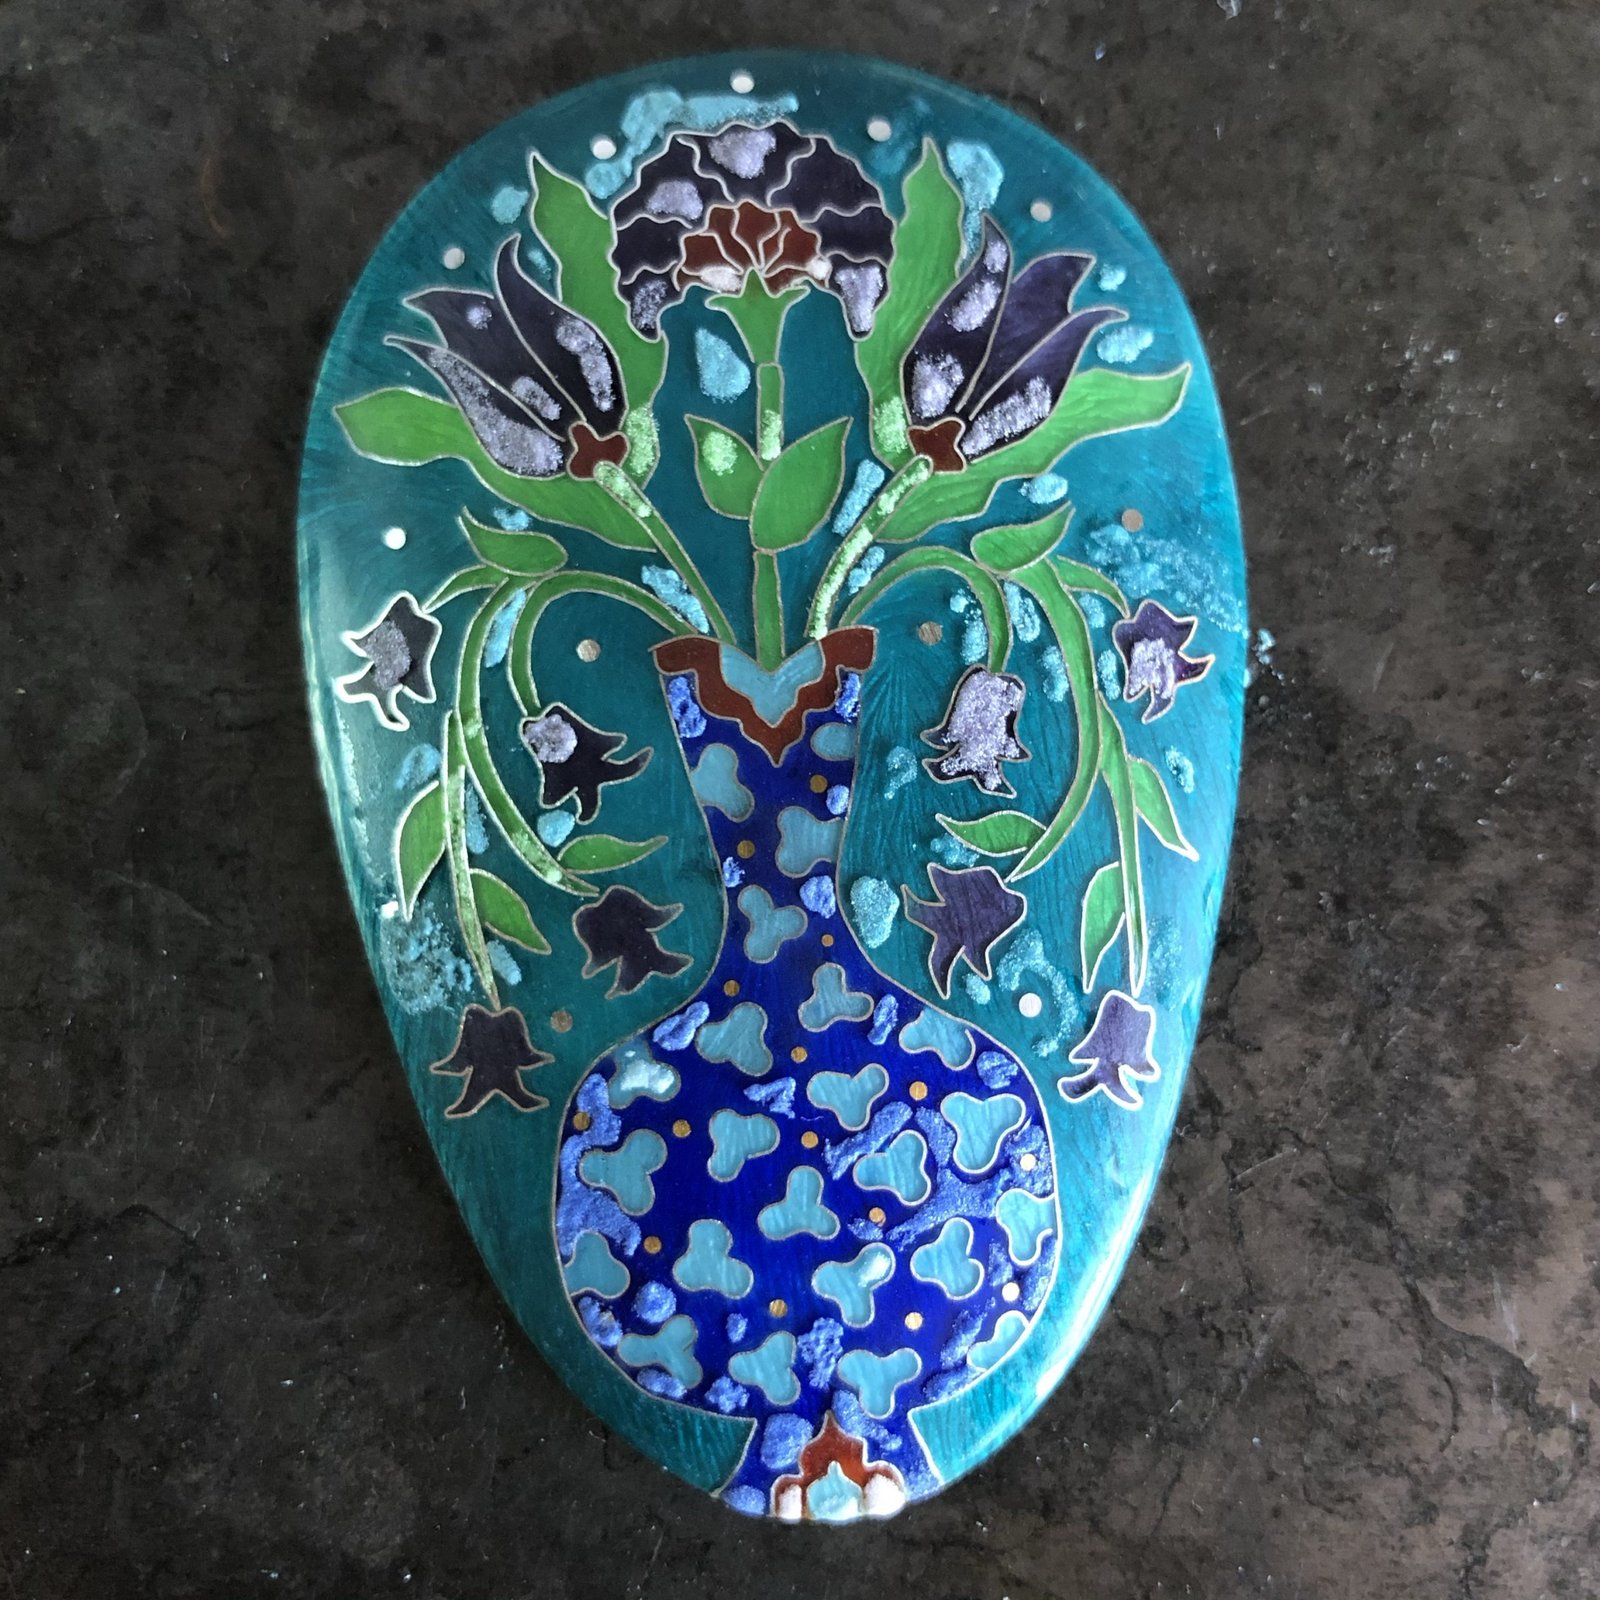
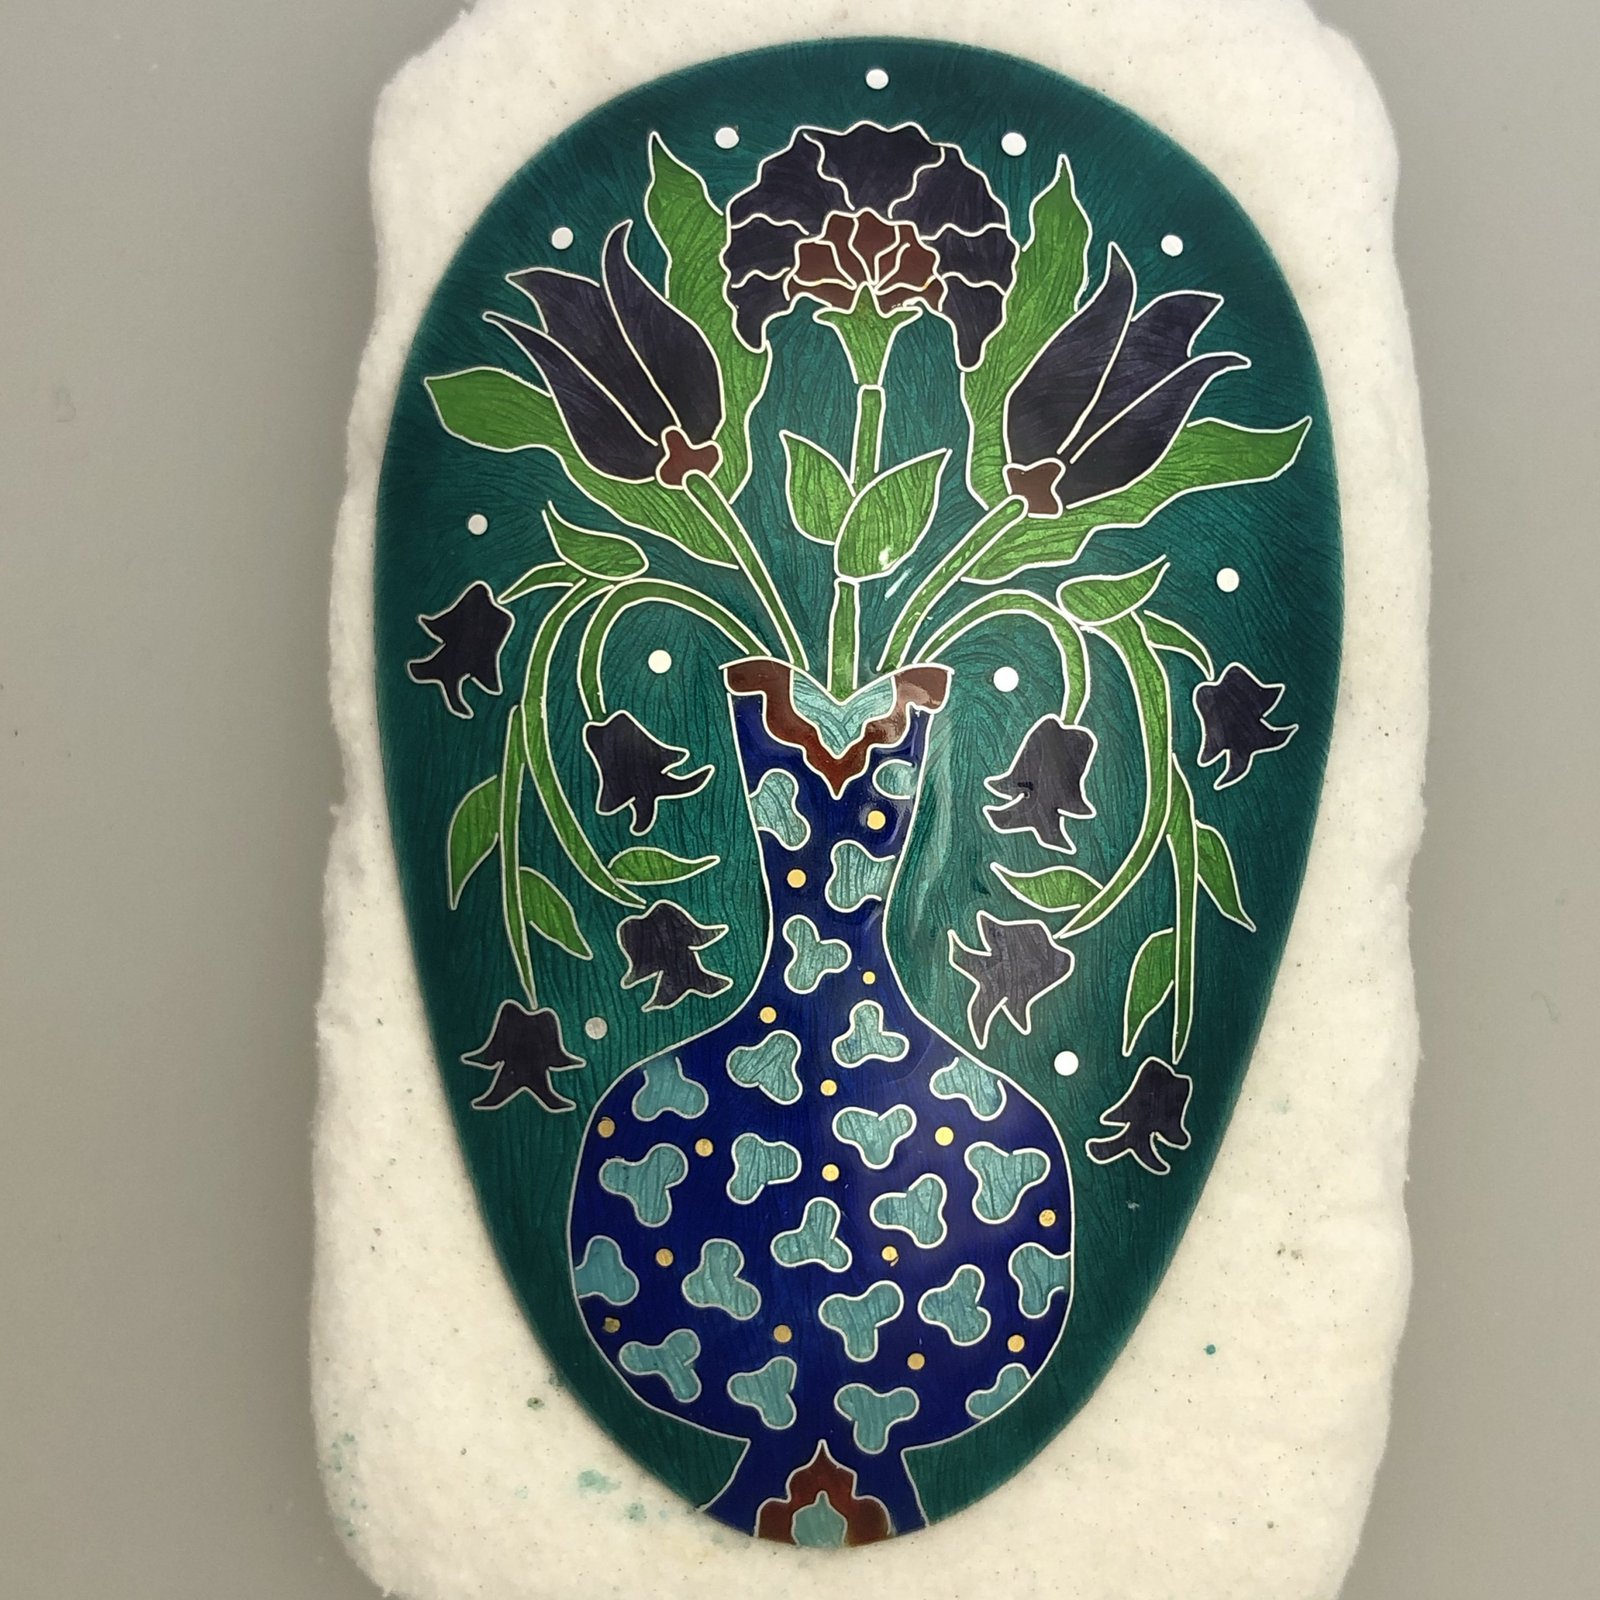
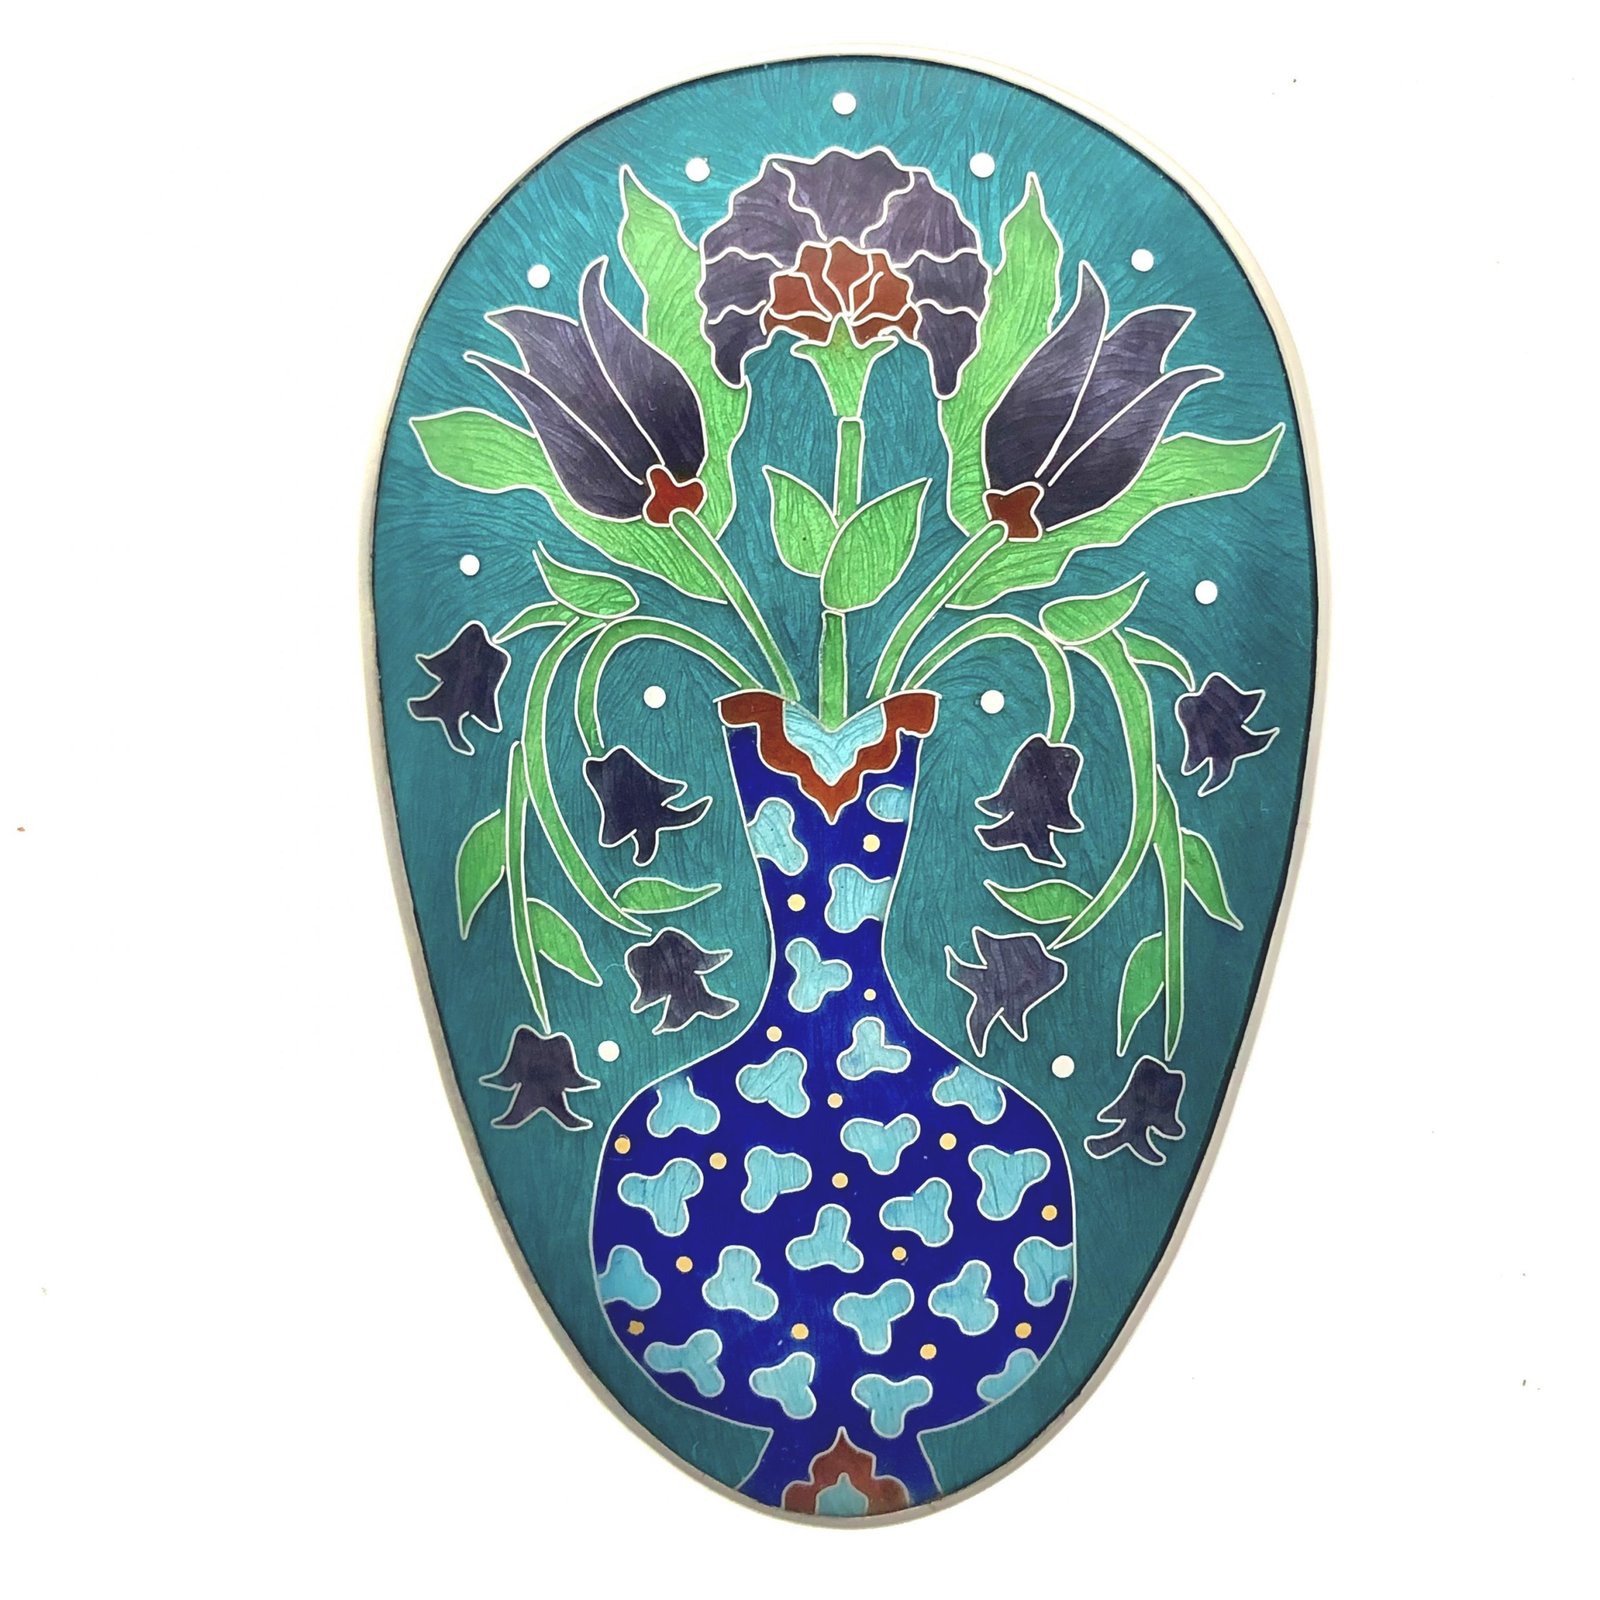
    The classes with Laurelie Rae that I took before Christmas were a revelation to me when I realised the link between these Islamic Tiles and the British Arts and Crafts Movement and particularly how I could use this as inspiration for a new line of work. The next images show part of the development of a new Vase necklace with is inspired by Damascene Tiles at the museum.

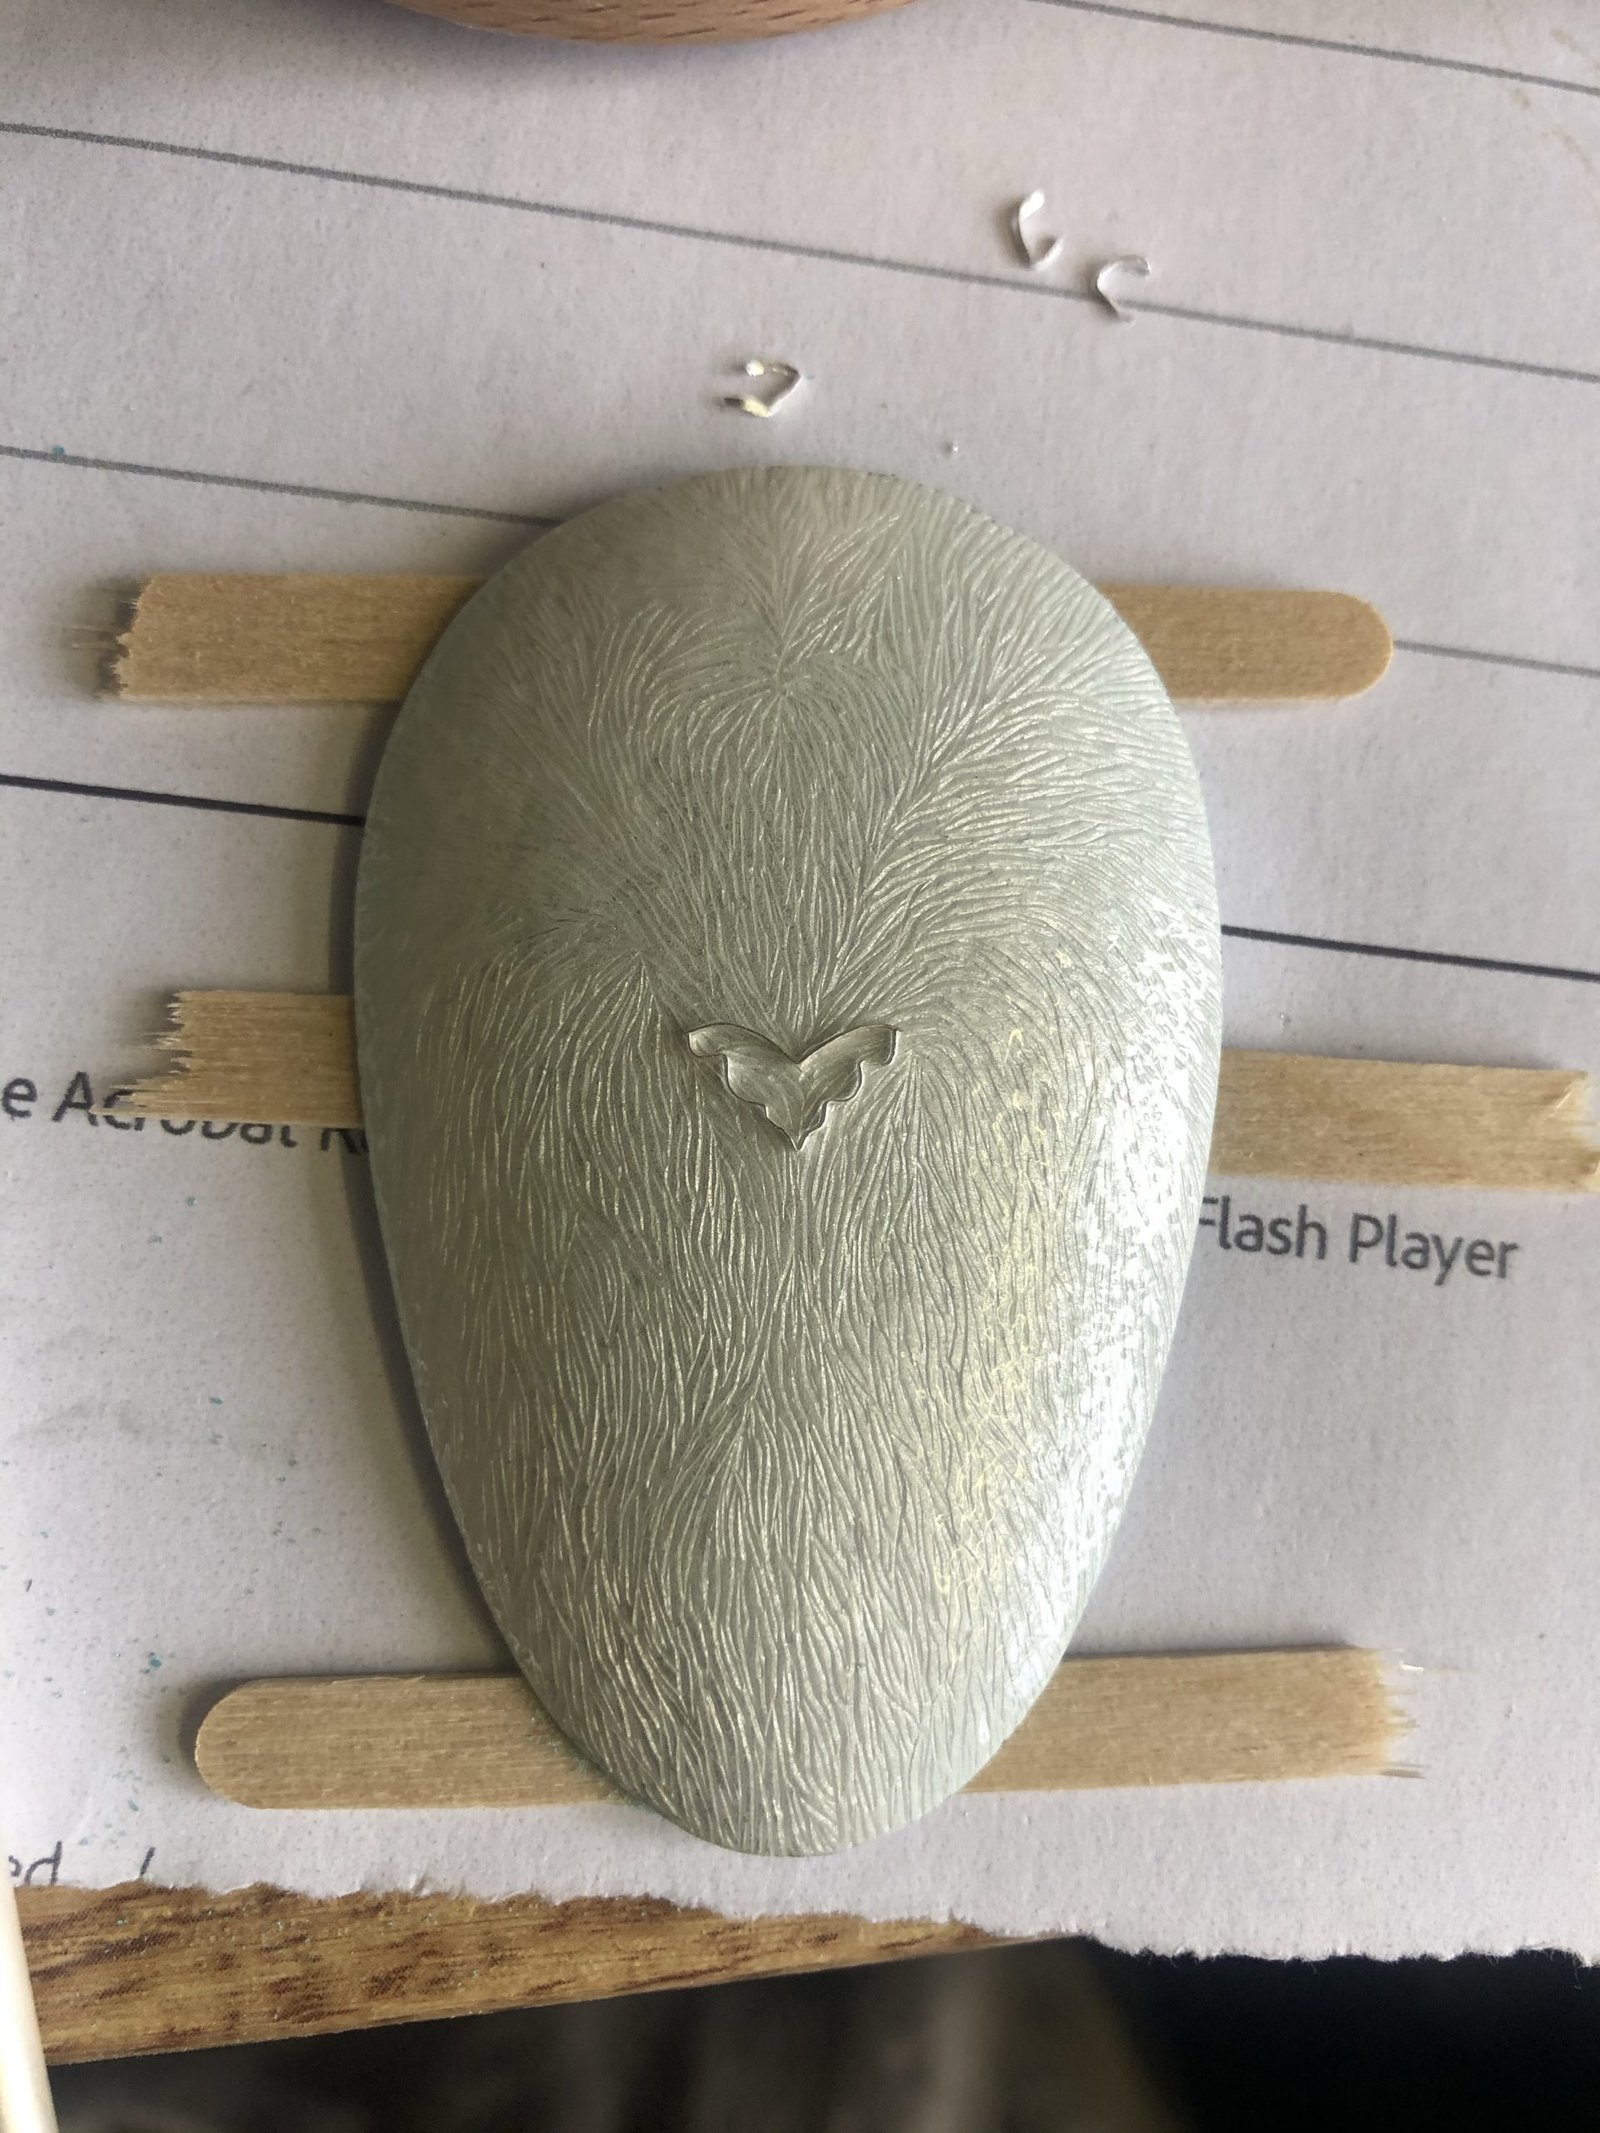
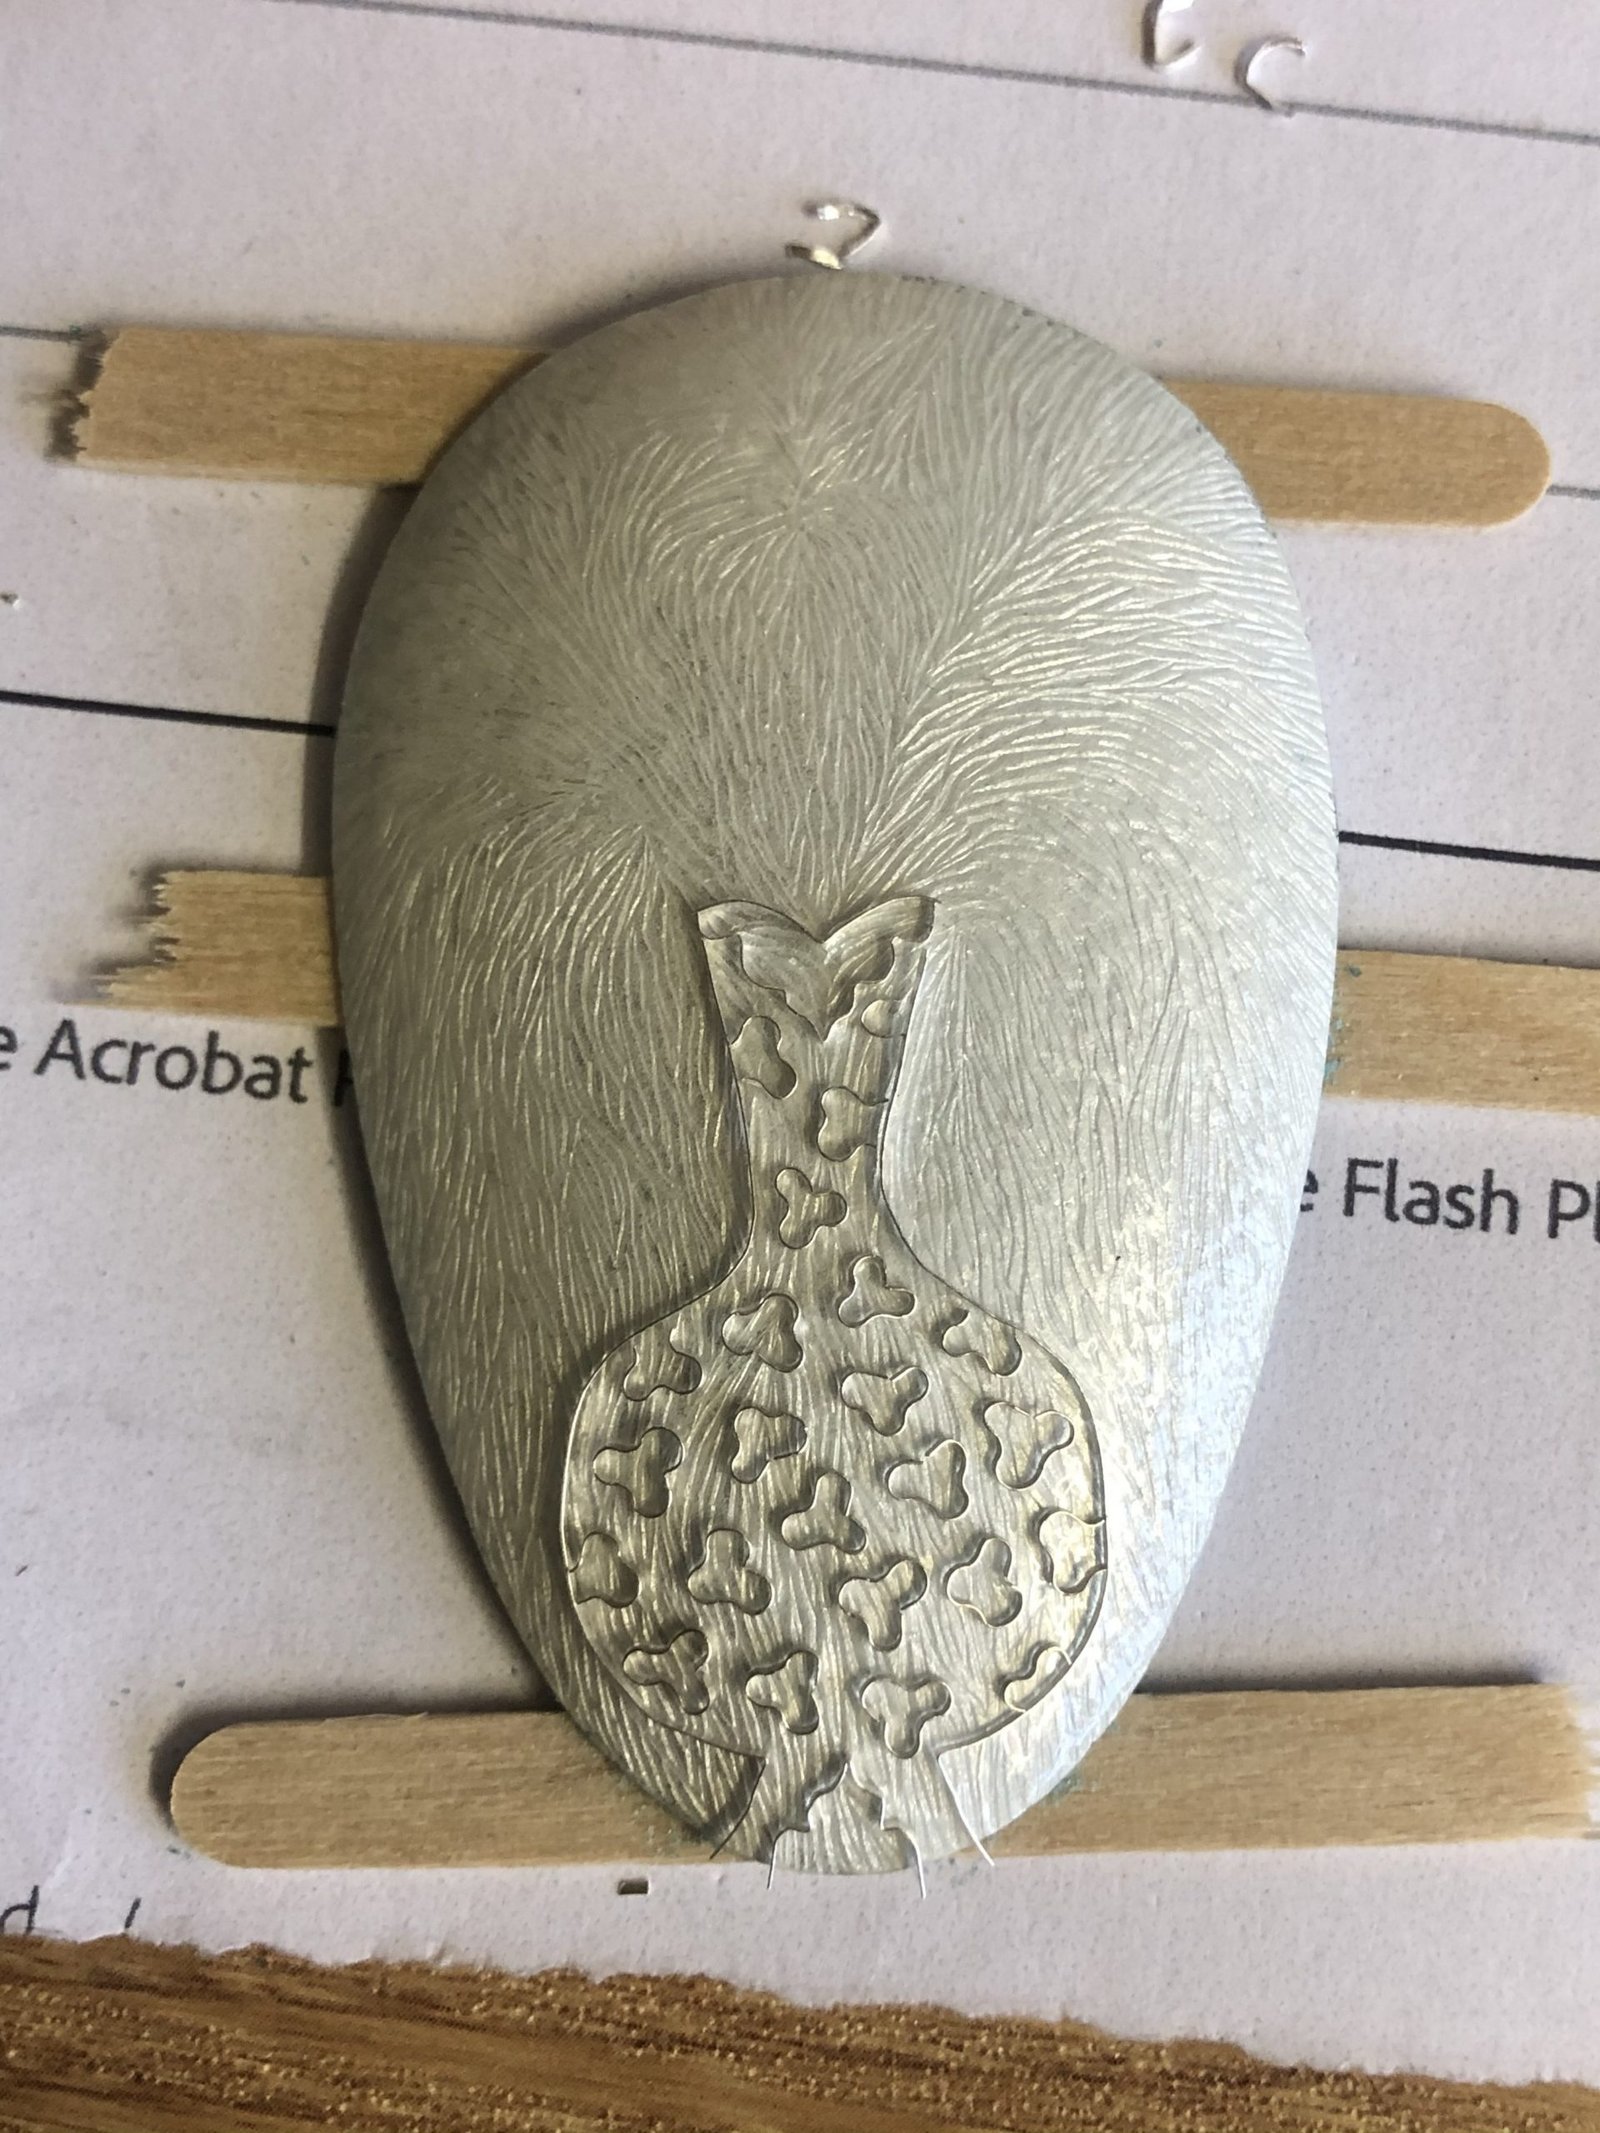
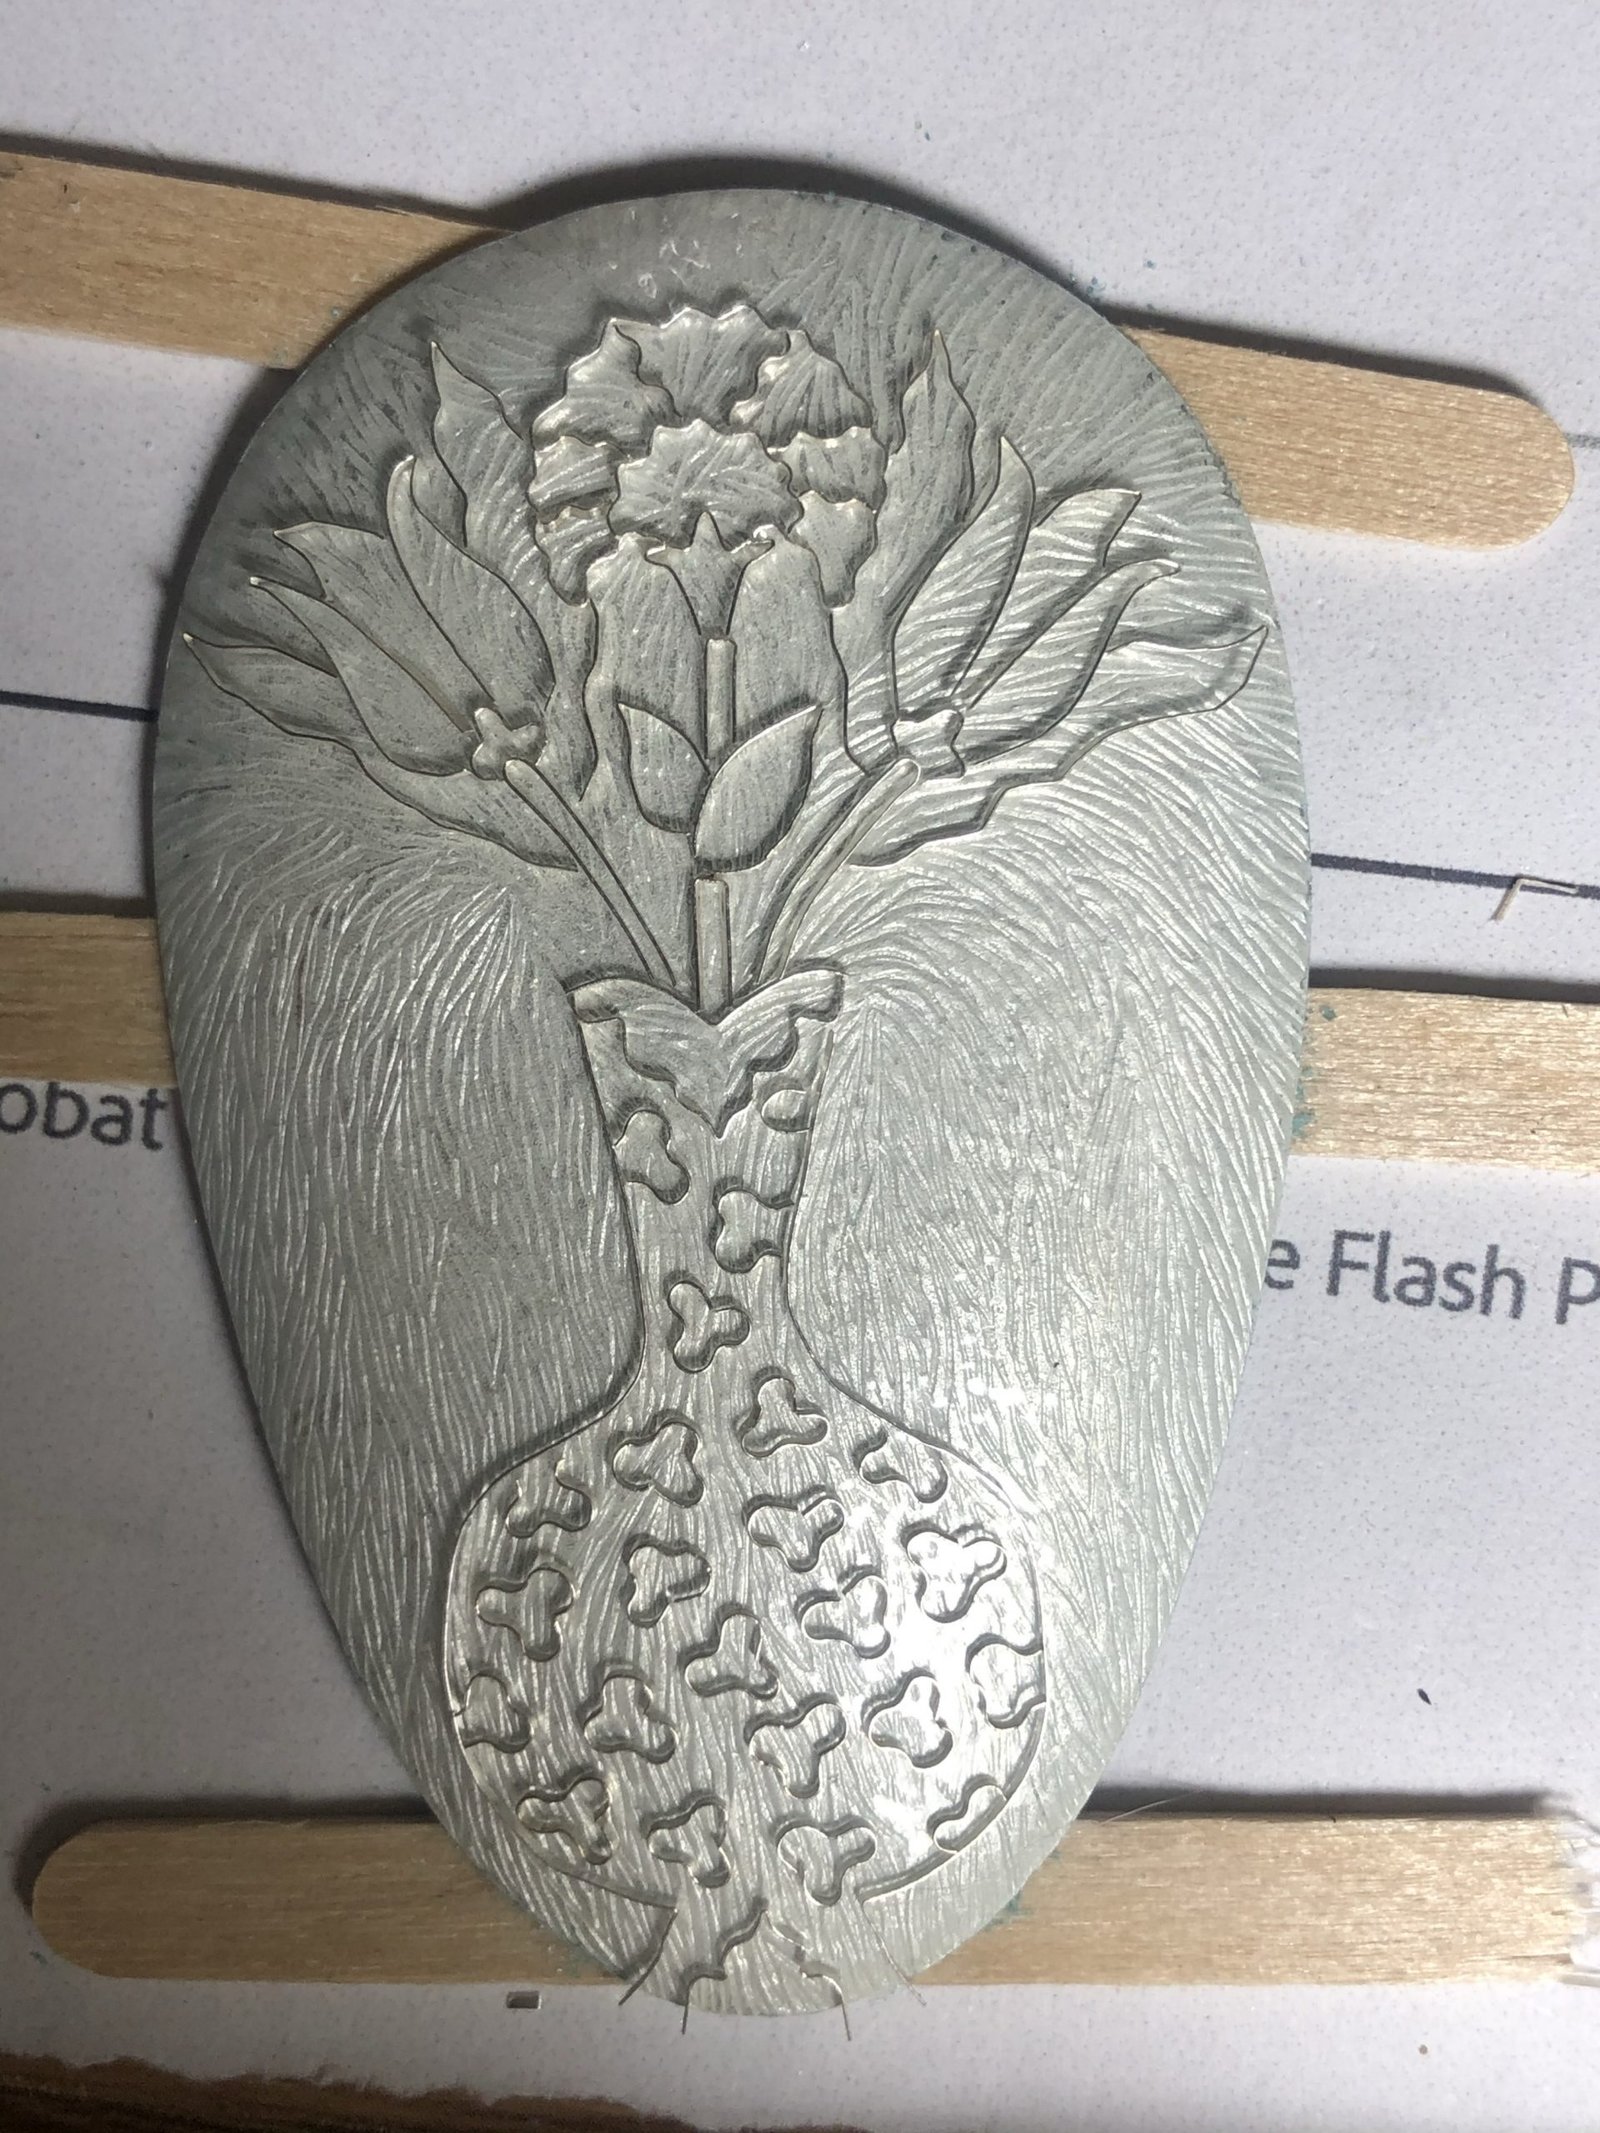
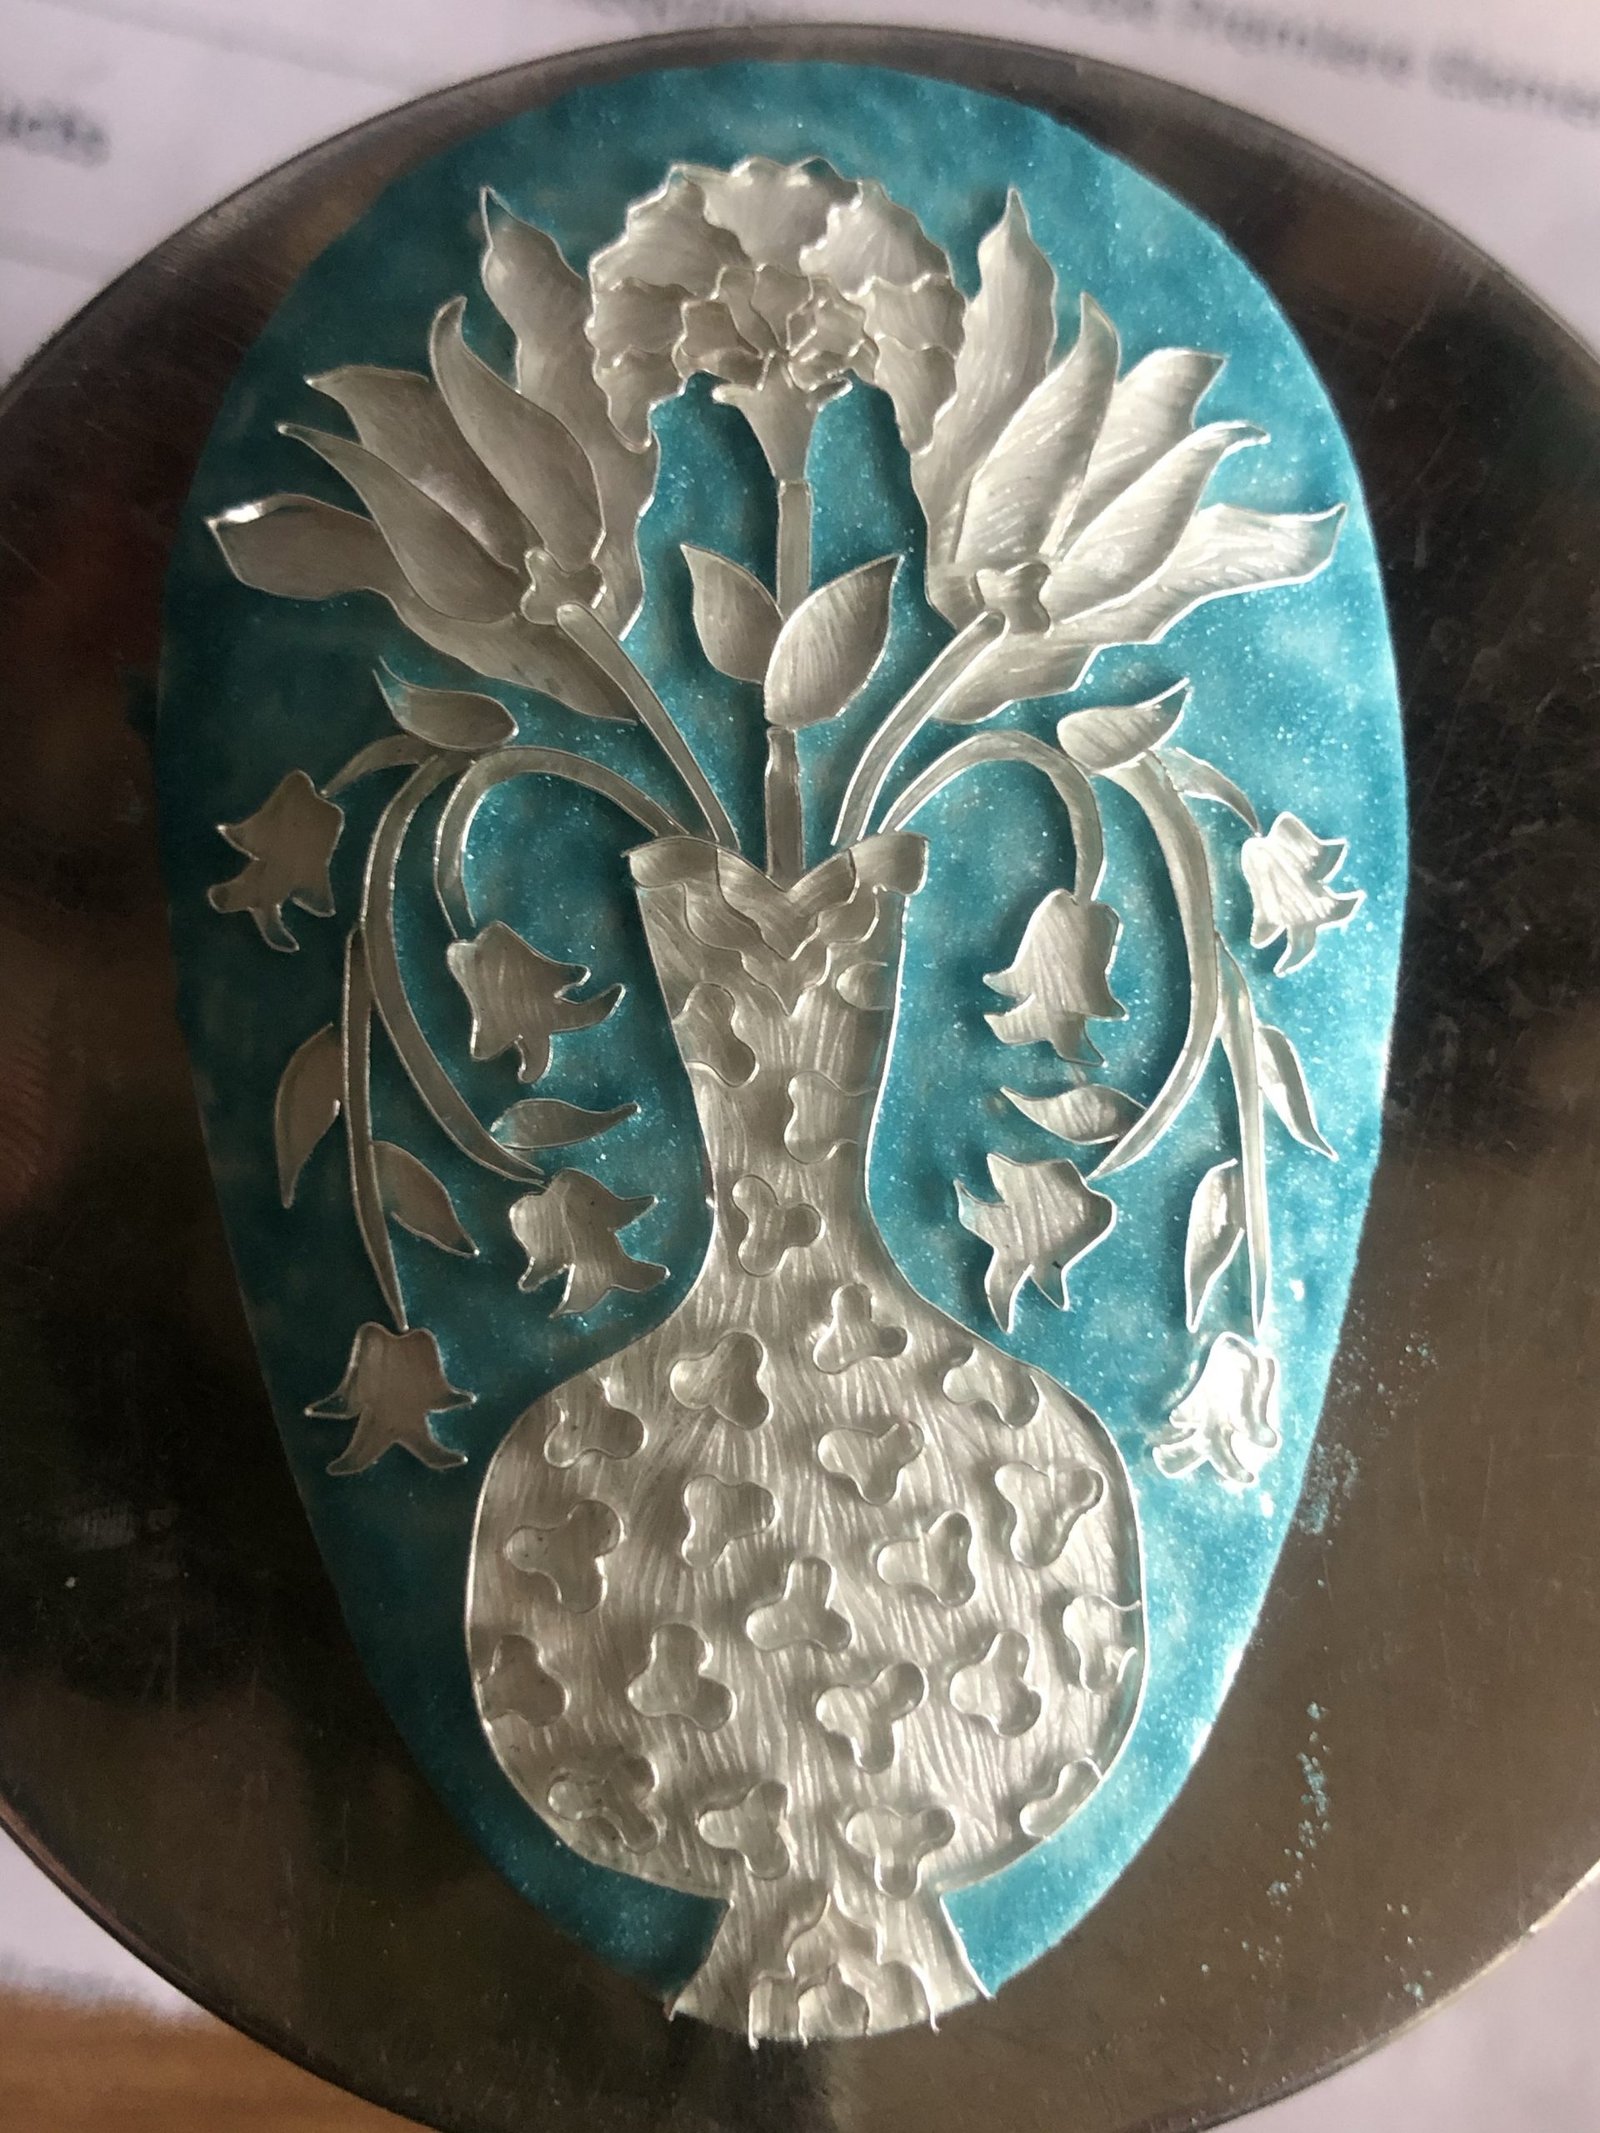
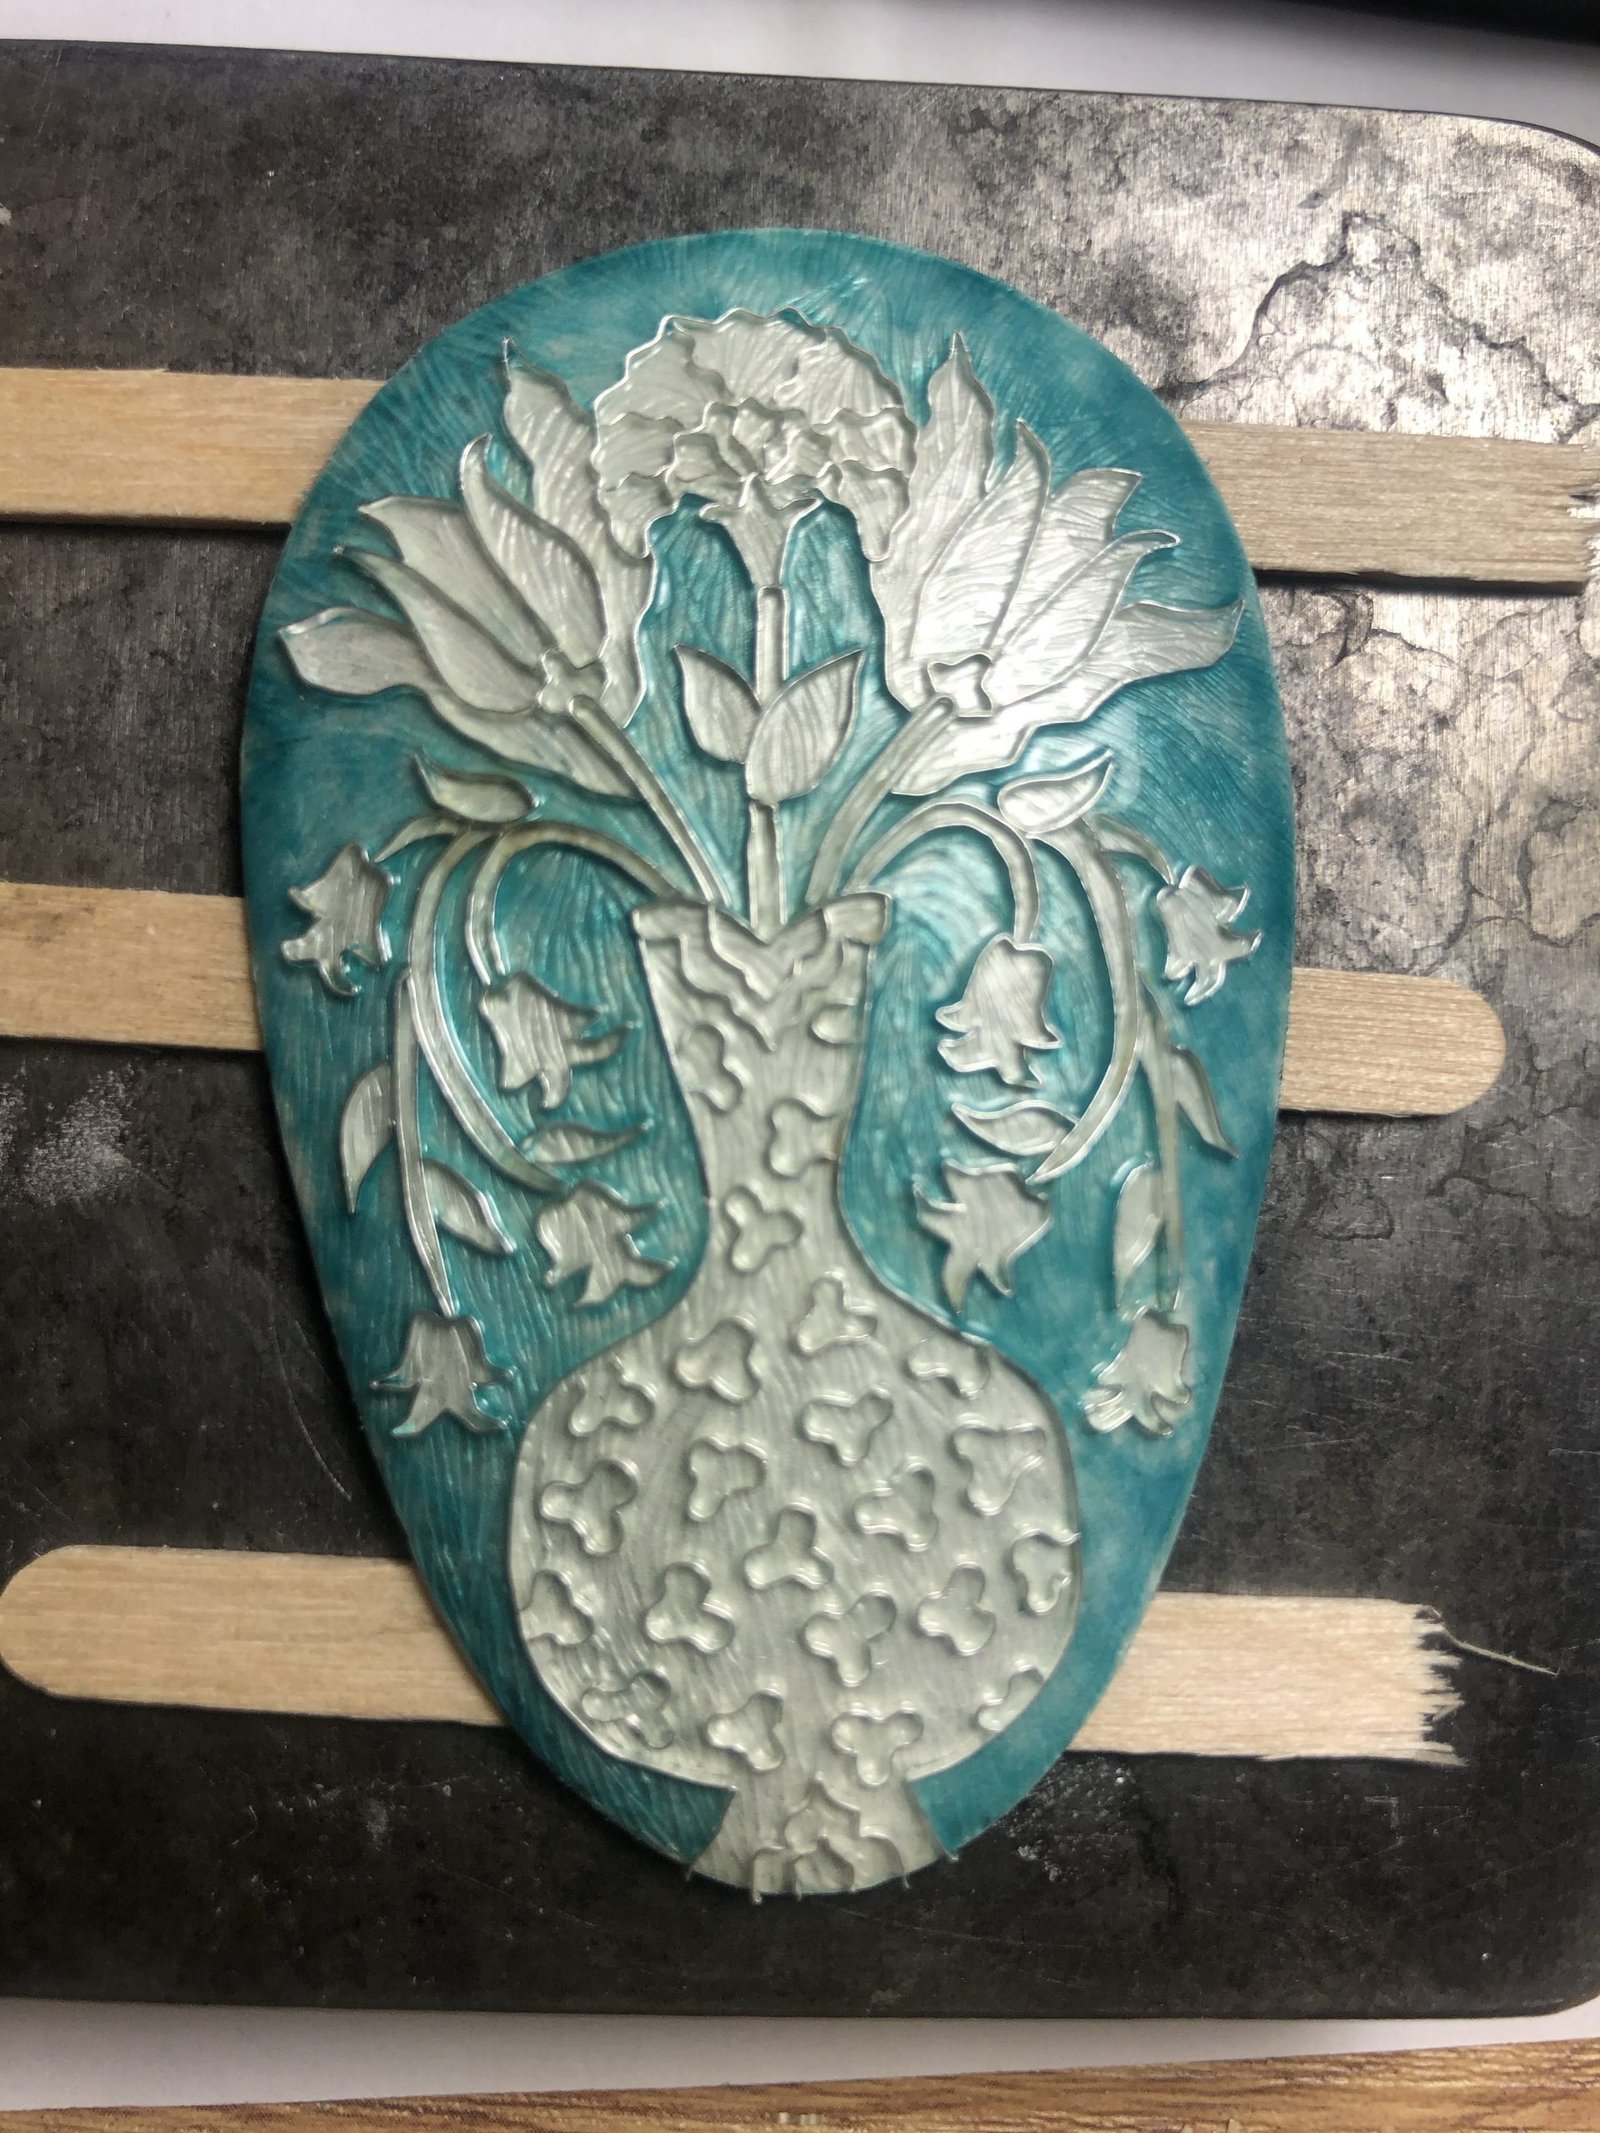
    First I cut out and shaped each of the silver panels so they would have a domed profile. Then the silver was engraved by hand. This engraving will show under the finished enamel. The wires were each formed following my final drawing which is a painstaking task. The silver had a layer of clear flux fired together with counter enamel on the reverse. Then each individual wire was transferred individually and formed to follow the curve. It is essential to get the first ones in the correct place! In this case all the wires were fired into place in one firing. They are on wooden stirrers because they have unfired enamel in place so the front and back can be fired at the same time.

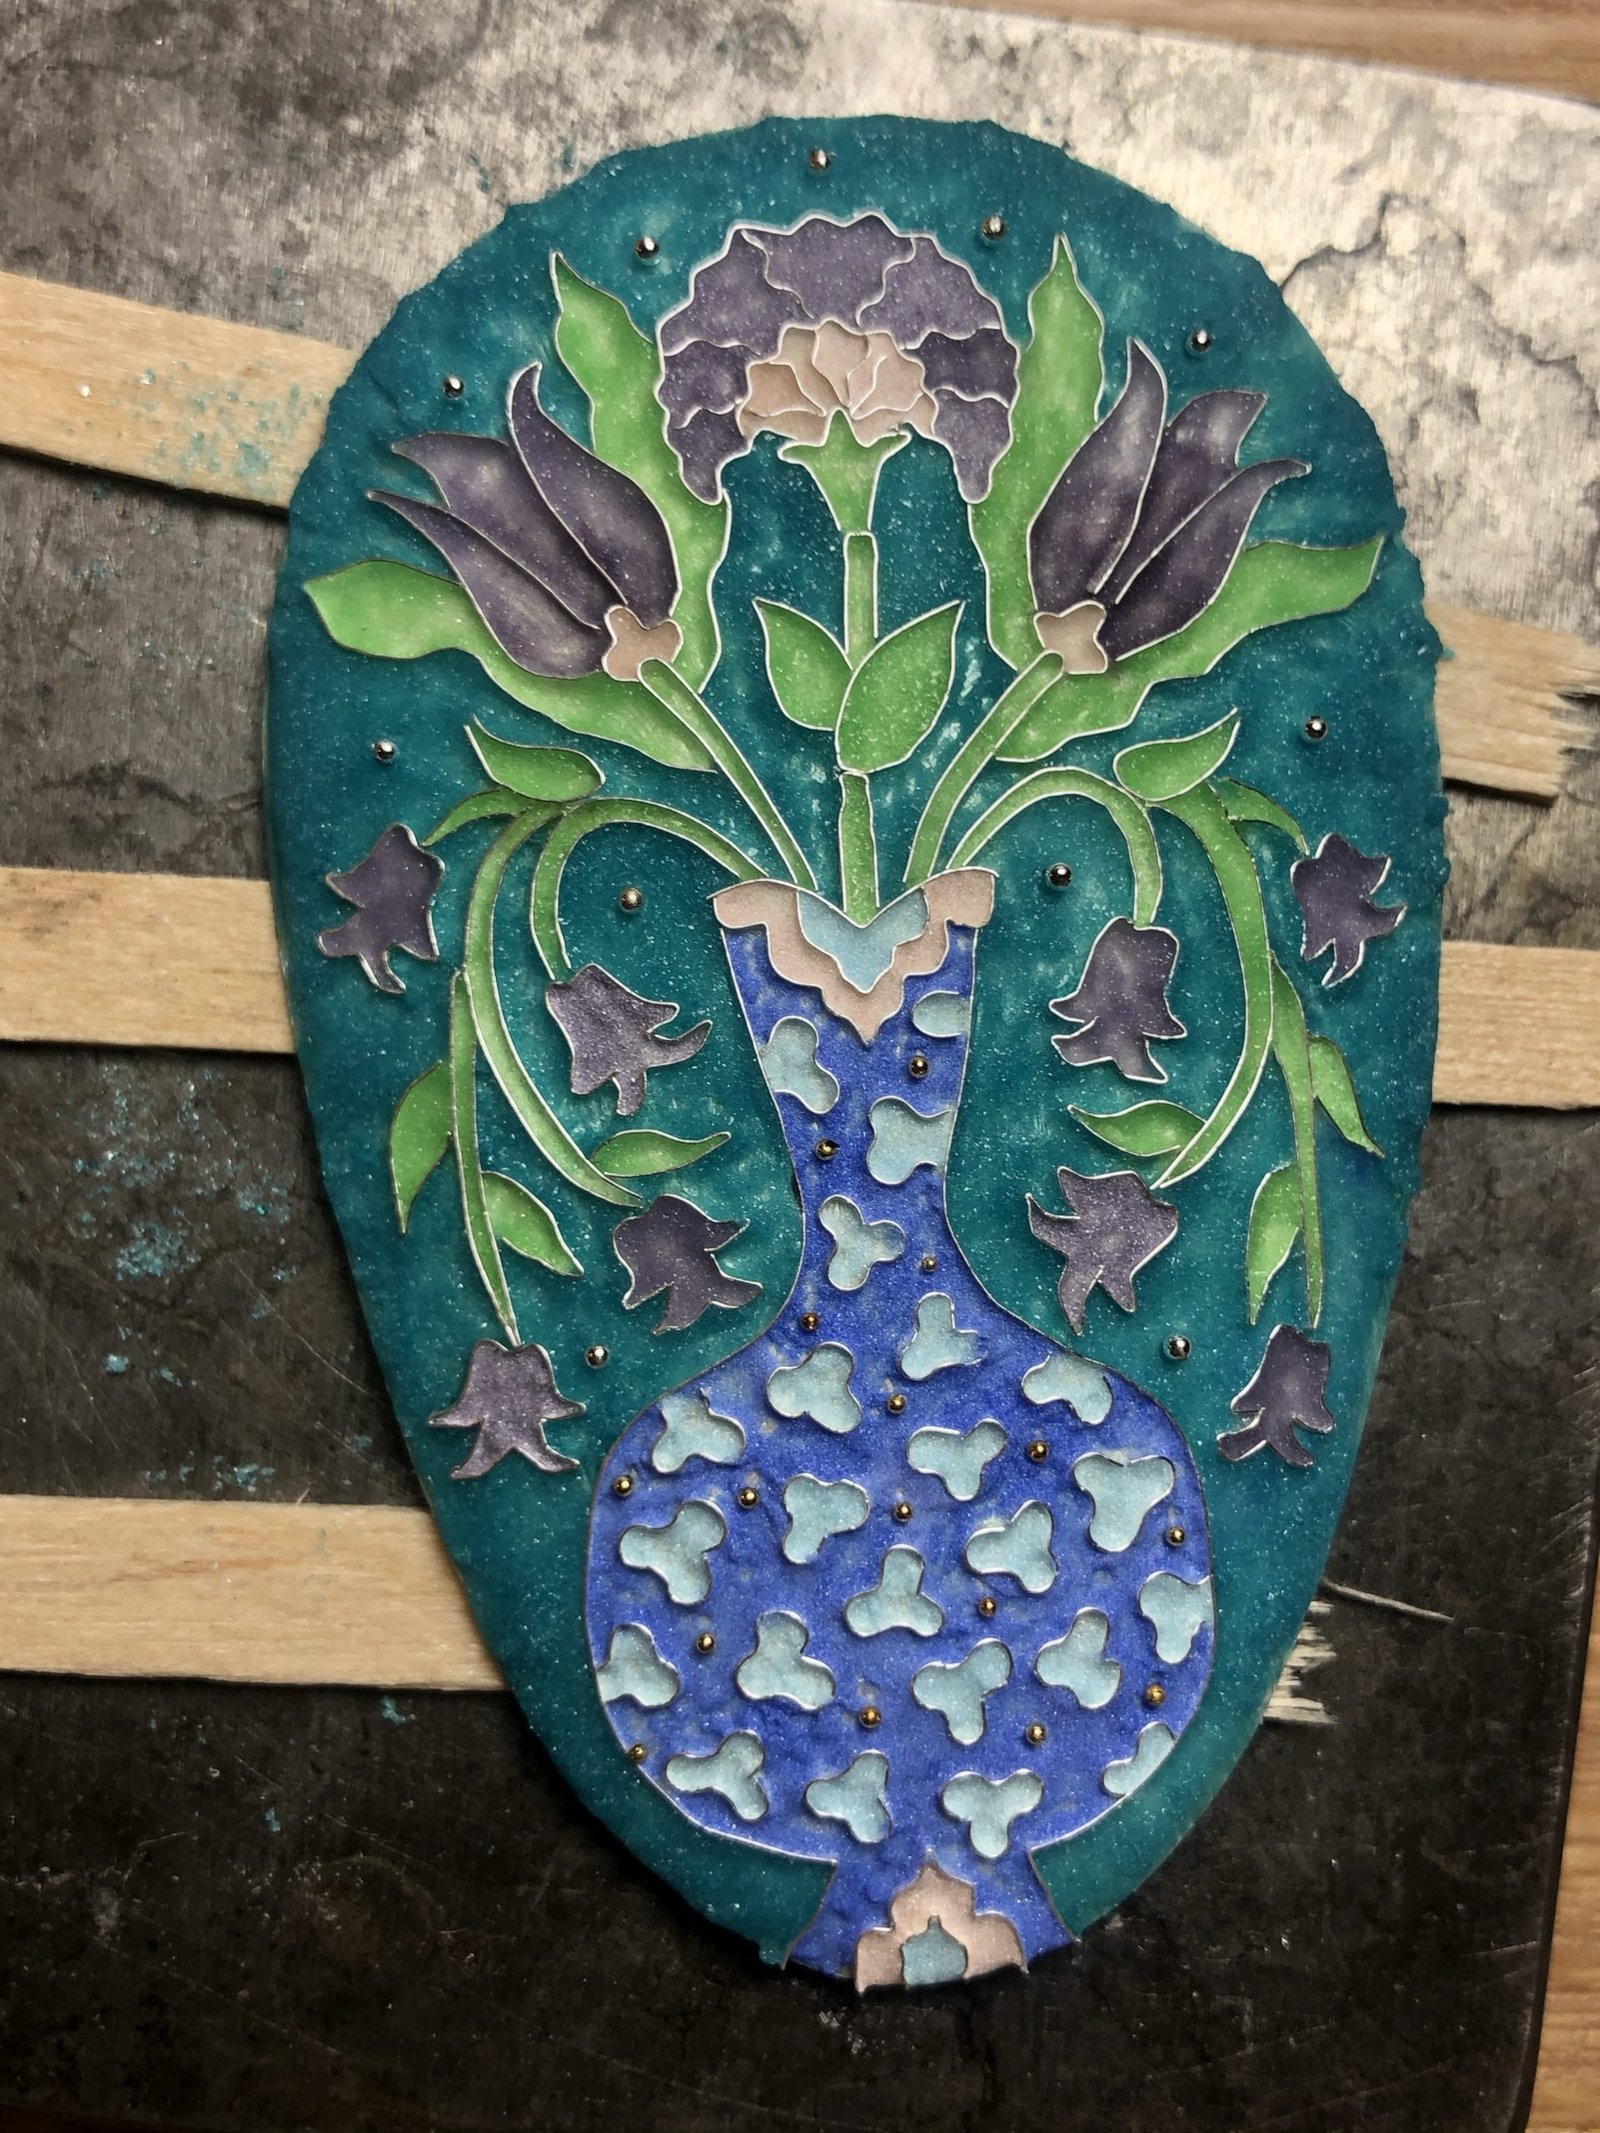
    Here you can see a few of the layers of enamel before they were fired. There were about six layers of colour in all as enamel needs to be built up in very thin layers. Each time it is fired for around 90 seconds at around 830 degrees C. Before the final firings the surface is rubbed down with diamond pads so all the wires and enamel are at the same level. Then enamel is placed only in the resulting recesses to bring it all up to the same level. Any imperfections or bubbles are corrected at this point. Finally when all is level it will have the final firing before more diamond polishing to bring it to a perfect flat, shiny surface.

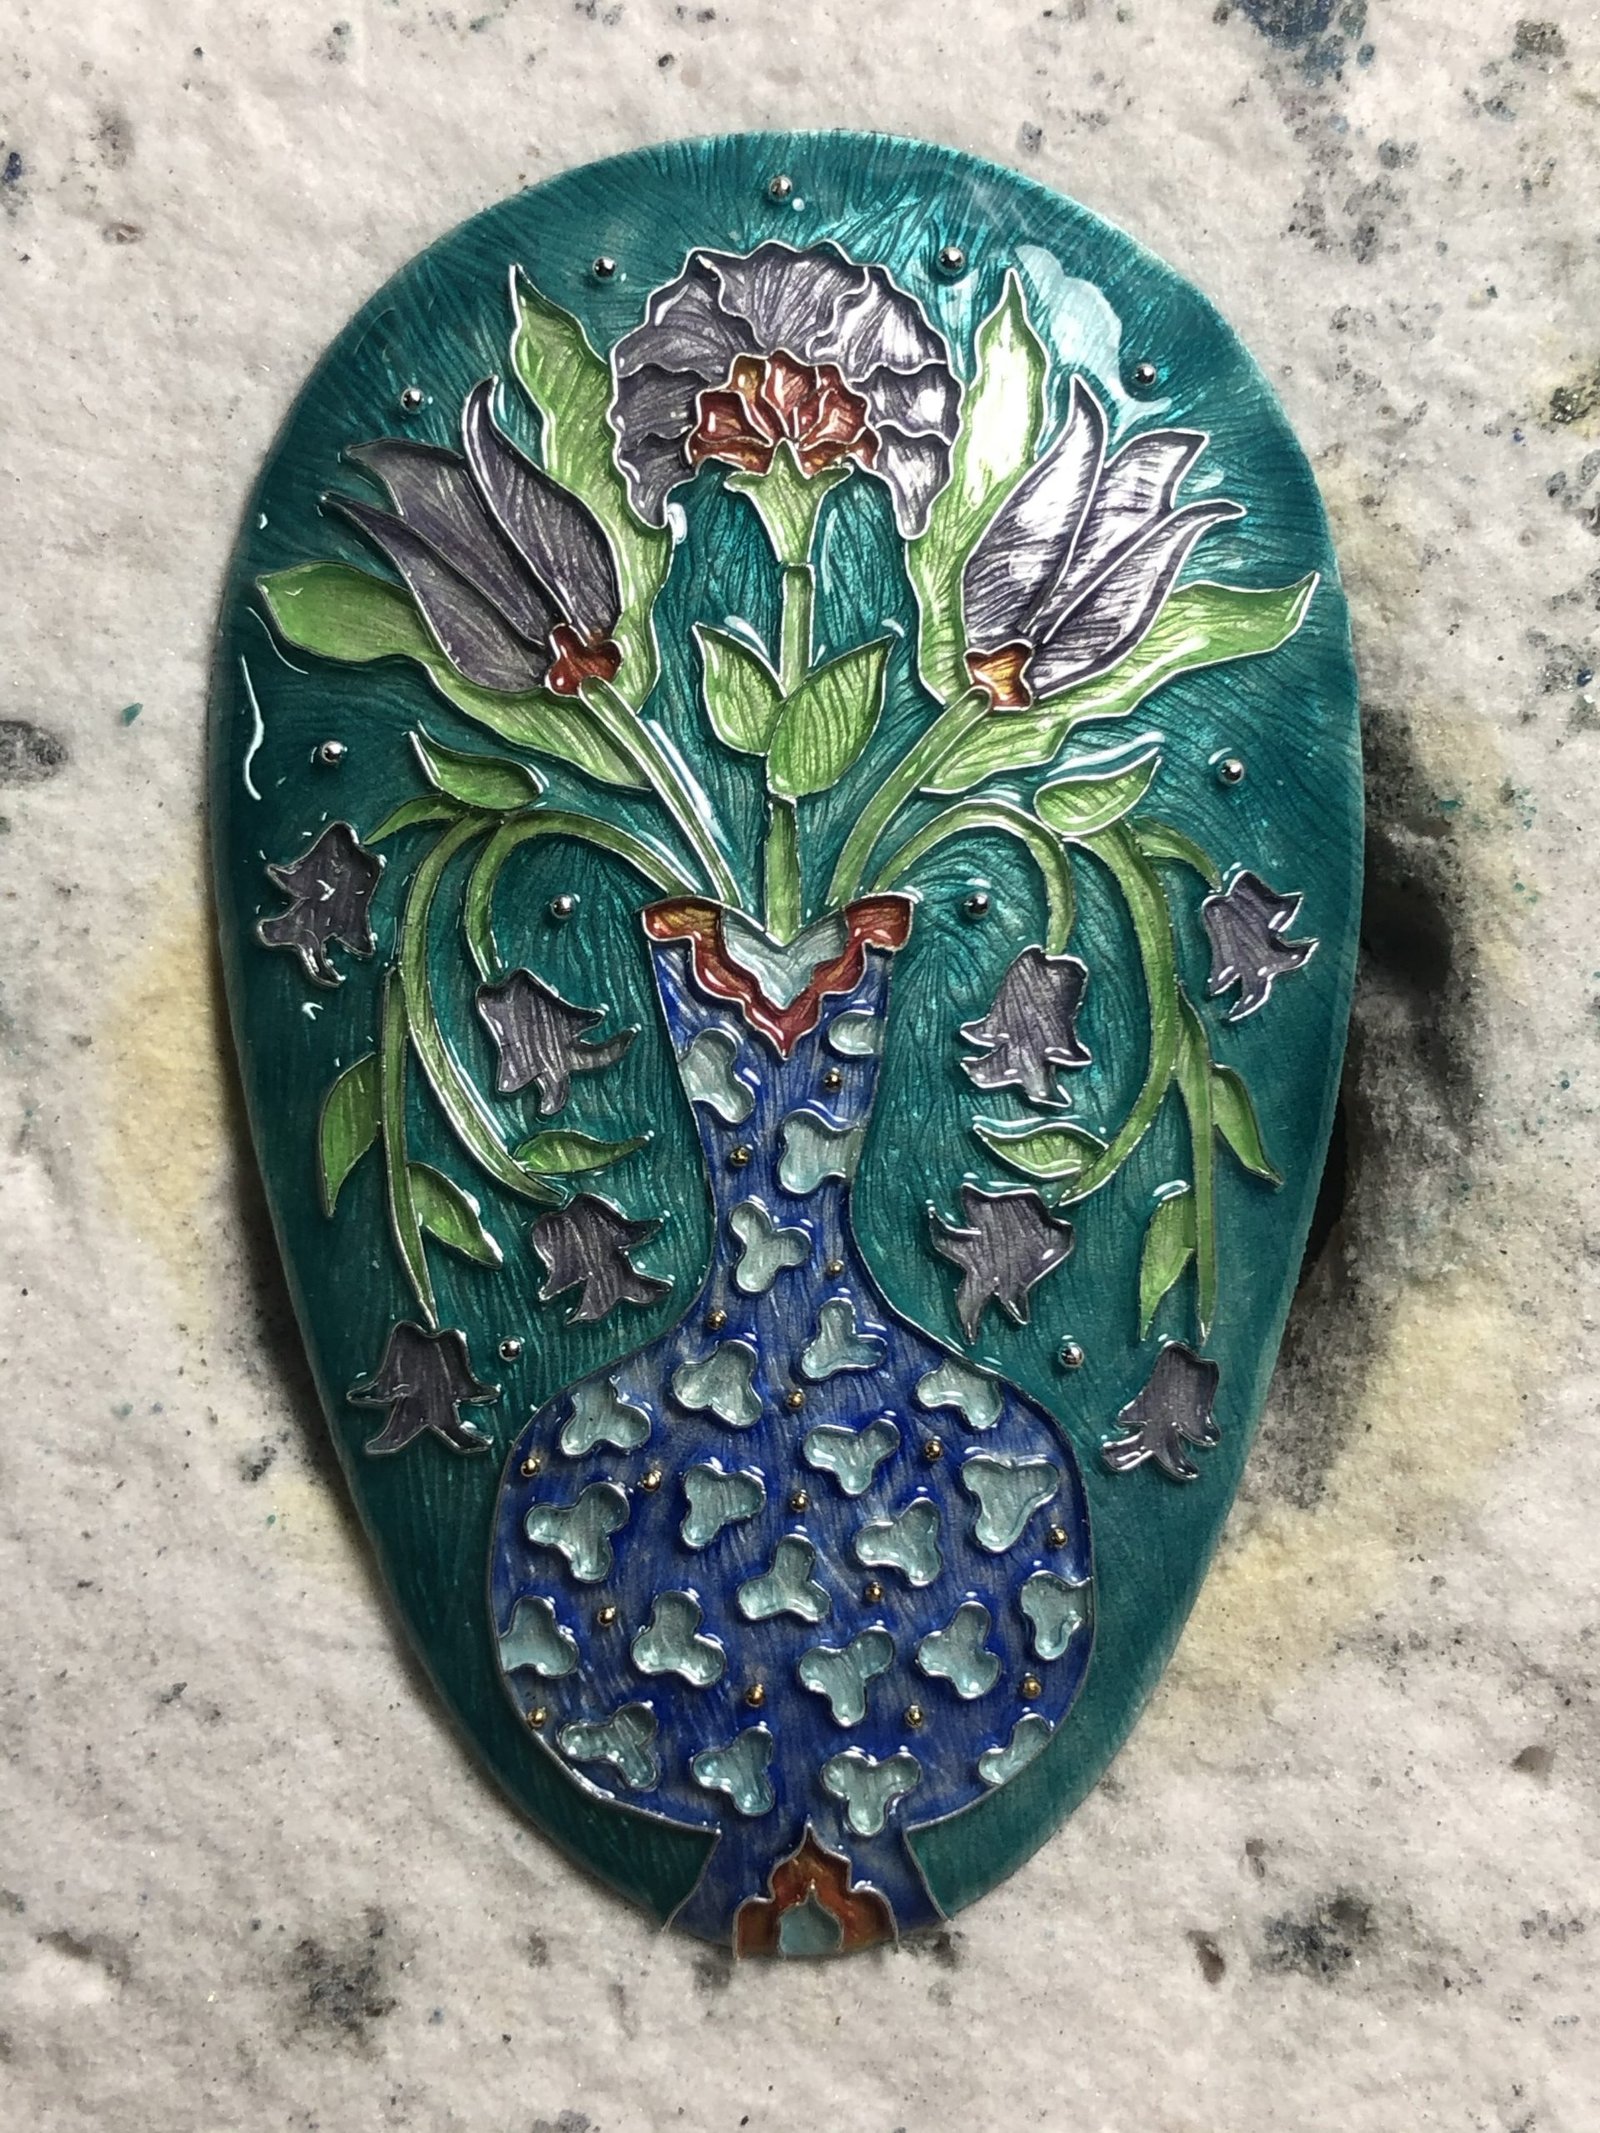
    This is the completed necklace. It has fine gold and fine silver dots which add sparkle to the final piece and each piece is set in a silver bezel setting I have made for it. If you want to know more about finishing enamel or the setting process then you may like to see some of the videos I have made that can be accessed from my website.

  • Wisley Botanical Gardens Enamel

    Wisley Botanical Gardens Enamel

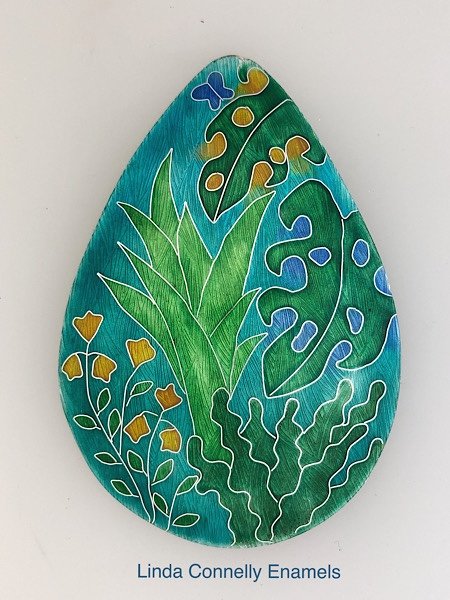
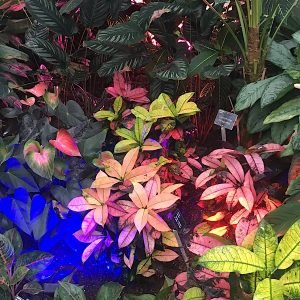
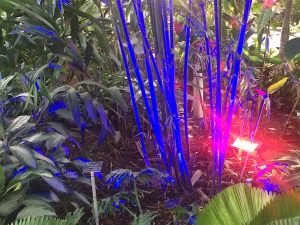
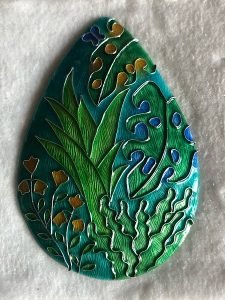
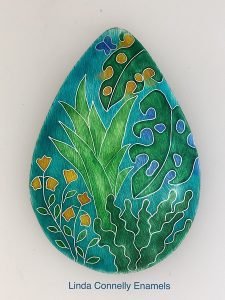
    I have been thinking a lot recently about visits to Botanical Gardens and the wonderful collections of plants that they house. I have many happy memories of visiting Kew Gardens as a young child with my grandparents when you got in for 1 old penny in the turnstile. Years later I remember getting locked in when I went there for a picnic to celebrate a friends birthday after work. Champagne and strawberries in the rhododendron dell and we didn’t hear the little bell they used to ring. We had to walk around the perimeter until we found a cottage where someone was living. It was well before mobile phones. As a family we enjoy days out to gardens of all types and often visit Wisley RHS and Kew. I am always drawn to the cathedral like structures of the glasshouses whether they are the a Victorian structures at Kew or the much more modern one at Wisley with its state of the art computer controlled light, heat and ventilation. Entering the Glasshouse at Wisley is like walking into a jungle with tree ferns, tall palms, lush-leaved creepers and dazzling flower displays giving a feeling of lushness and drama. Sometimes it is home to thousands of butterflies which adds another dimension to the display. During the winter they have a Festival of Lights where plants on the glasshouse are lit by coloured lights from beneath giving extra colour and drama.

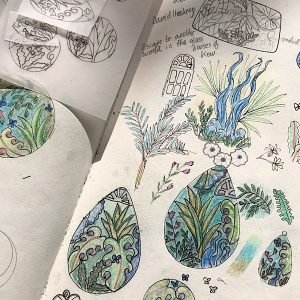
    I spent a long time looking at the many hundreds of photos I have taken over the years. Due to the lockdown I wasn’t actually able to visit any of these places again but the photos really helped. I spent a lovely sunny Sunday afternoon on the patio drawing ideas.

    I decided to work on silver and to engrave the piece before forming the wires for a cloisonné design. I made a film about part of this process that you can see on my Tutorials page. Here are some pictures of the piece in progress.

    The silver has been cut, formed and engraved. First I add a layer of transparent enamel and fire in the kiln before I start to add the wires that I have shaped using the design I have drawn. It’s a long process.
    The enamel is laid in thin layers and each layer is fired in the kiln for around two minutes.
    More layers have been added and fired to build up the depth of colour and shading.
    Even more layers.
    When the cells are nearly full I grind the whole piece. I am aiming to have the whole piece level without any areas which are lower than the rest. This is done in stages. More can be seen in the films on my Tutorials page.
    This is the final firing when only a few cells need a little more enamel to fill them
    The final piece. It has been fired and ground down and then polished by hand to make it shiny again. It feels silky to the touch. It is now ready for a setting to be made.

    Check out my Video Stories to learn more about this necklace and to see more videos of my work.

  • New Cloisonné Enamel Necklaces

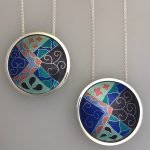
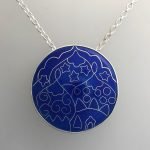
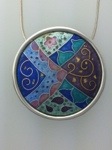
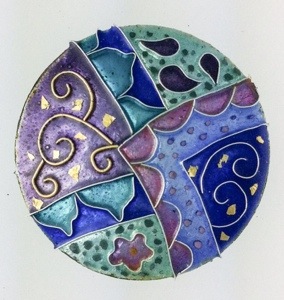
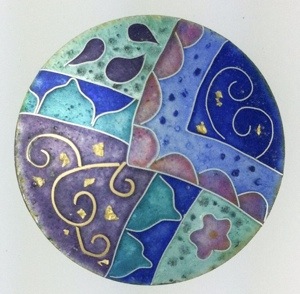
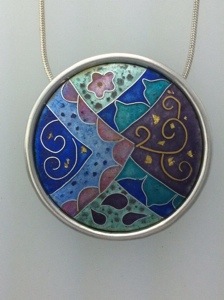
    I finished these two cloisonné necklaces this afternoon. They are all on silver in silver settings. The Enamels for the two Magic Carpet necklaces measure 30mm. These are inspired by Magic Carpets, infused with memories and dreams of places visited and people known, in the past and in the future. I hope their new owners fill them with their own Magical Memories and Dreams. The other is part of my Mystical Domes series and is around 35mm in diameter. These are inspired by my fascination with domes, my love of the Brighton Pavilion, St Paul’s cathedral and the Mughal architecture I saw in Rajasthan, combined with stories of the mythical lands of Arabian Nights. One of the Magic Carpets is sold and the other will be coming with me to Farnham Festival of Crafts at the weekend. Unless anyone wants to buy it before it gets there of course!

    Magic Carpet Cloisonné Enamel necklaces
    Magic Carpet Cloisonné Enamel necklaces

    Mystical Domes Cloisonné Enamel necklace
    Mystical Domes Cloisonné Enamel necklace

  • Cloisonné Enamel – The Making of my New Magic Carpet Pendant

    Cloisonné Enamel – The Making of my New Magic Carpet Pendant

    Cloisonné Enamel – The Making of my New Magic Carpet Pendant

    Cloisonné enamel is where fine wires are embedded in the enamel to create the design. There are a lot of different stages involved in making a piece using this technique and I decided to use my new Nimbus Cloud Dome to take pictures of the making of my new ‘Magic Carpet’ inspired Cloisonné enamel piece.

    20140207-165052.jpg
    This shows the wires laid onto the base. In this case I am using fine silver foil on a copper base. I have used Soyer Silver flux over the foil and fired that before starting to add the wires. I have used fine silver and fine gold wires. They were fired into place in two separate firings as the design was too complicated to do all in one. I use Kyre-fire to hold the wires in place to go into the kiln.

    20140207-165743.jpg
    This shows the first layer of colour fired into place. I have used a light blue under where the pink will go. I find that this helps the pink to fire a better colour.

    20140207-165924.jpg
    This shows the second layer of colour that has been wet laid into the cells before it is fired. It is quite tricky where the design is complex to keep the colours separate. A good light and  the right glasses are essential!

    20140207-170135.jpg
    Here the second layer has been fired. I am really pleased with the pink particularly.

    20140207-170348.jpg
    Here I have added fine gold foils and painted oxides to the design. After firing I will then complete the enamelling with two layers of Blythes Medium flux. The two layers will be fired separately. If you apply it too thick it tends to go cloudy and obscure the colours. After the last firing I use a fine diagrit to rub all over the enamel to remove any excess. The aim is to achieve a level surface with no high spots or depressions. The latter show up as a shiny patch amid an otherwise matte surface. If necessary, I add more medium flux and refine and then repeat this stage. When all is flat and perfect I use a succession of wet and dry paper with lots of water to achieve a soft eggshell finish. I use Renaissance Wax to seal the surface and to protect it.

    20140207-170619.jpg
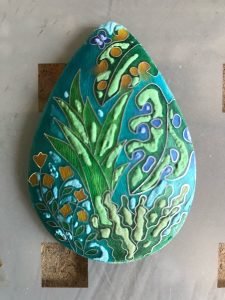
    This is the finished piece before setting. There are hours of work involved to get to this stage.
    20140207-171142.jpg

    The completed Cloisonné Enamel ‘Magic Carpet’ inspired enamel set in a sterling silver surround.