Tag: original

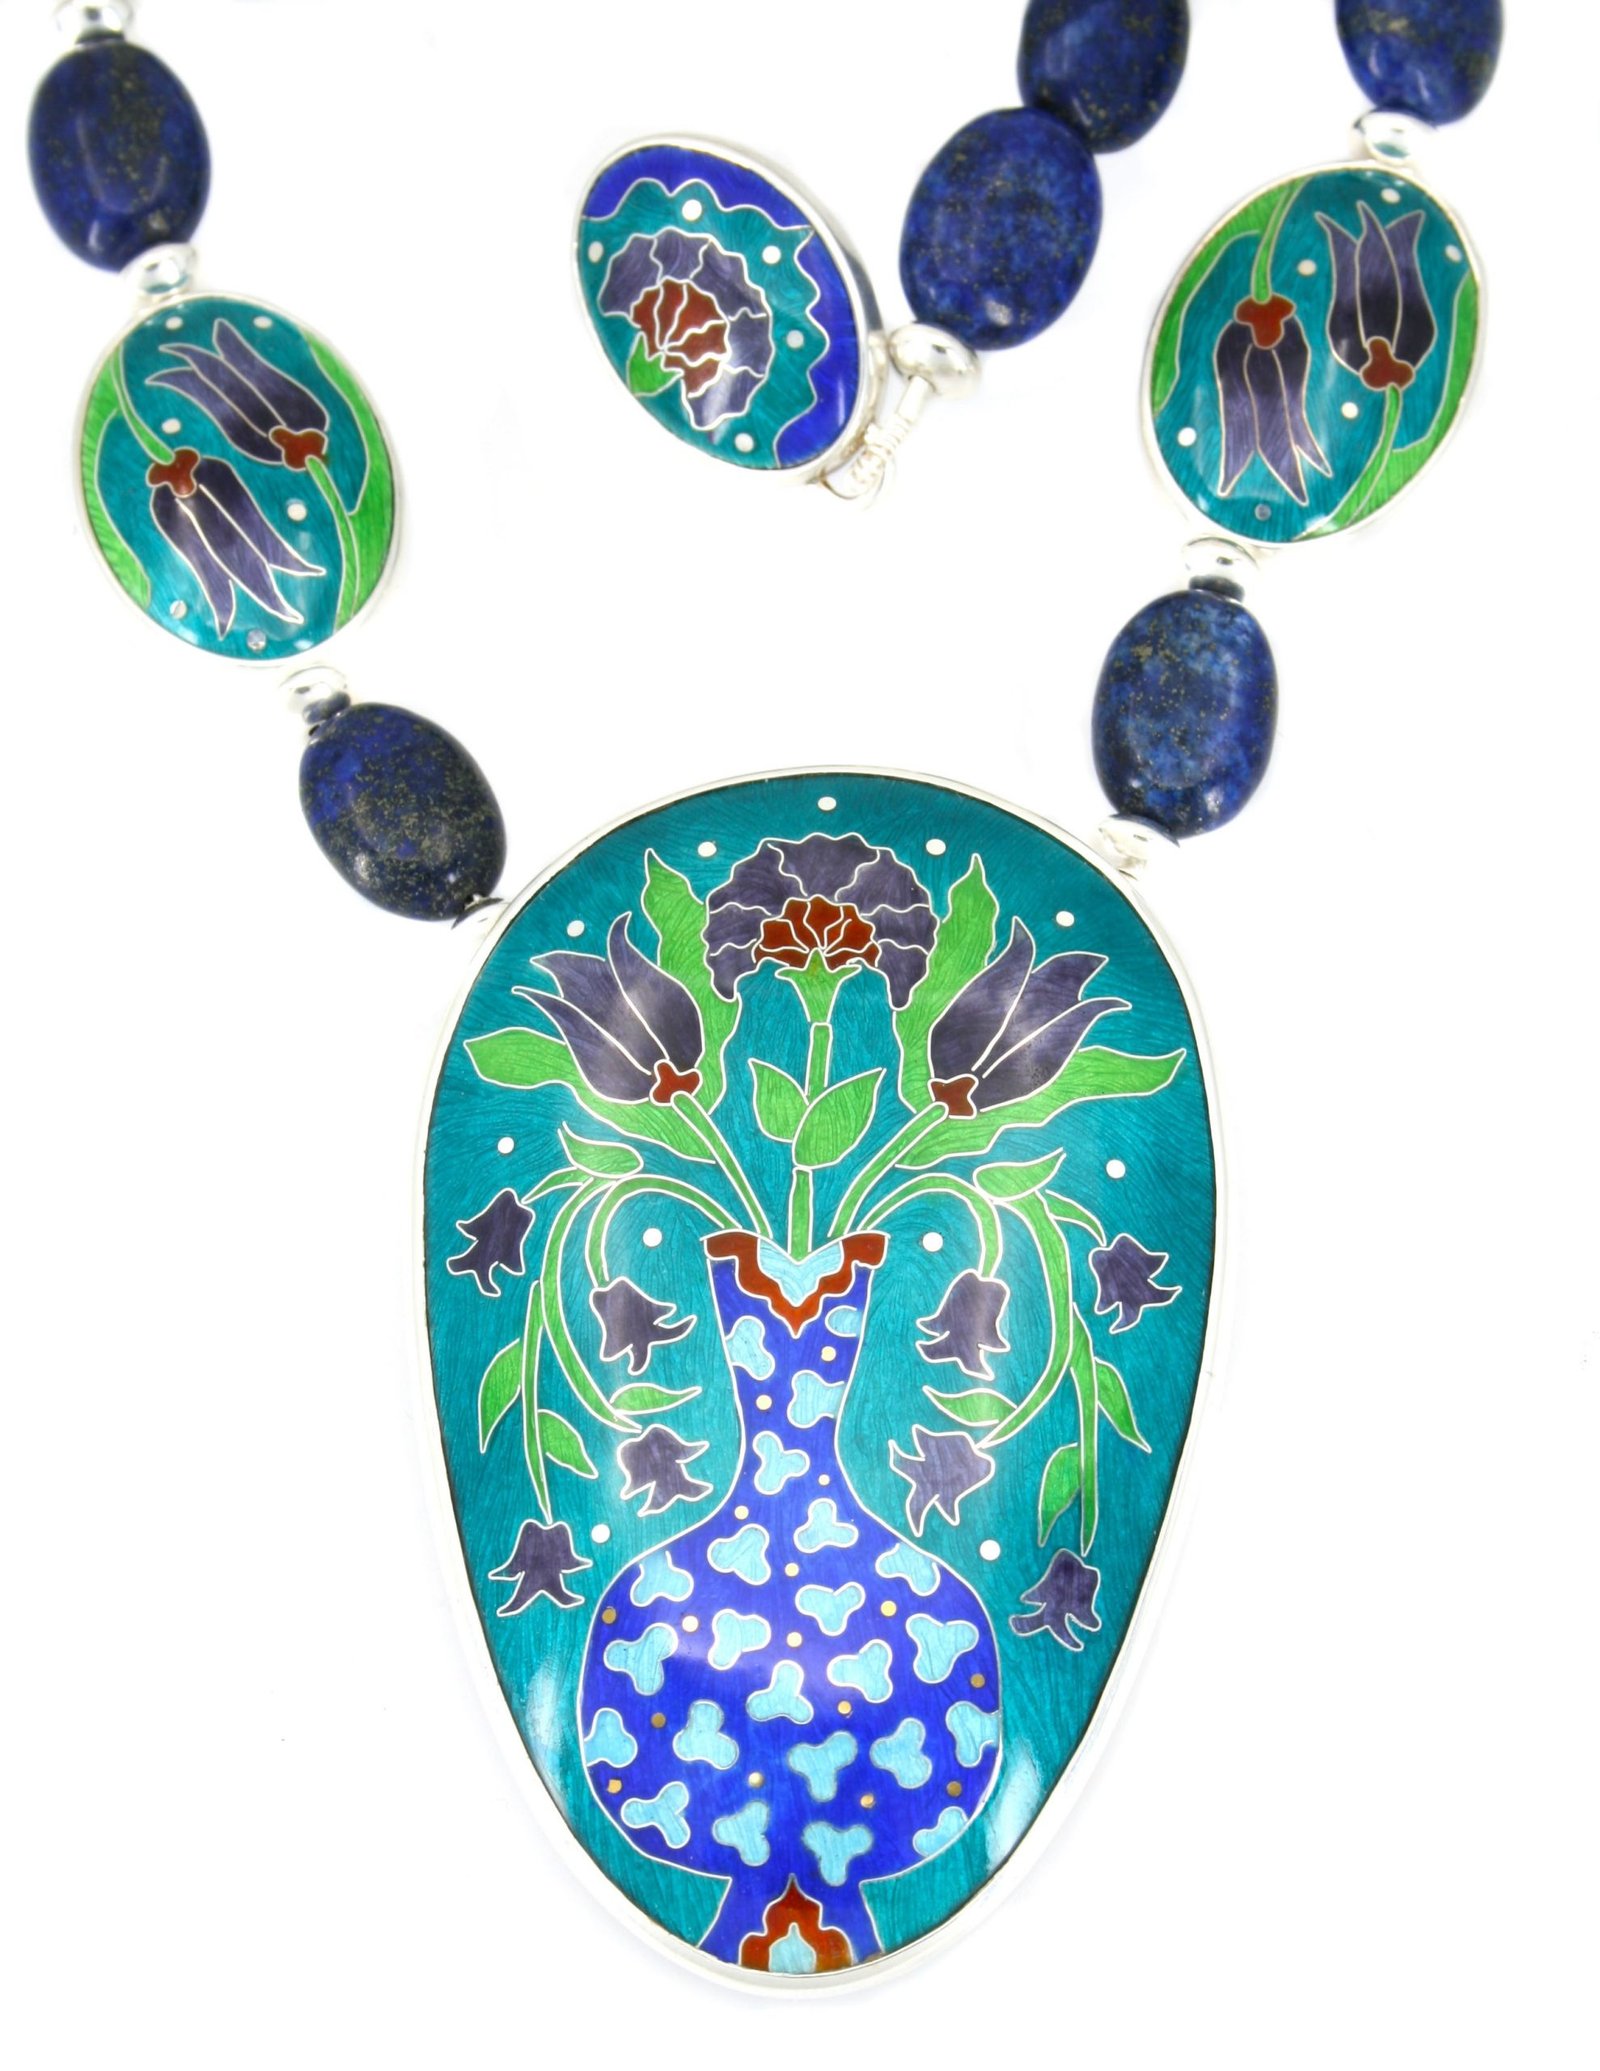
  • Blue Vase Necklace

    Blue Vase Necklace

    I have been doing some online Art Classes with Leighton House Museum, London. It was the former home and studio of the leading Victorian artist, Frederic, Lord Leighton. It grew into a ‘private palace of art’ and for me the highlight is the amazing Arab Hall with beautiful intricate mosaics and Islamic Tiles from Isnik, Damascus and Persia. William De Morgan who is one of my art heroes, undertook the challenge of replicating tile fragments to repair some of the historic panels and doubtless this work influenced much of his own work as part of the British Arts and Crafts Movement. See their website to access recordings of the classes.

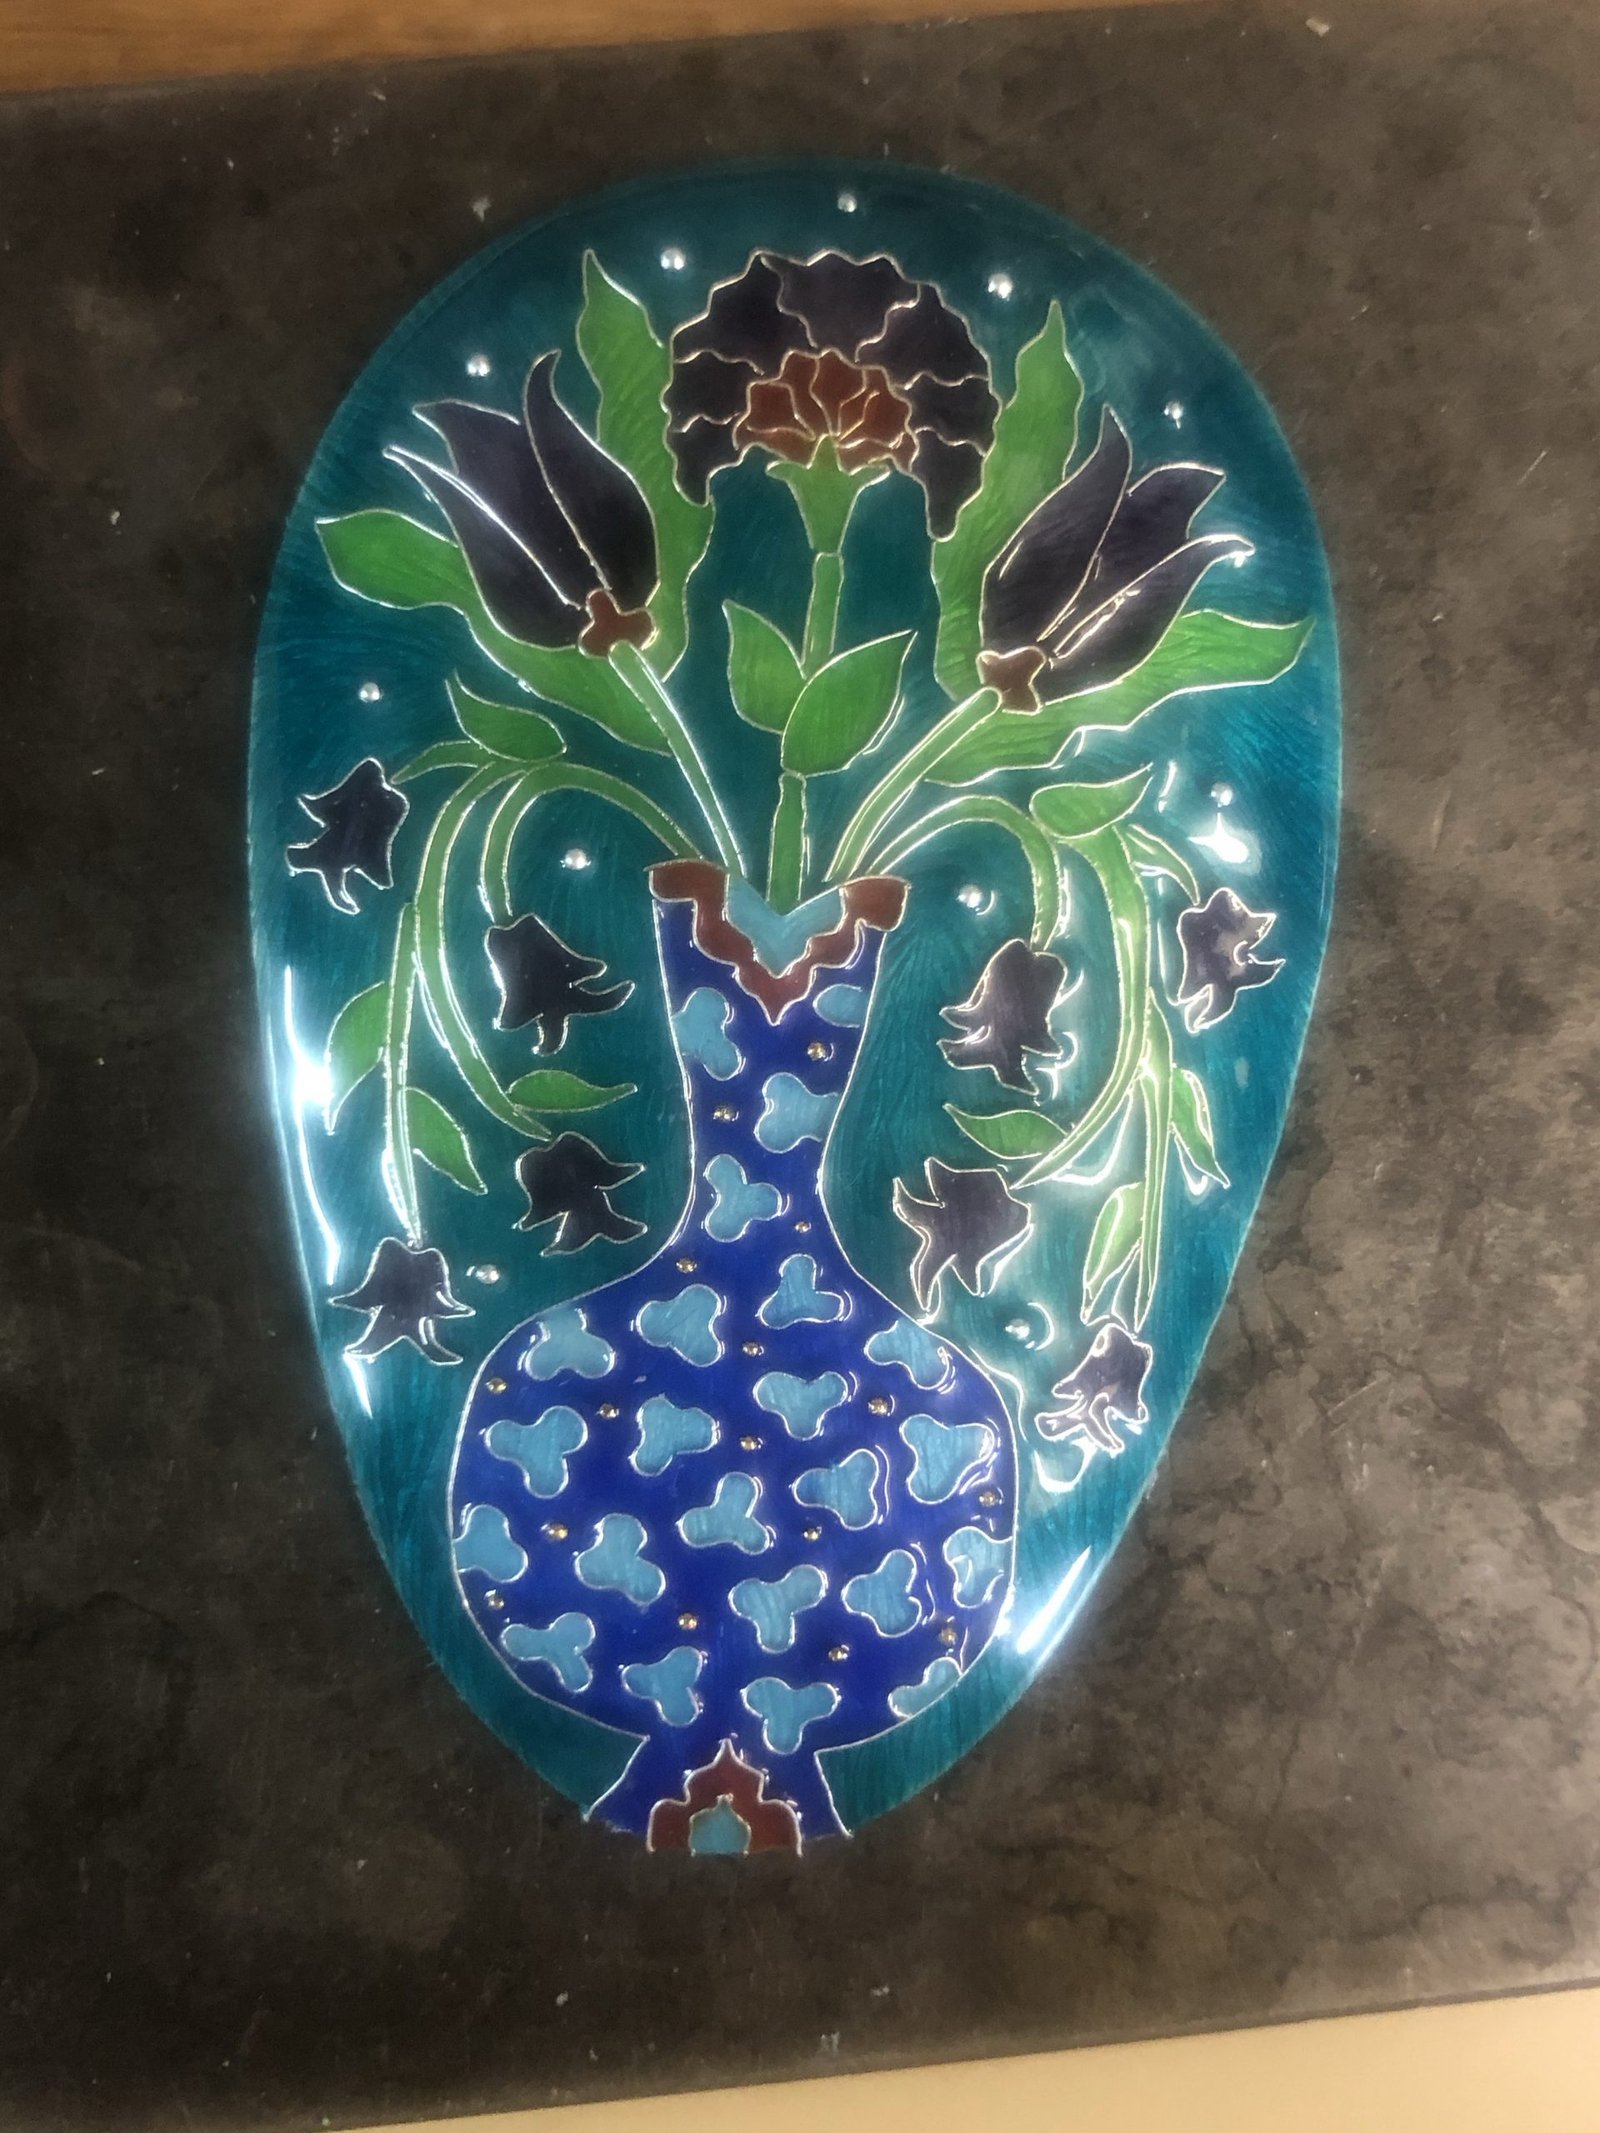
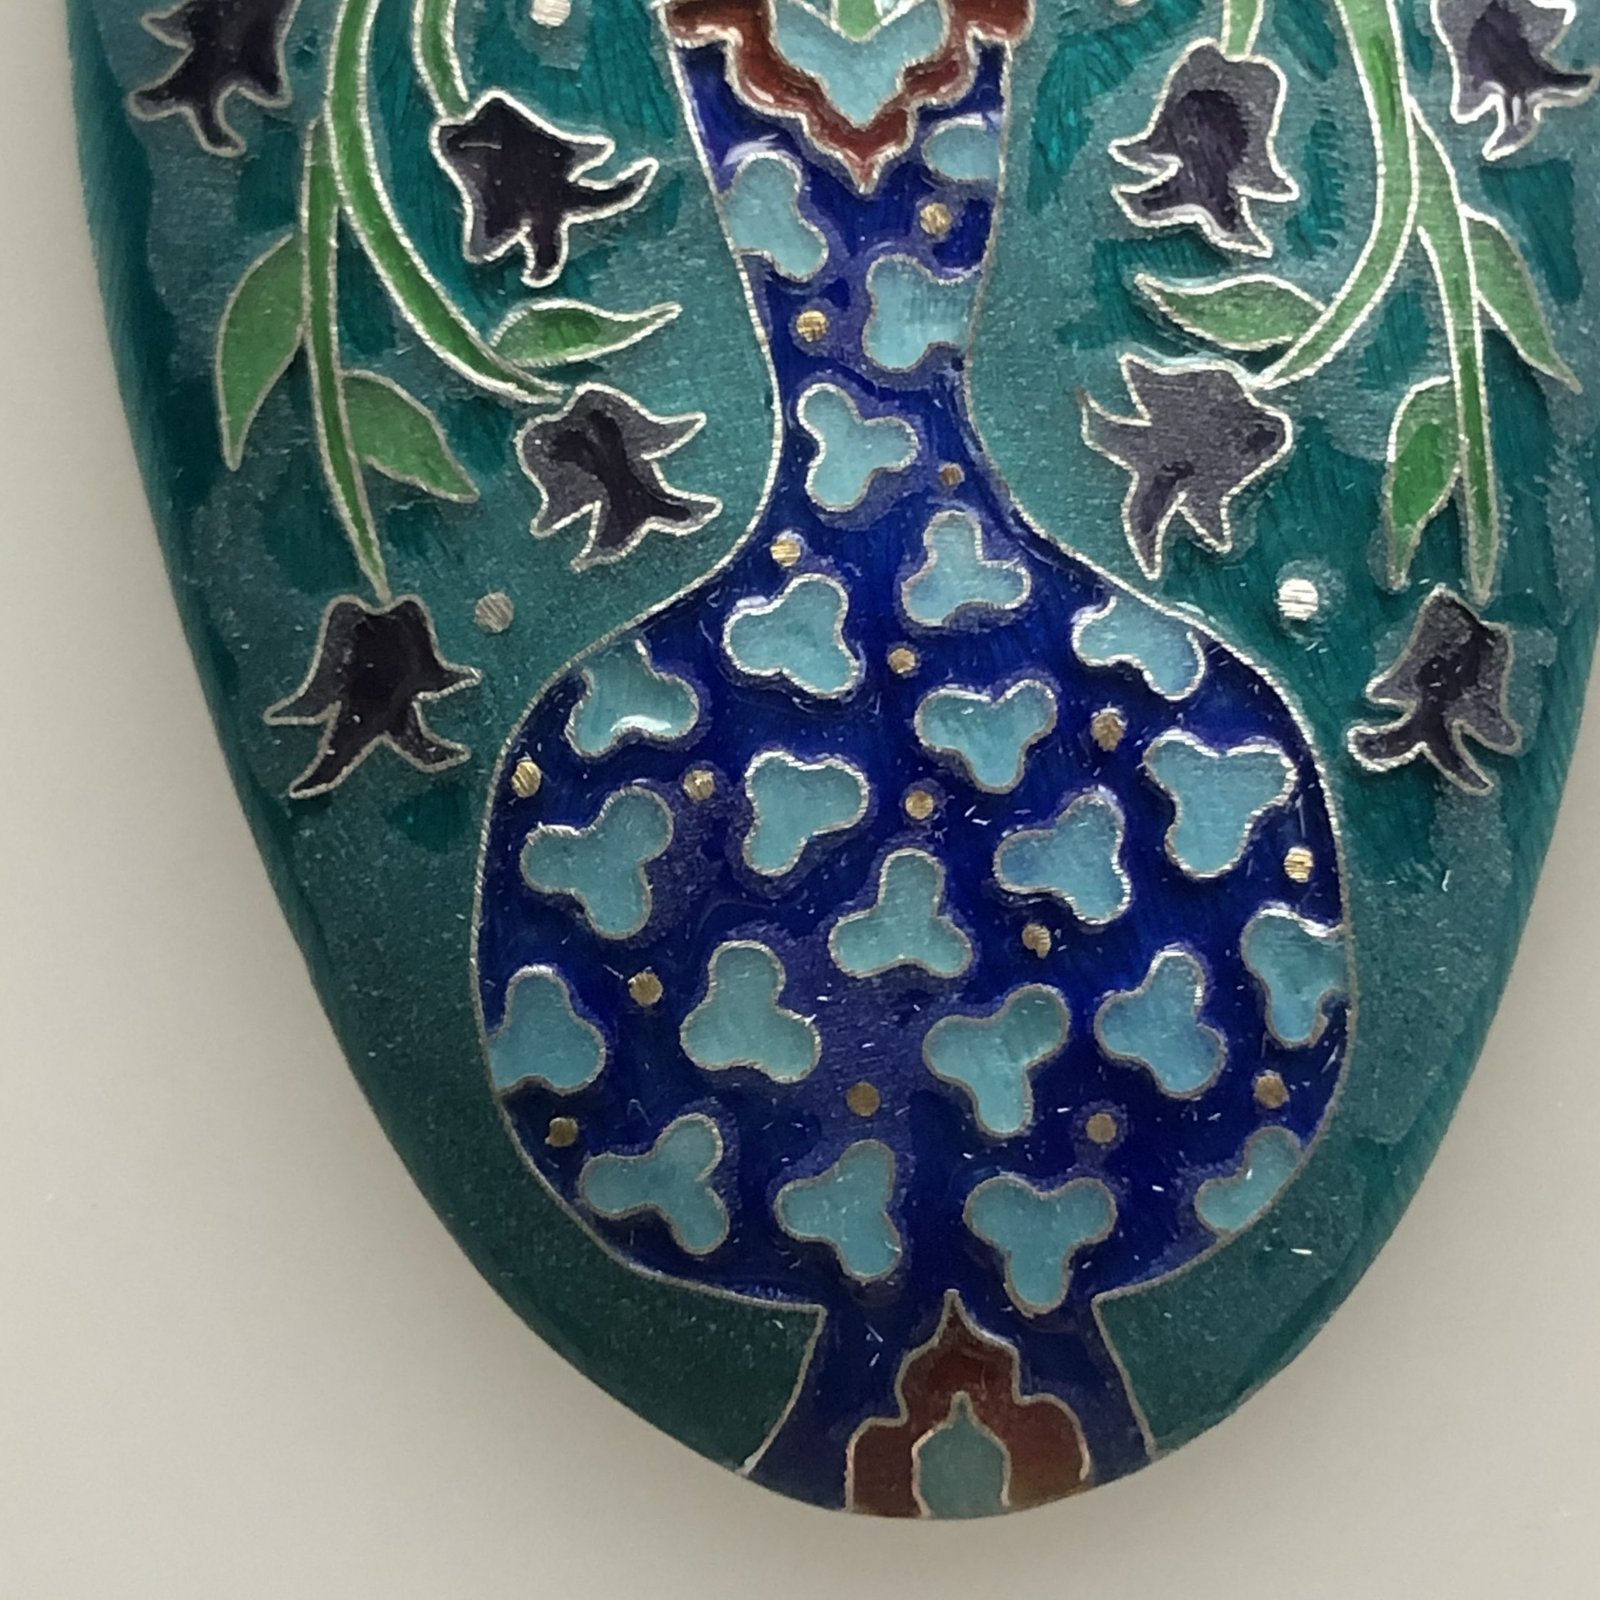
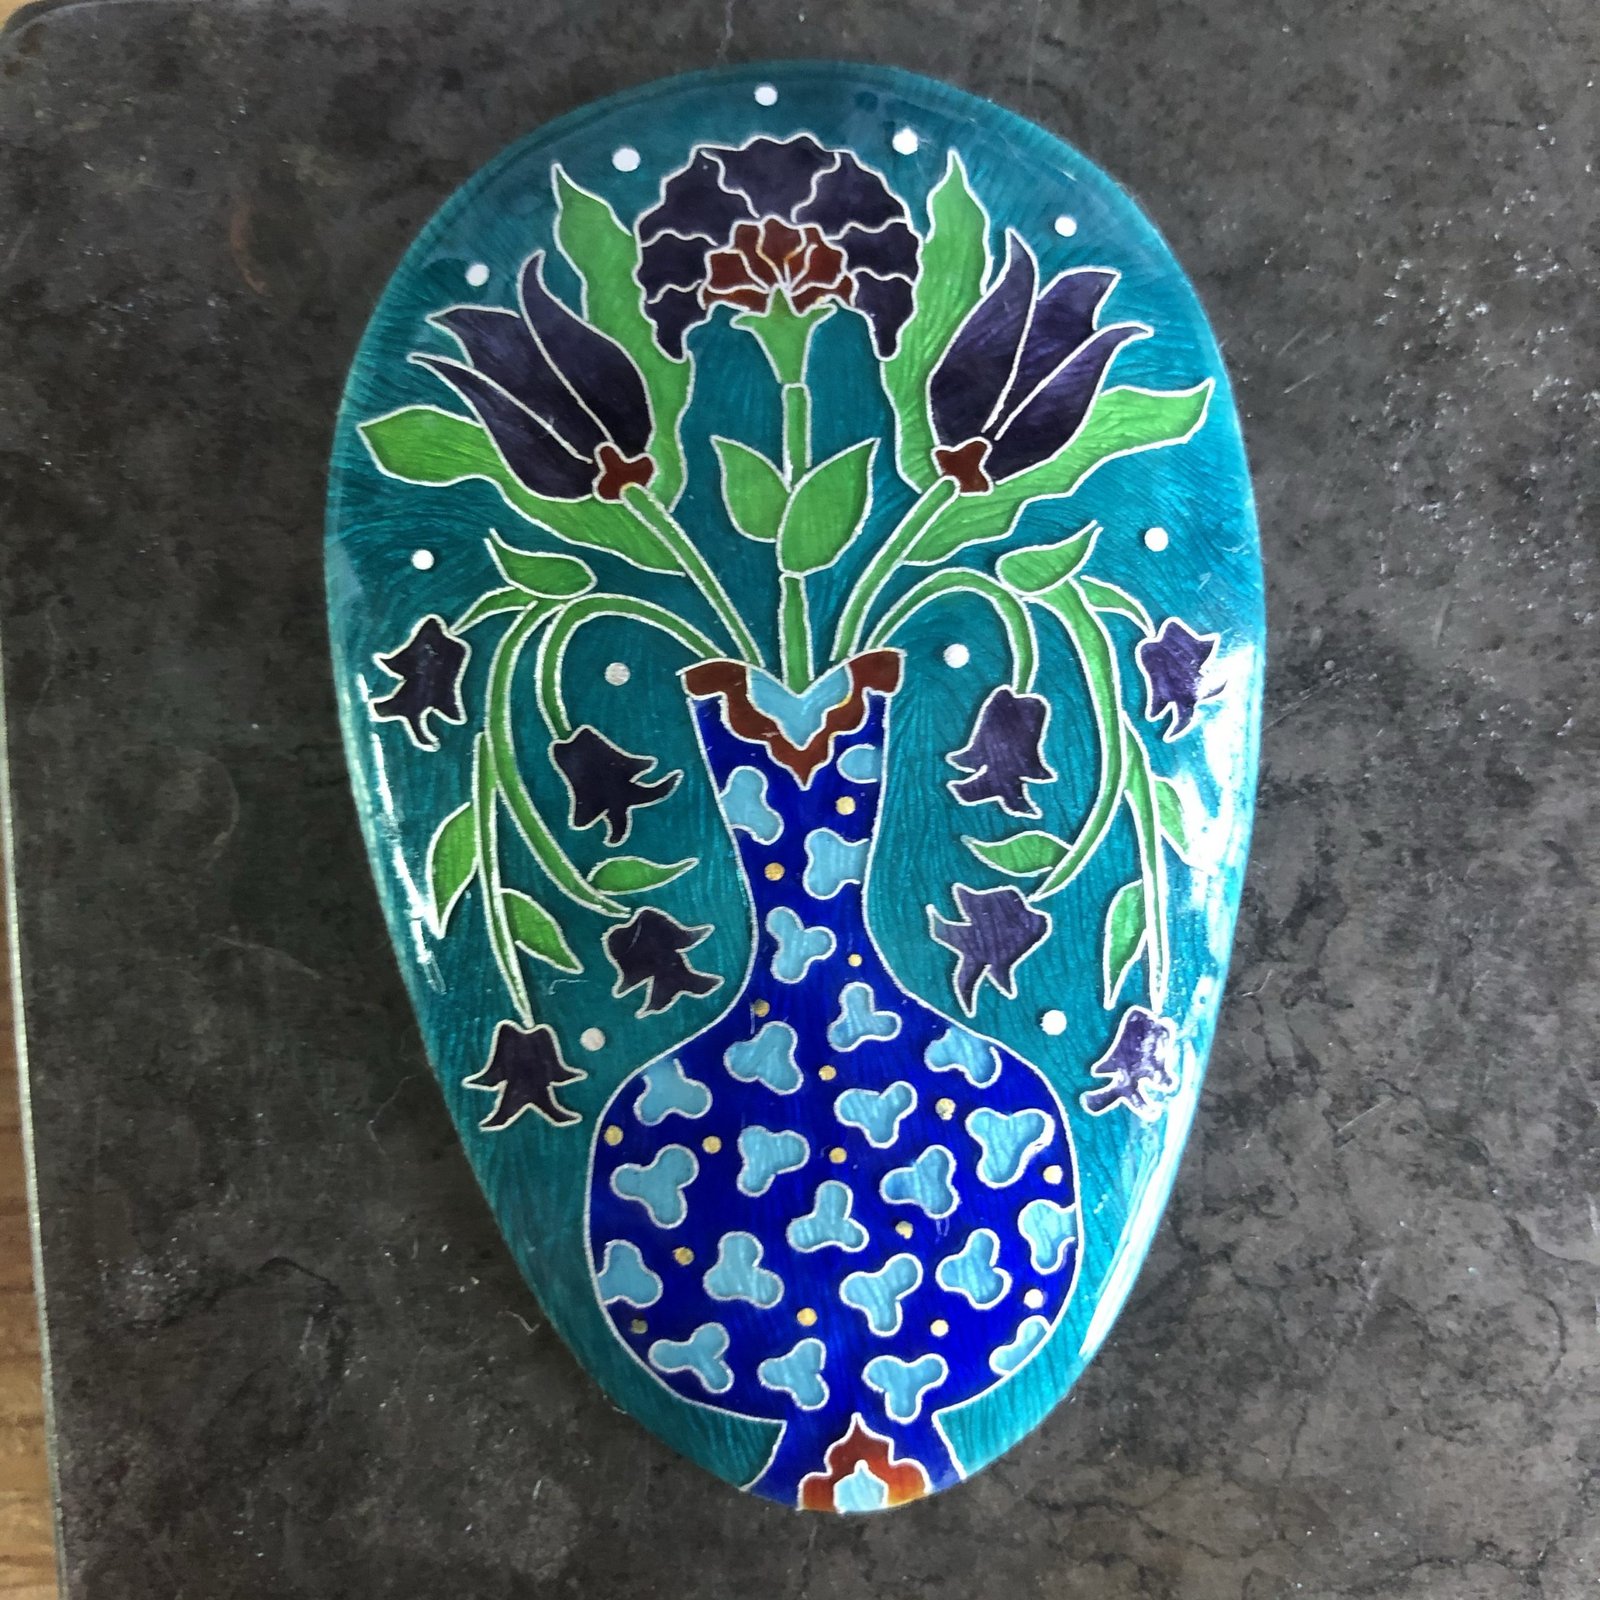
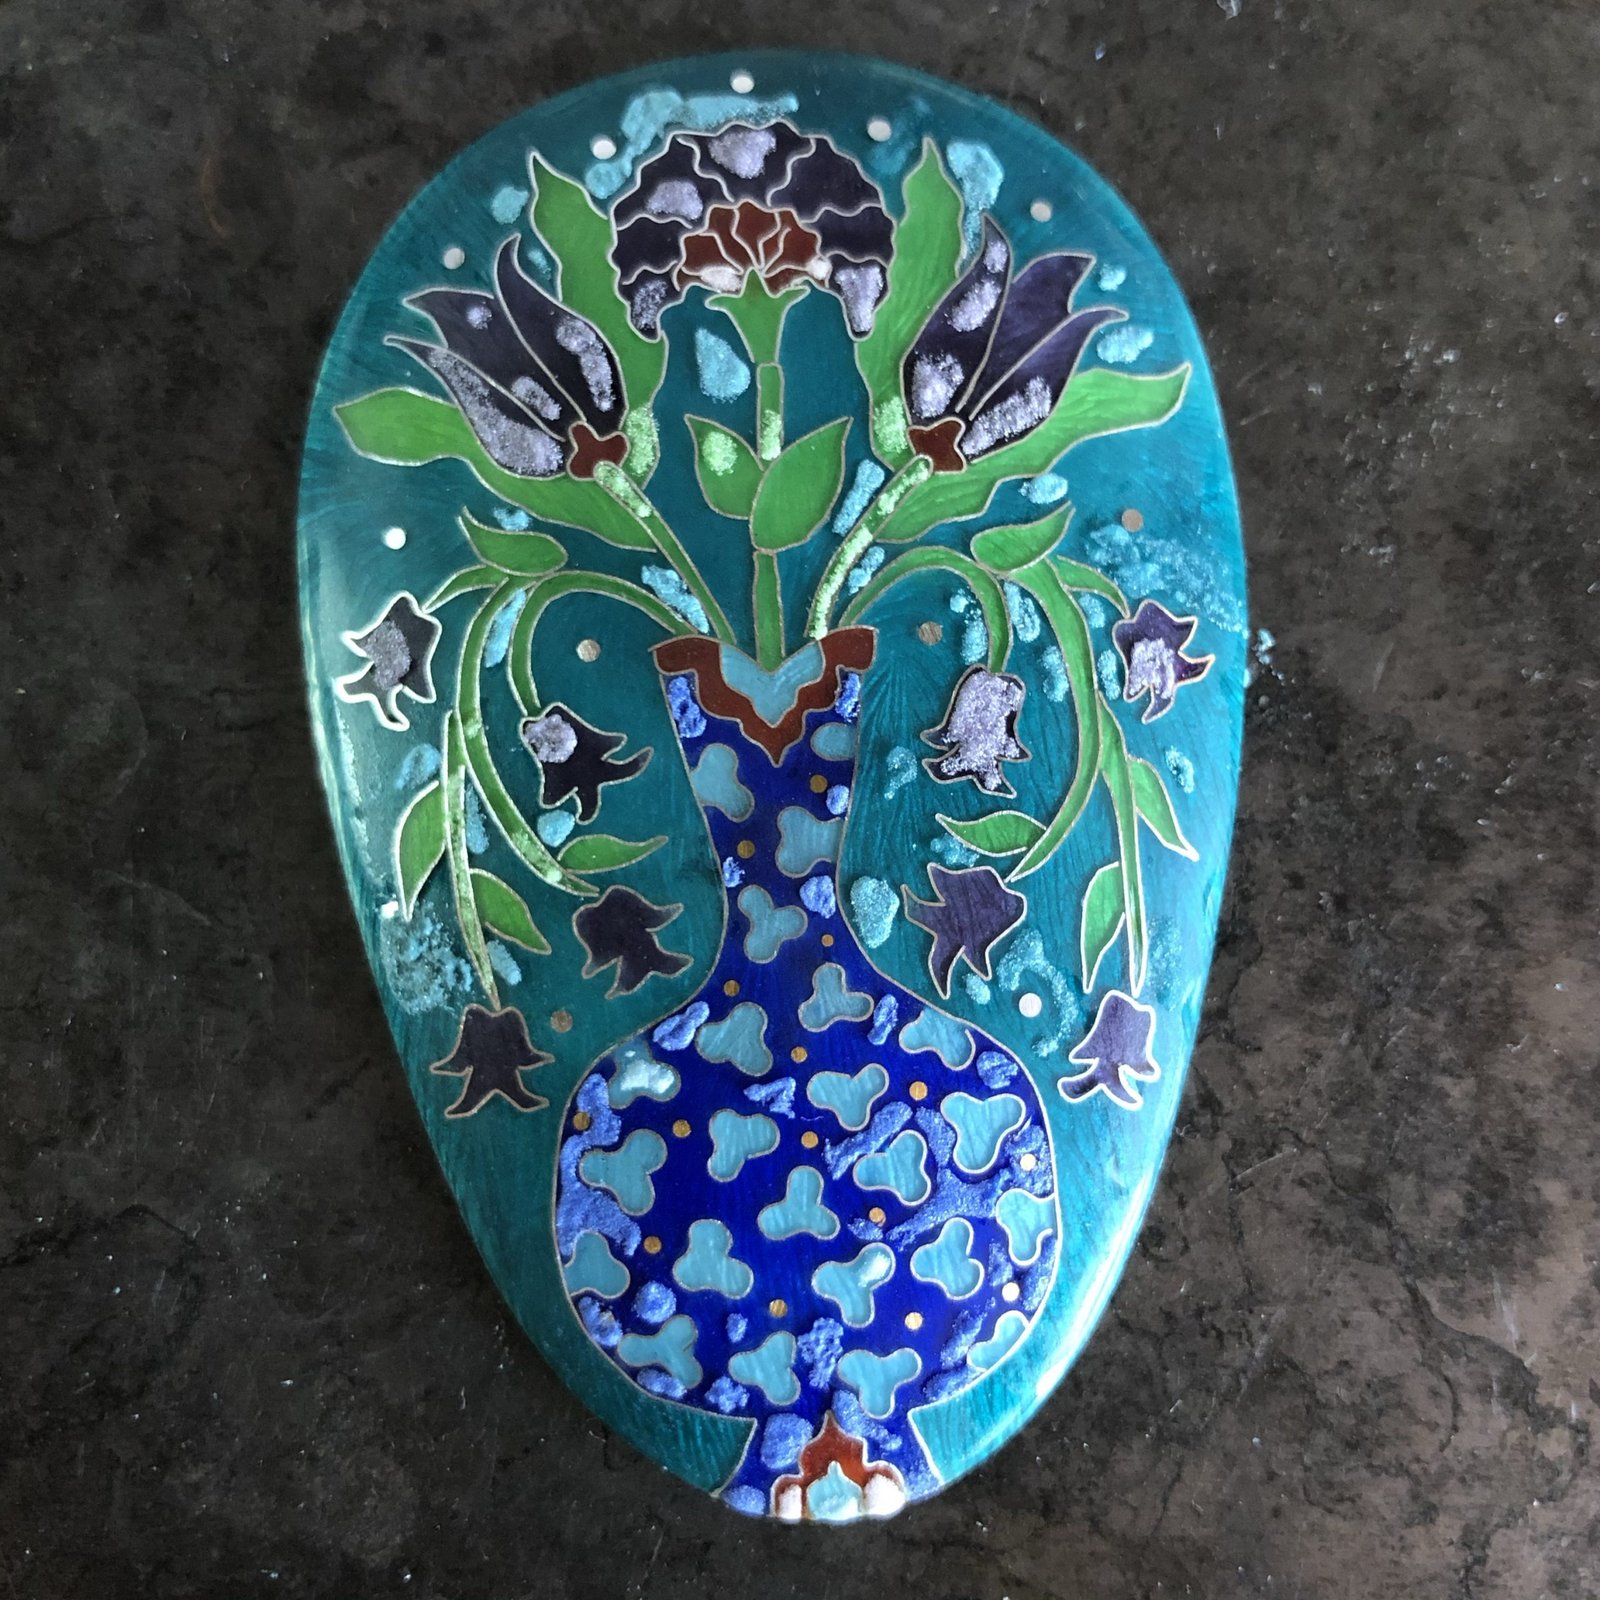
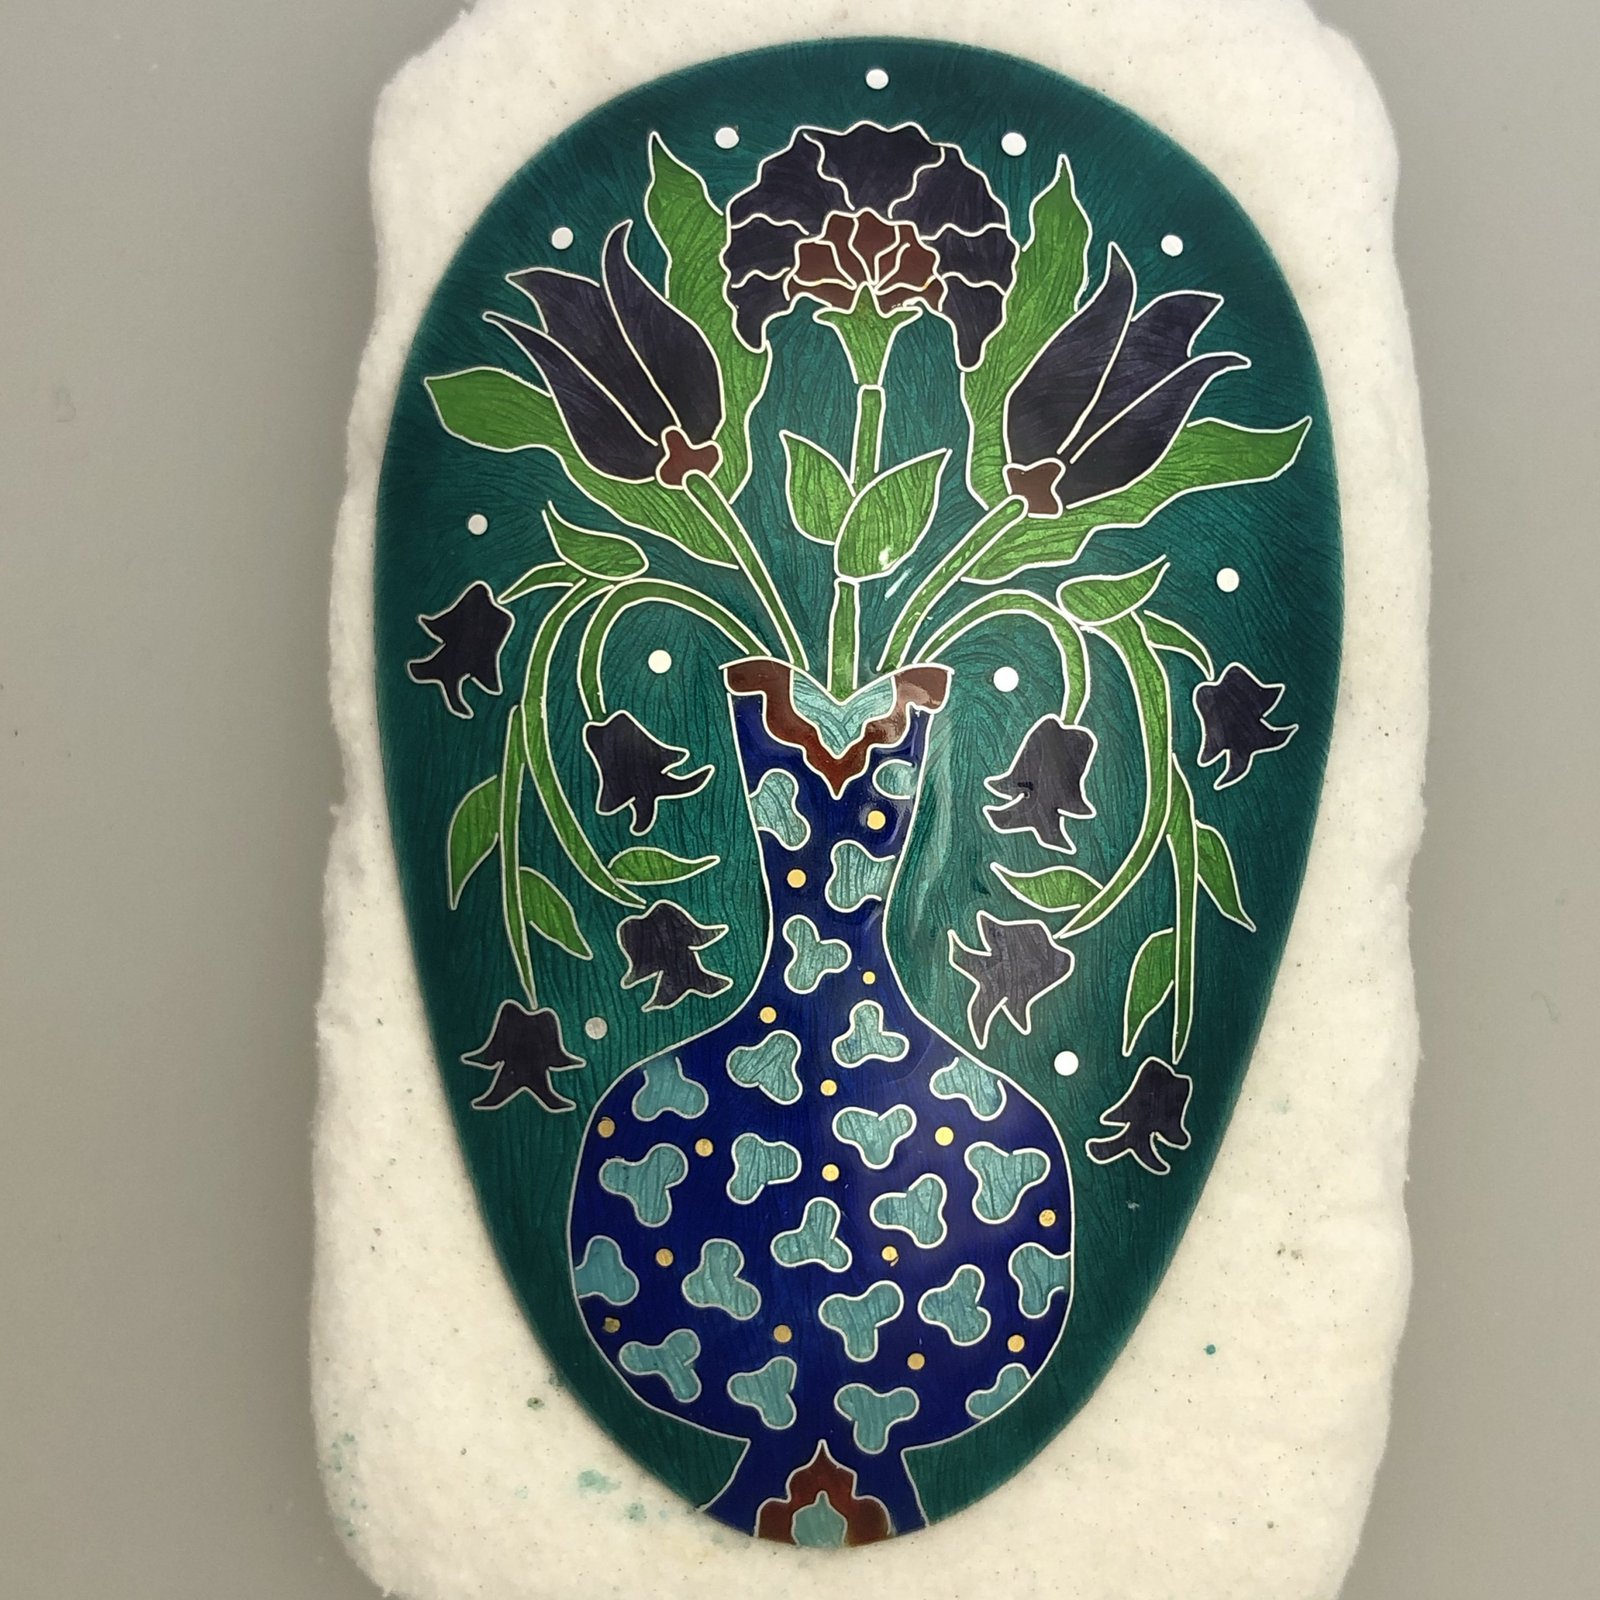
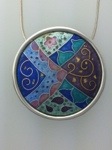
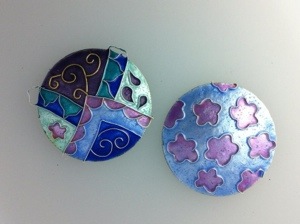
    The classes with Laurelie Rae that I took before Christmas were a revelation to me when I realised the link between these Islamic Tiles and the British Arts and Crafts Movement and particularly how I could use this as inspiration for a new line of work. The next images show part of the development of a new Vase necklace with is inspired by Damascene Tiles at the museum.
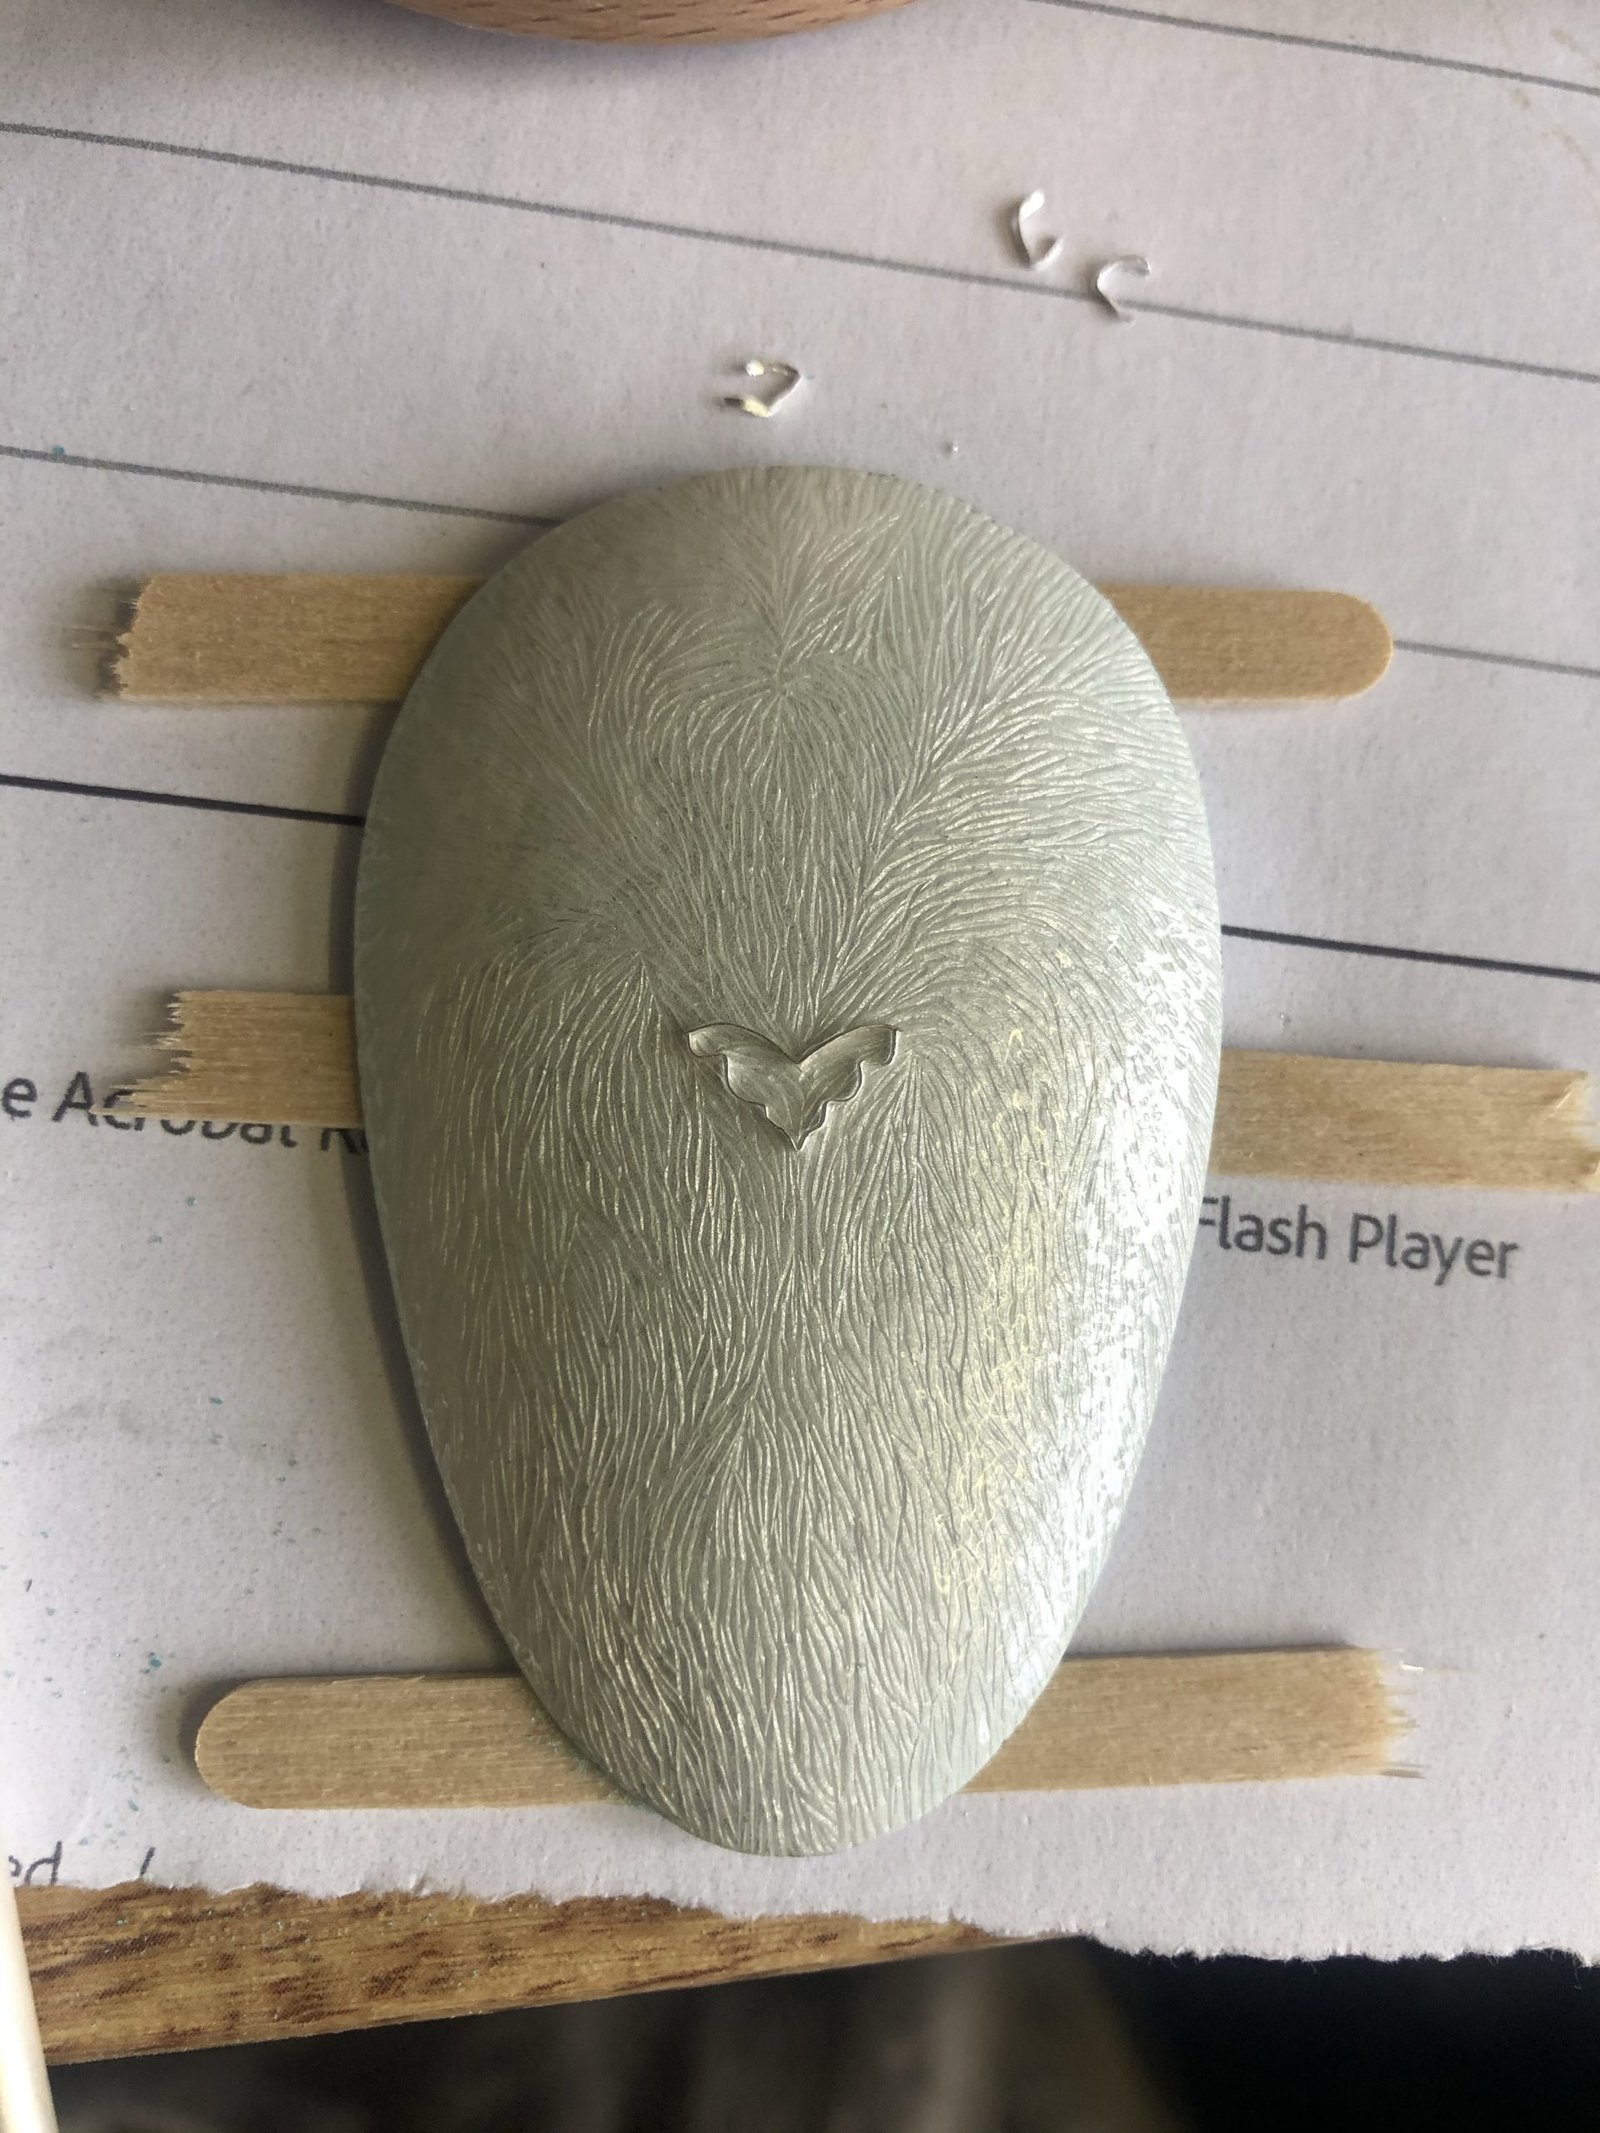
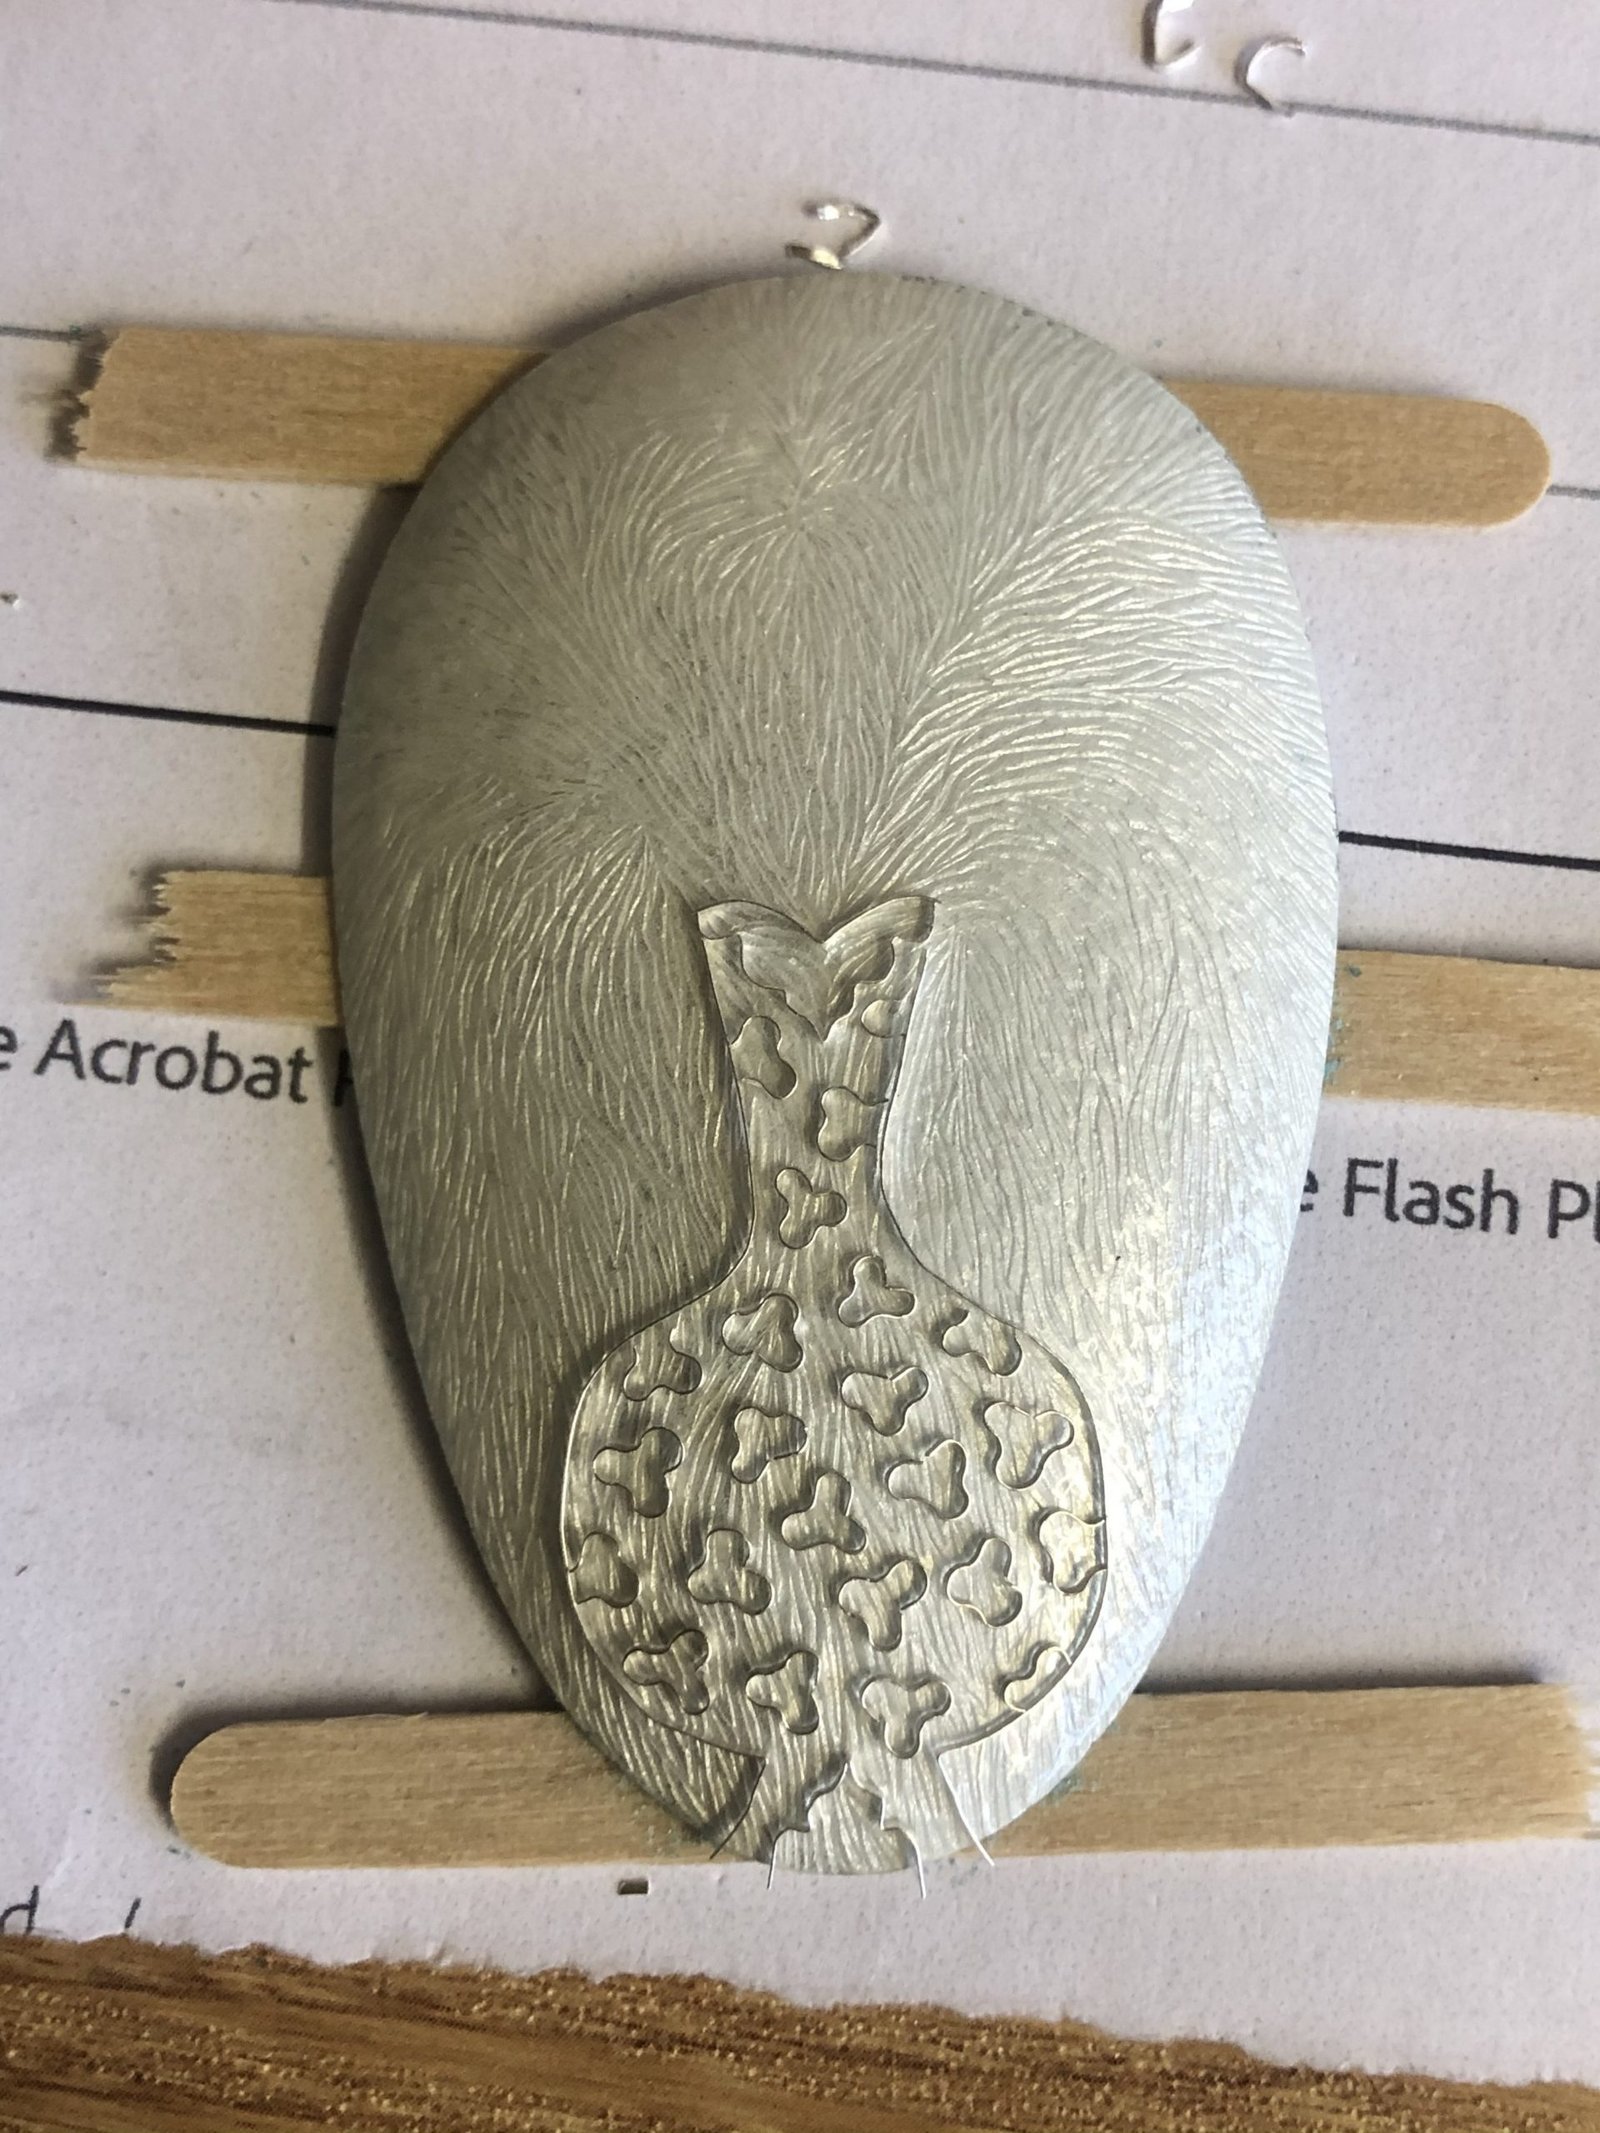
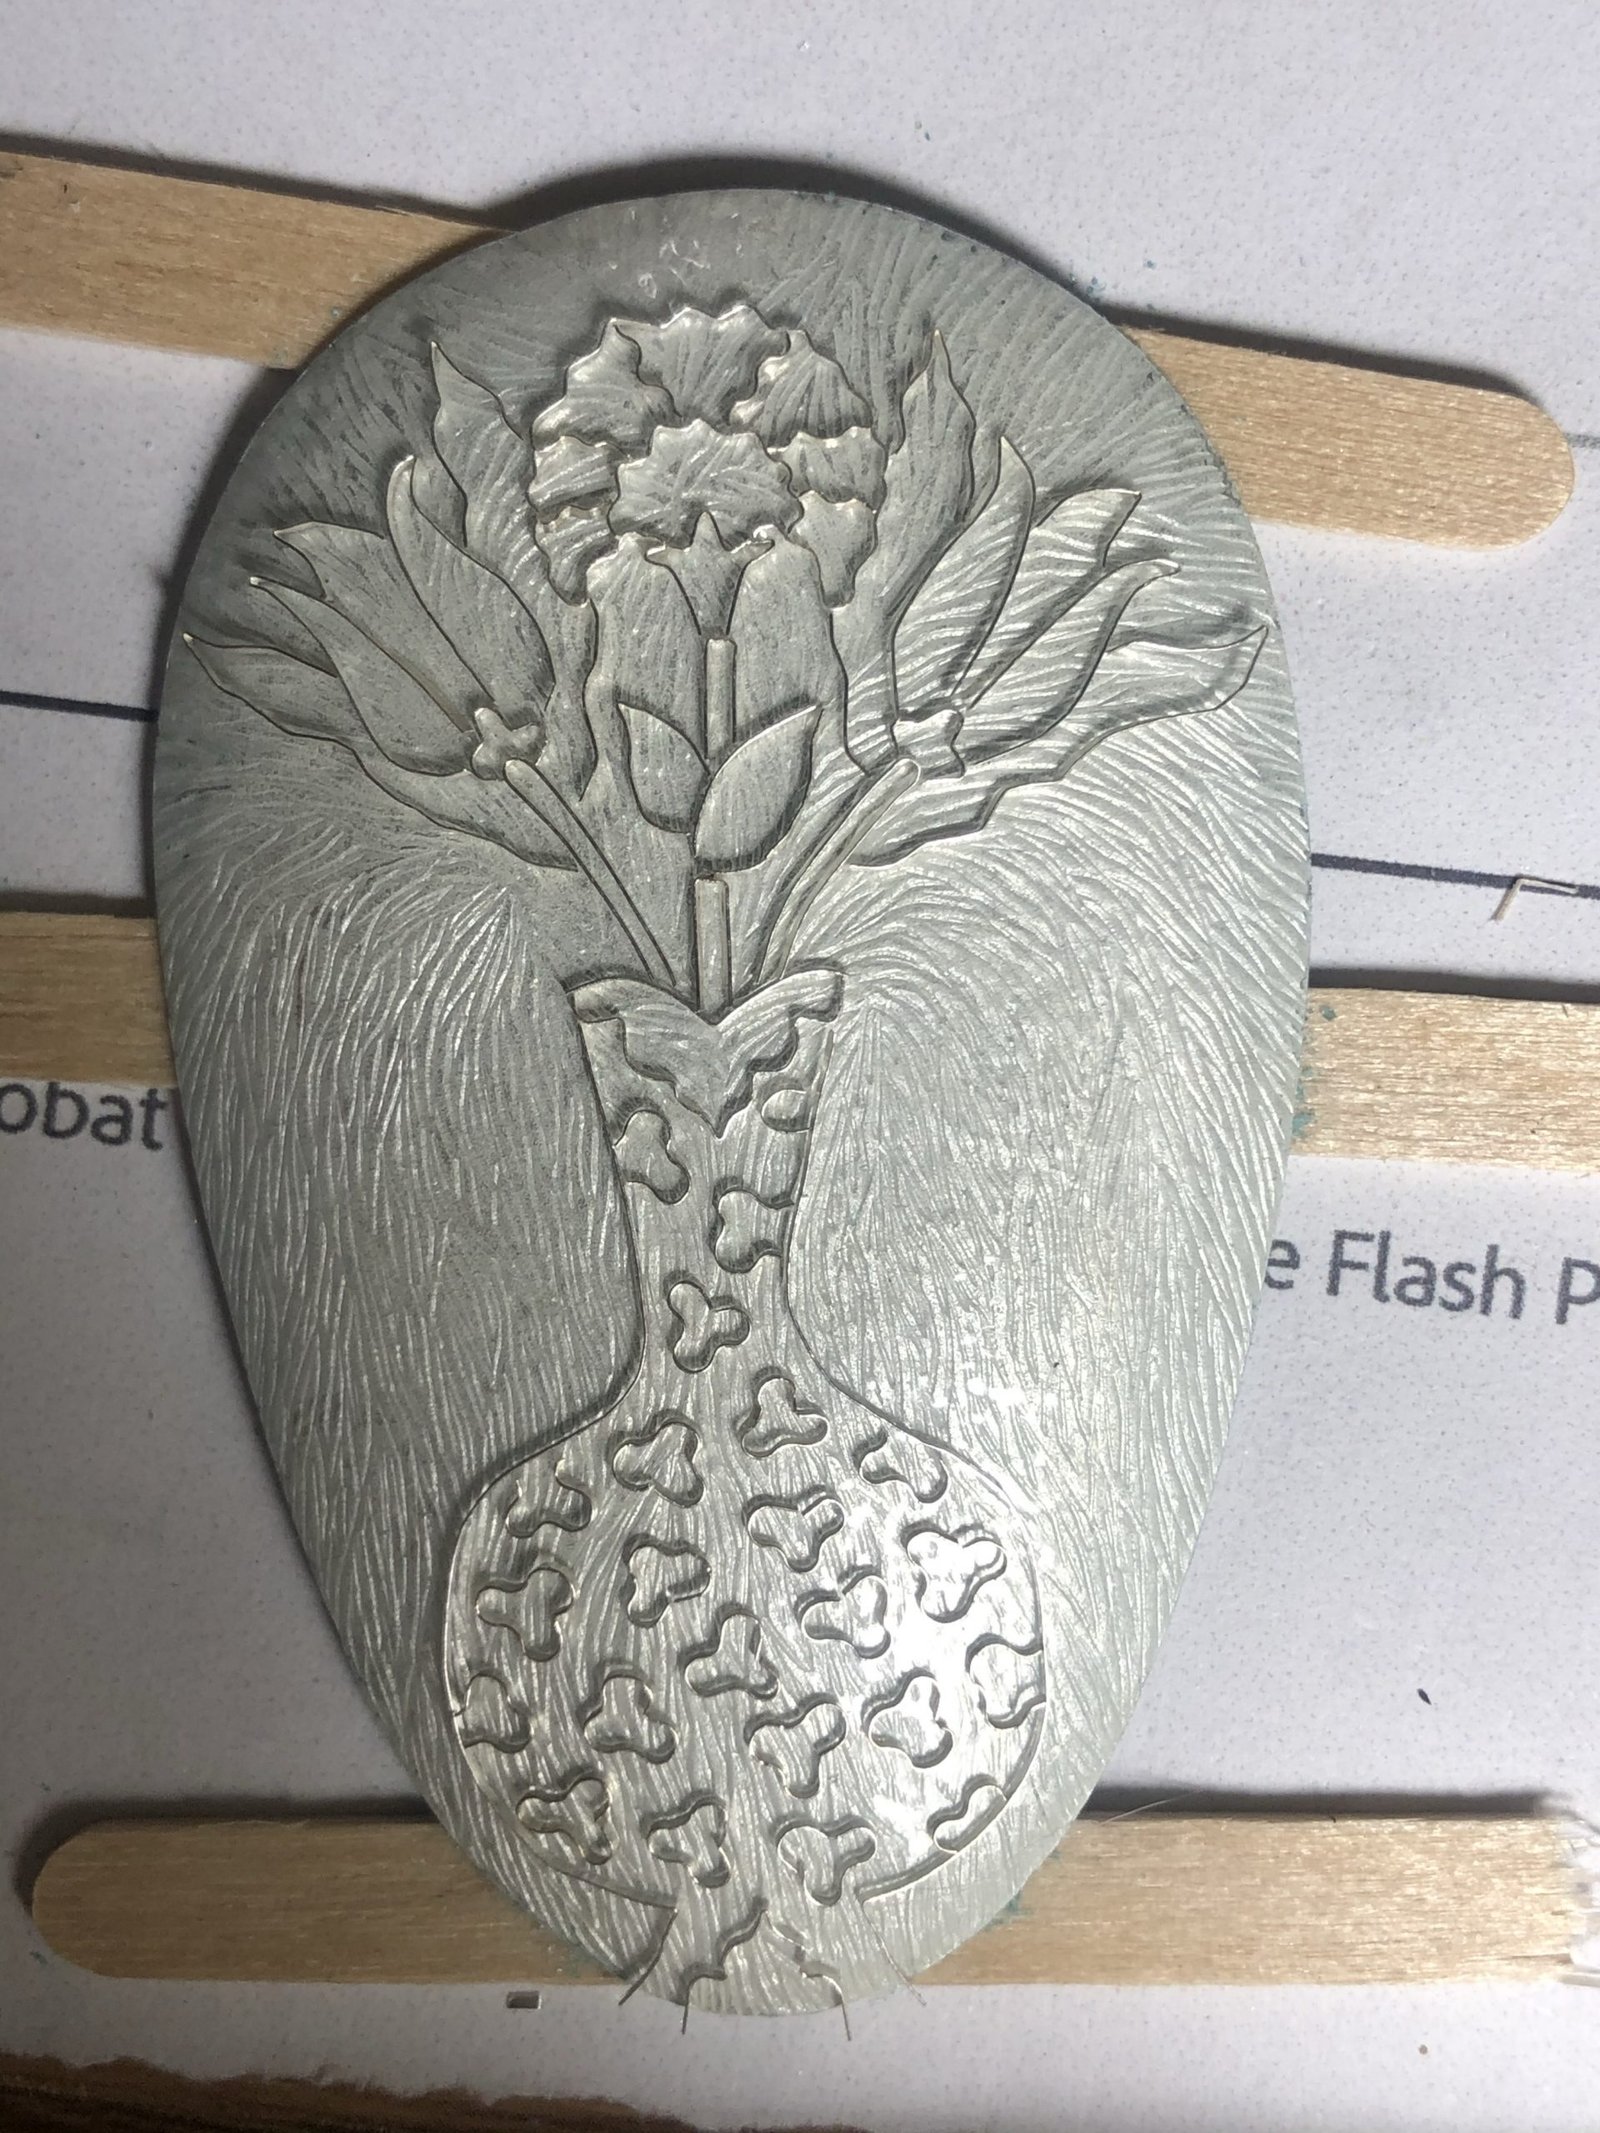
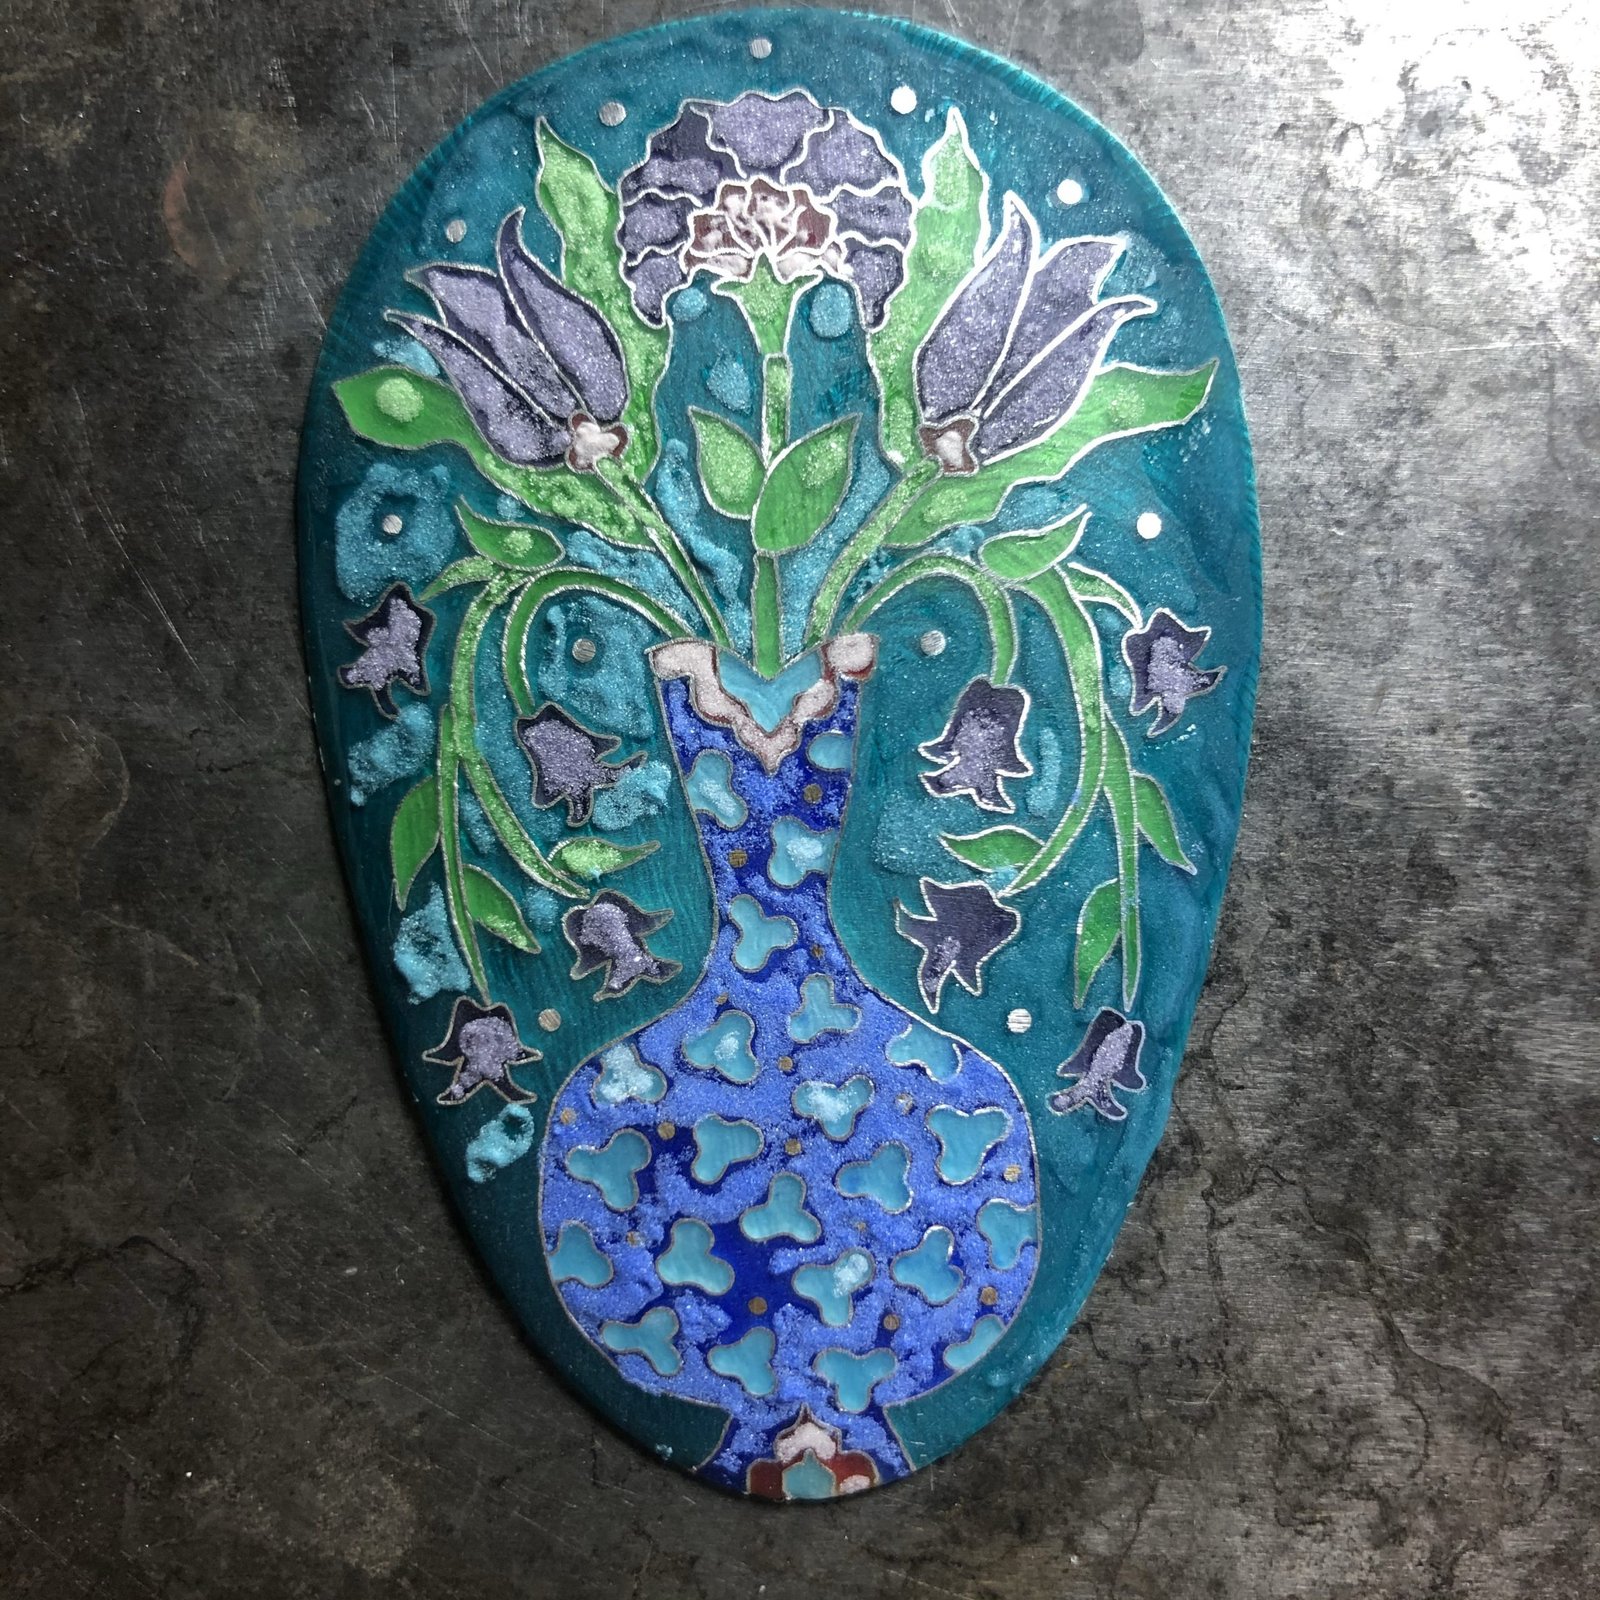
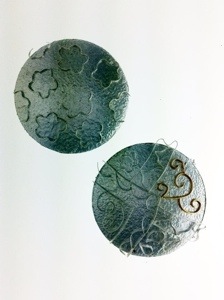
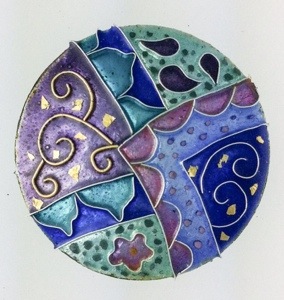
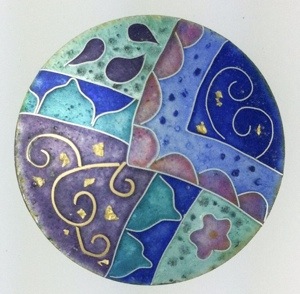
    First I cut out and shaped each of the silver panels so they would have a domed profile. Then the silver was engraved by hand. This engraving will show under the finished enamel. The wires were each formed following my final drawing which is a painstaking task. The silver had a layer of clear flux fired together with counter enamel on the reverse. Then each individual wire was transferred individually and formed to follow the curve. It is essential to get the first ones in the correct place! In this case all the wires were fired into place in one firing. They are on wooden stirrers because they have unfired enamel in place so the front and back can be fired at the same time.
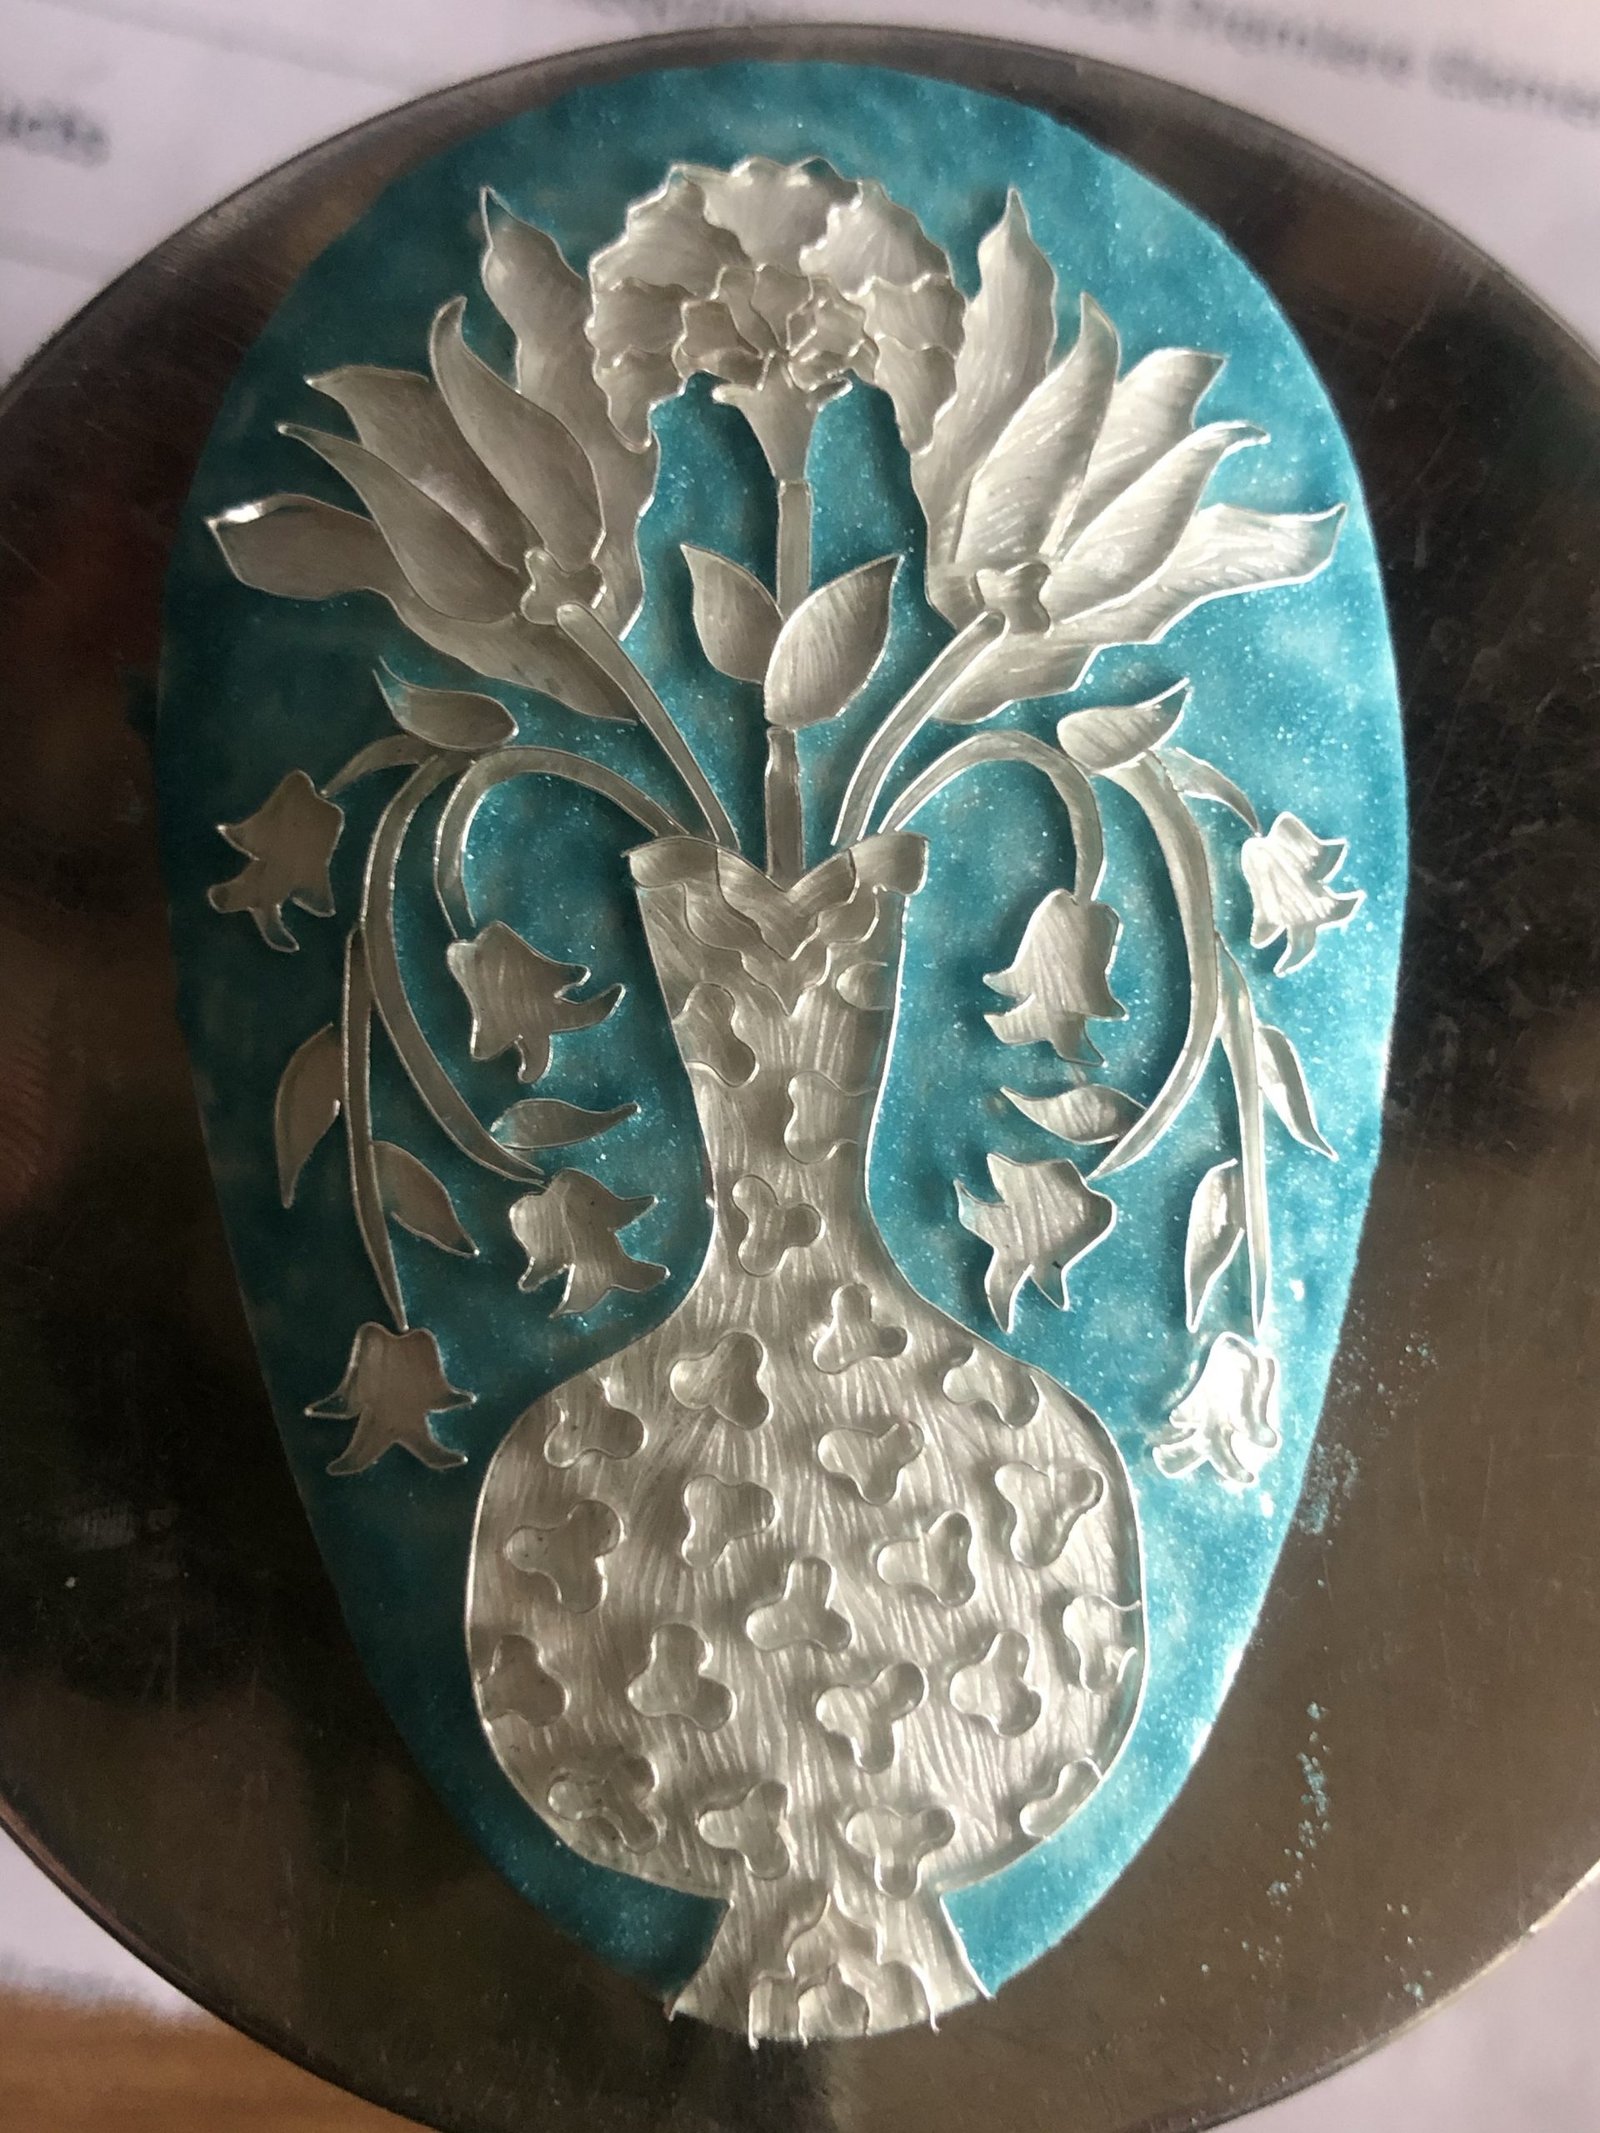
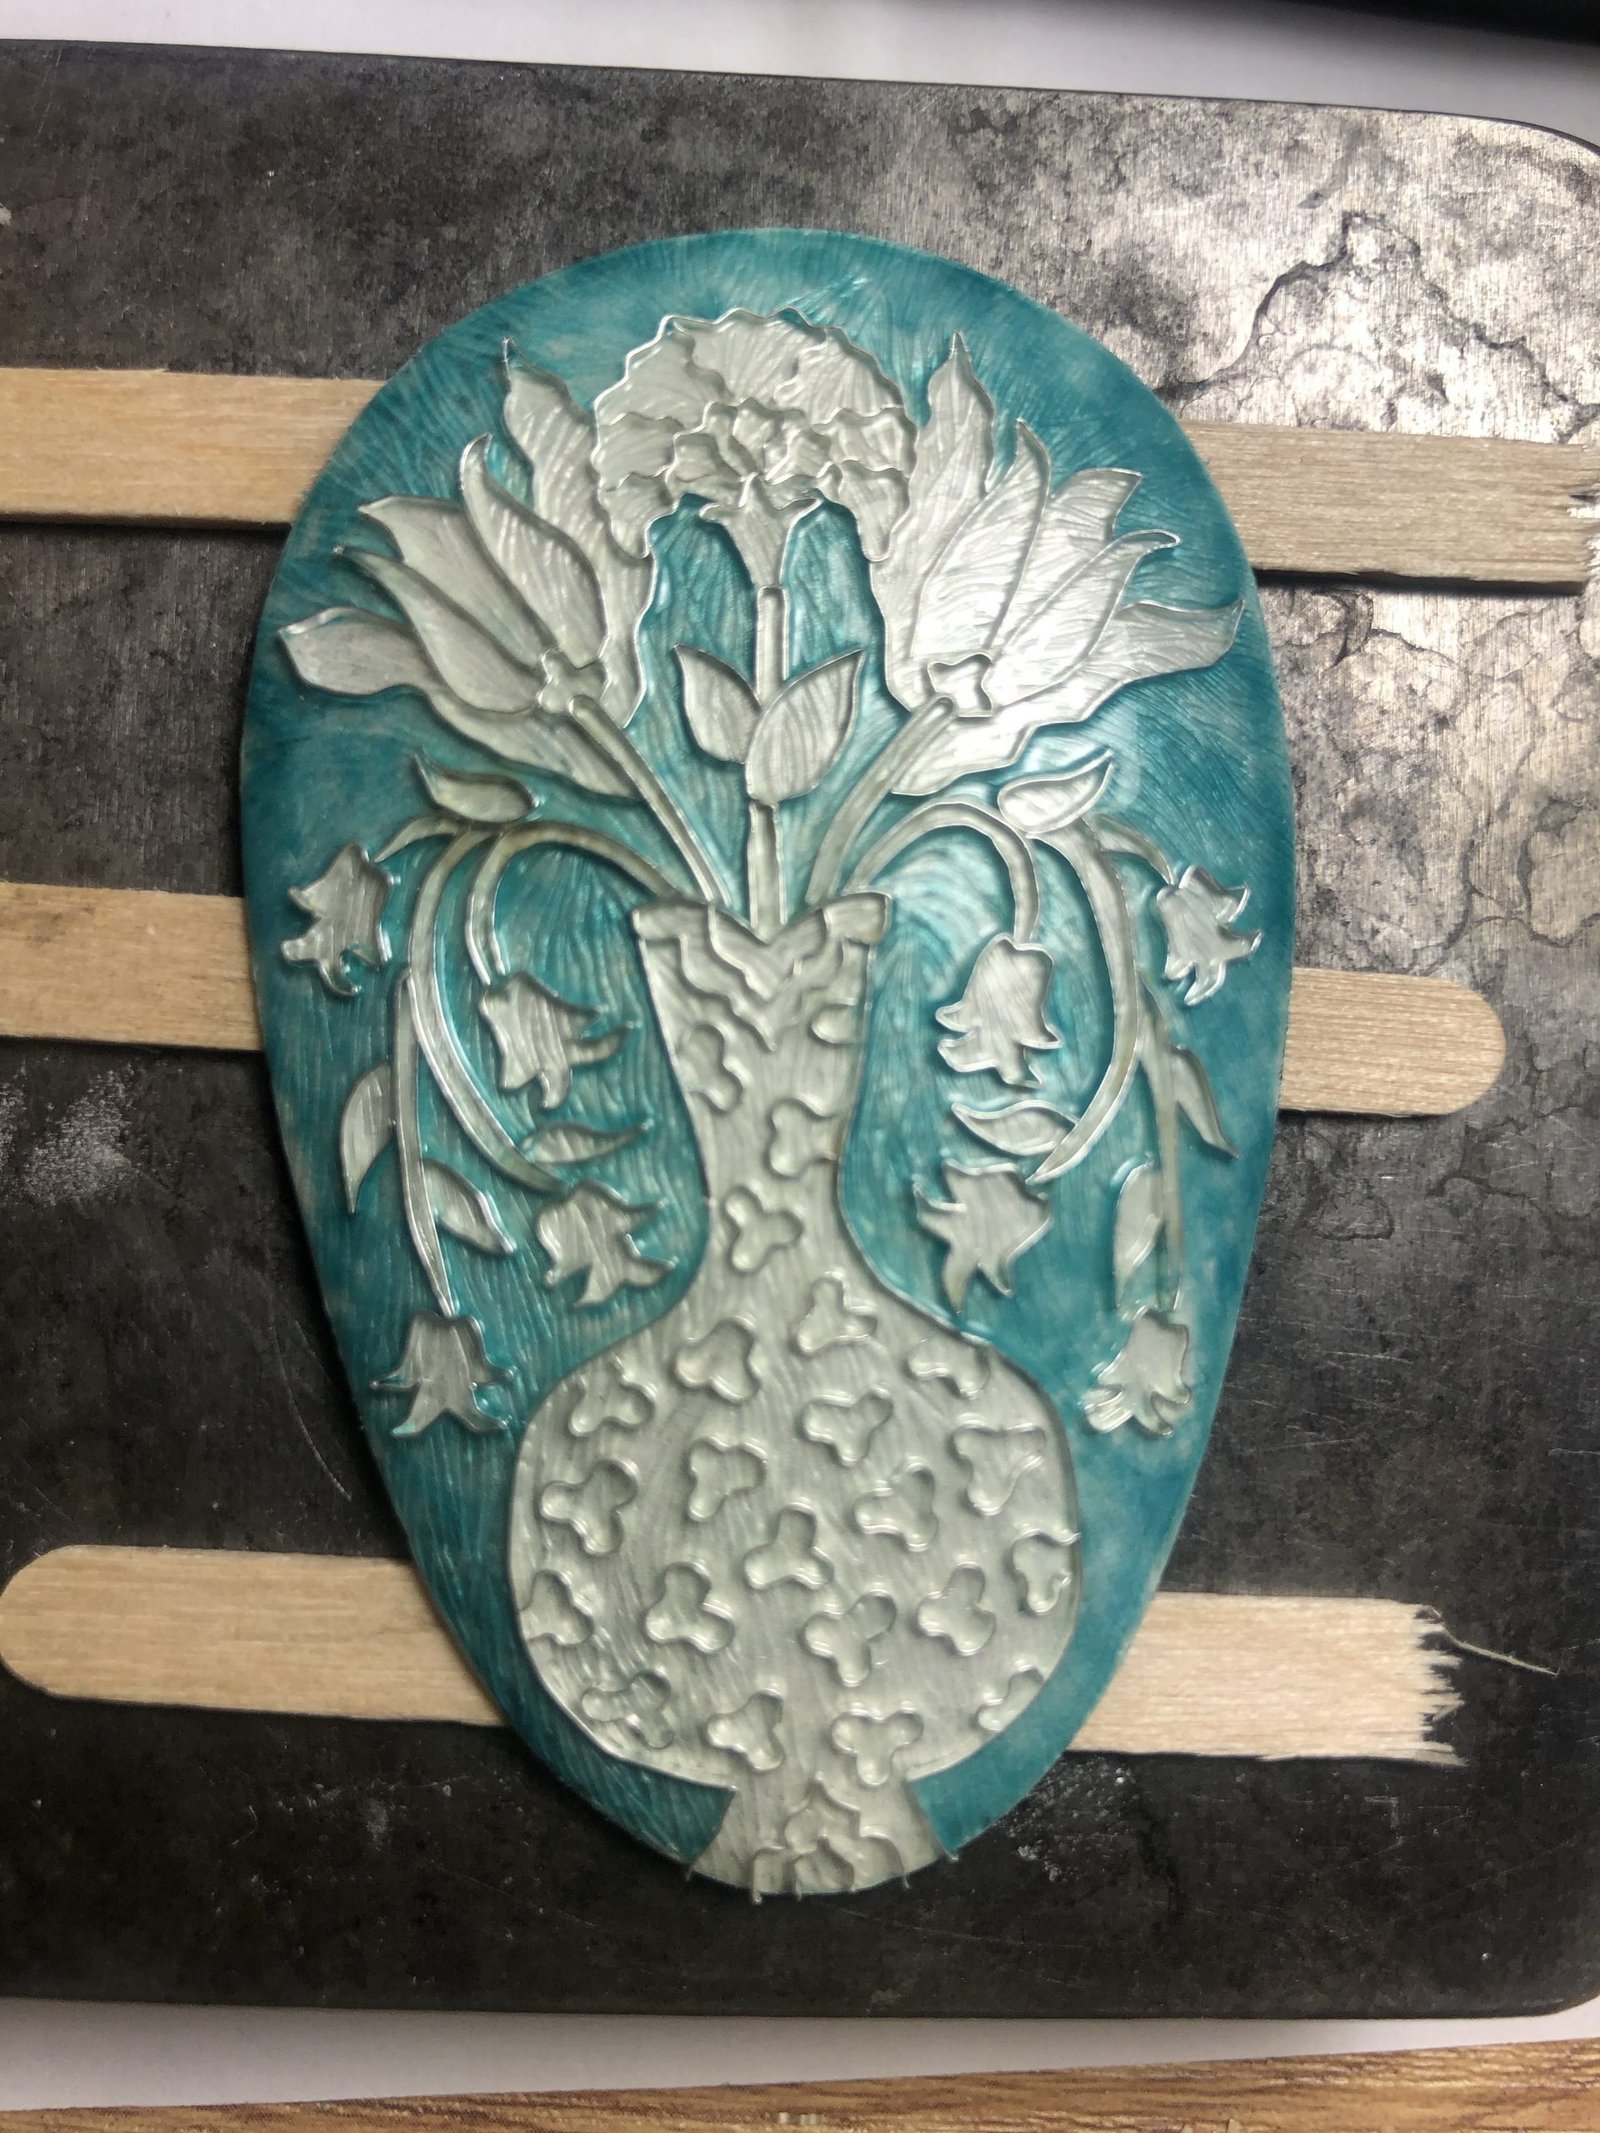
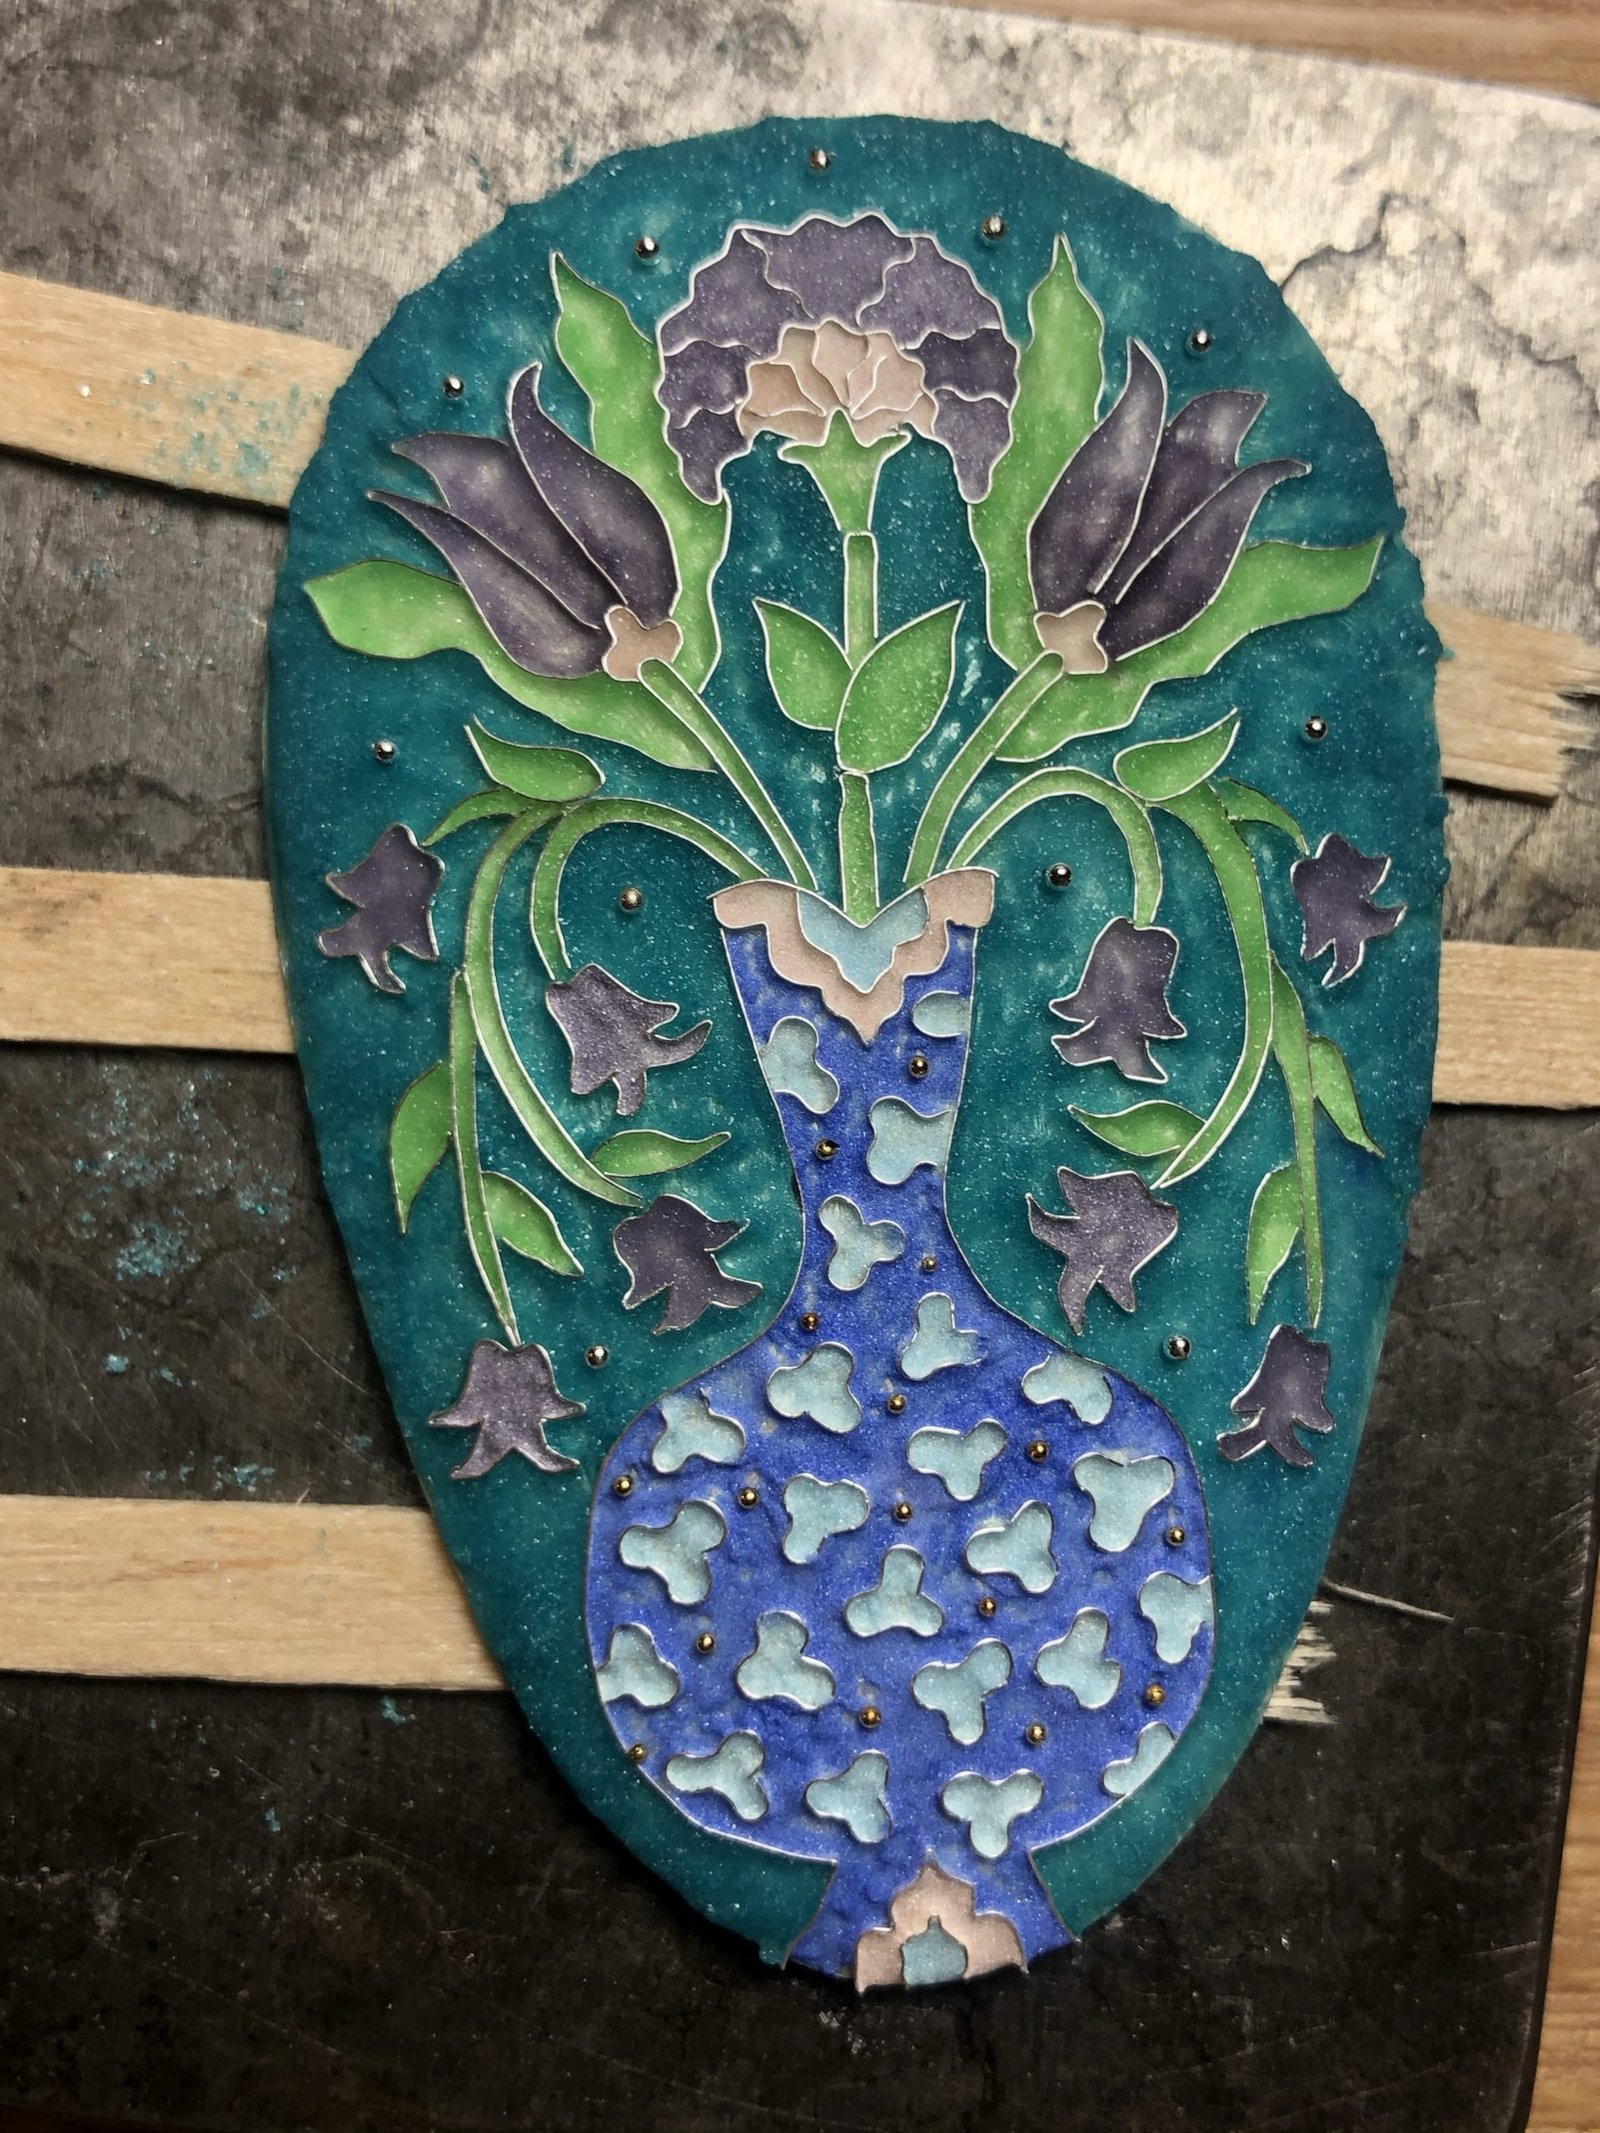
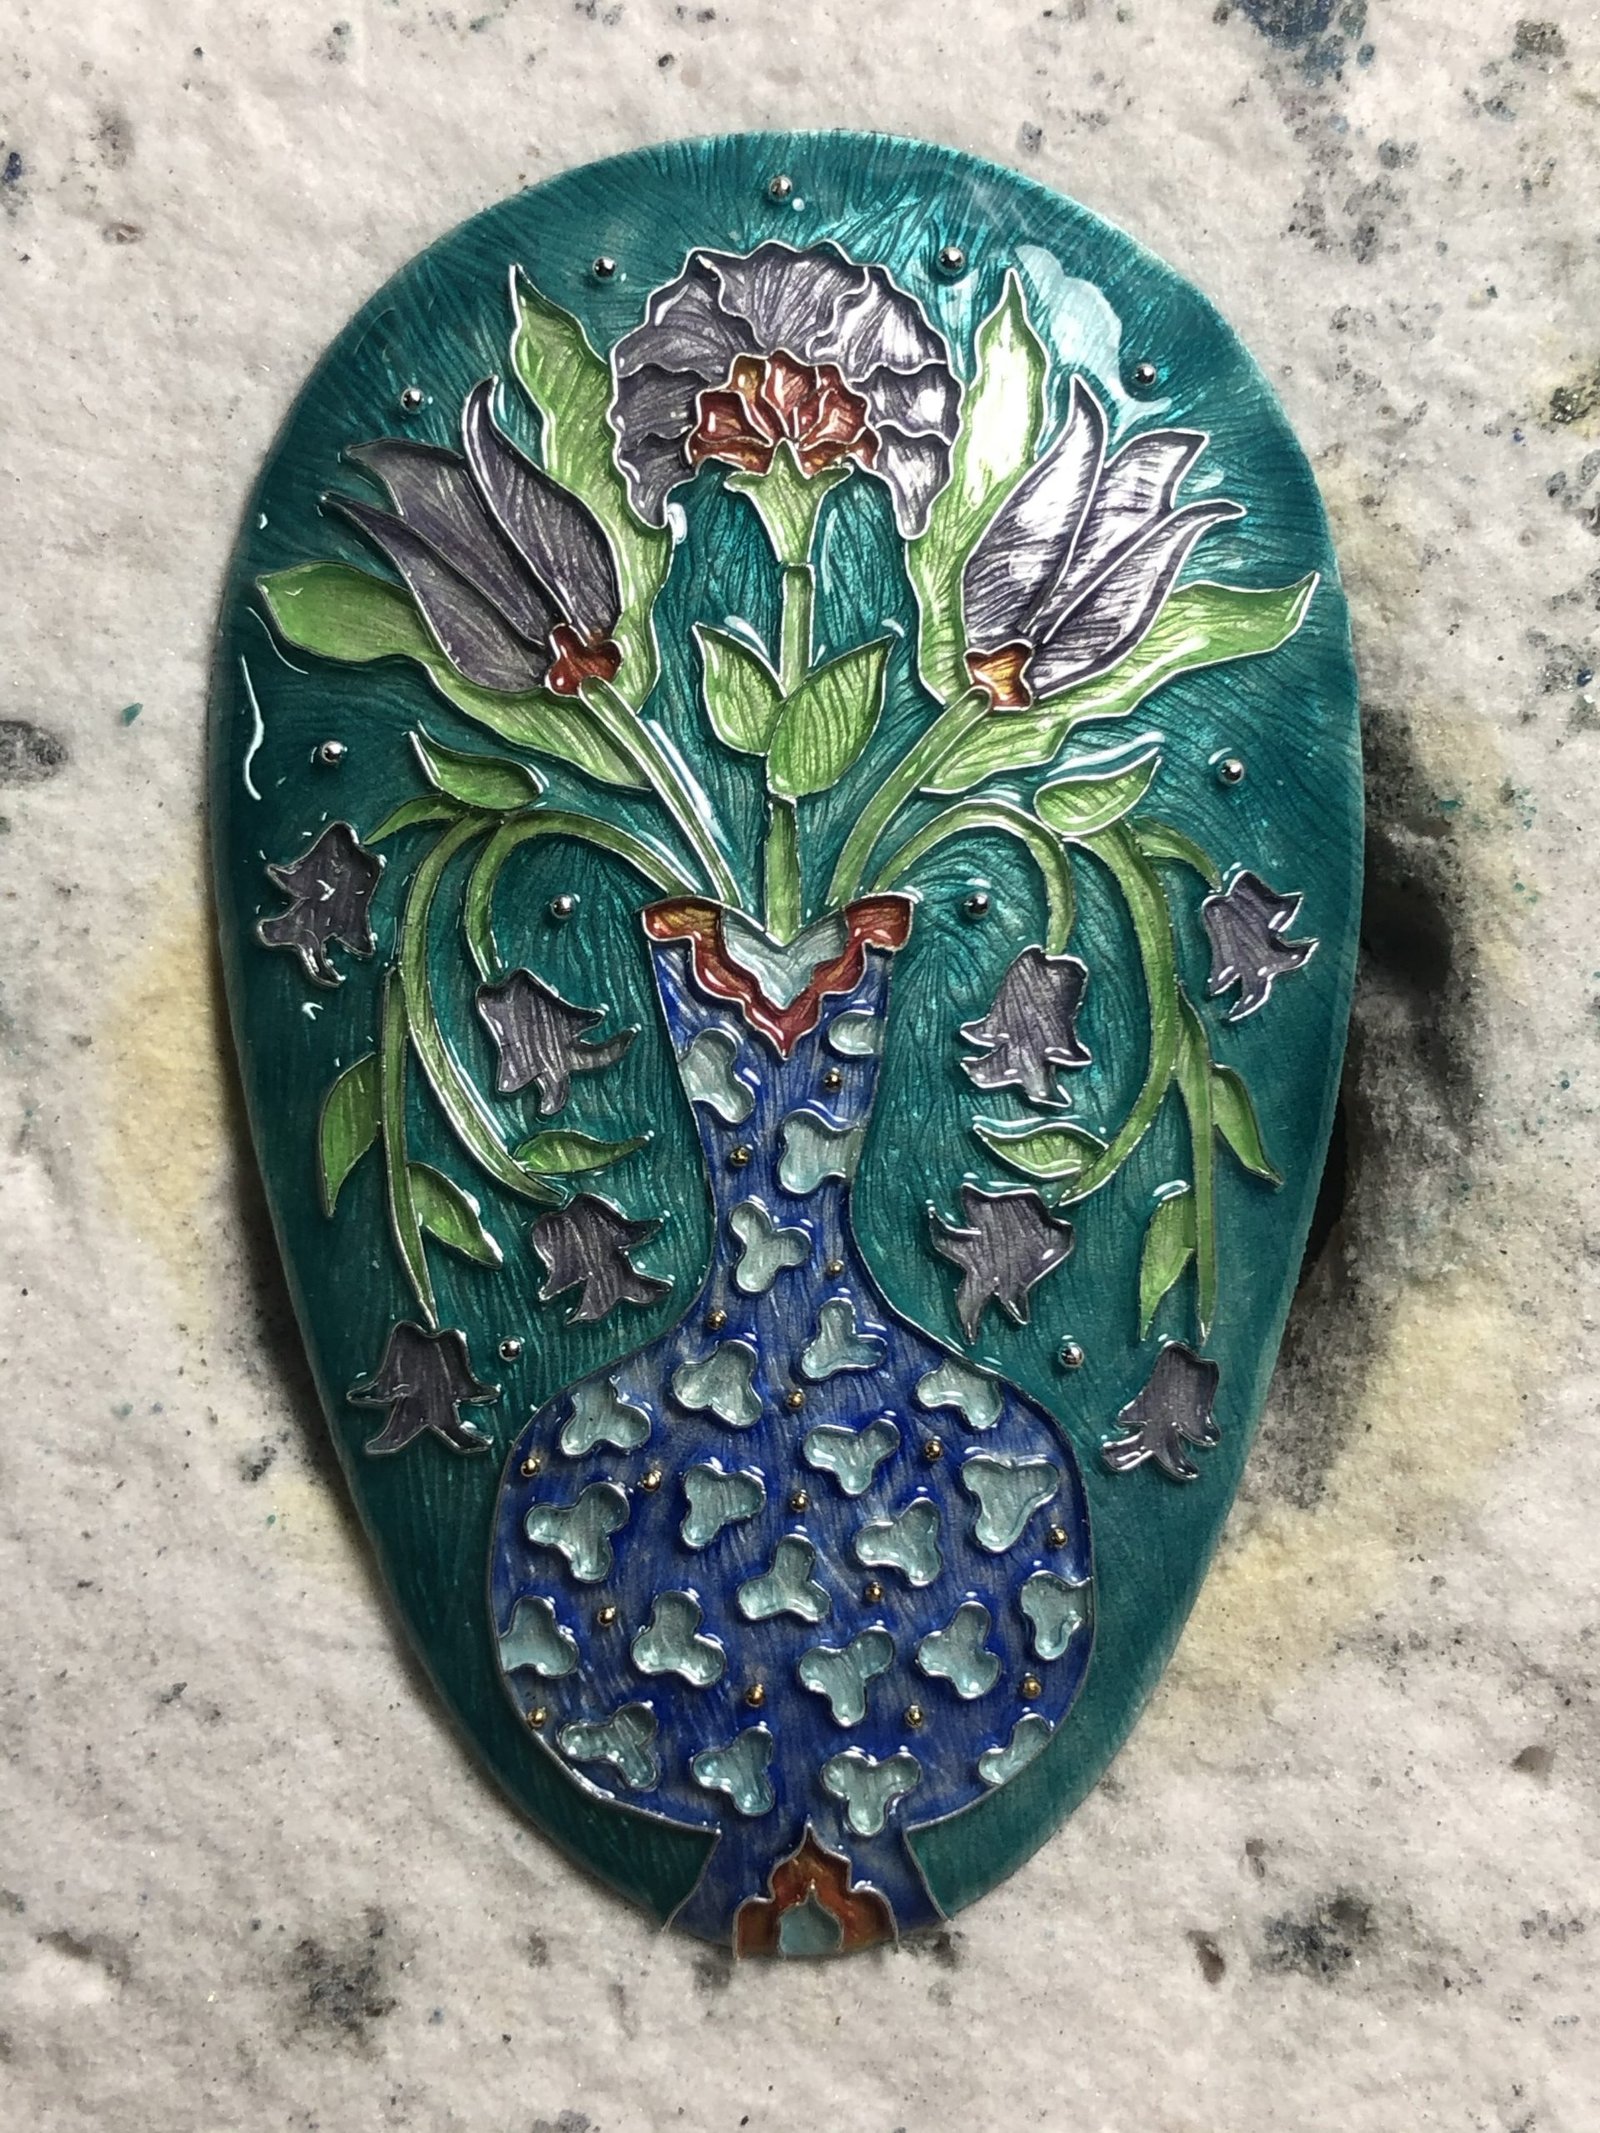
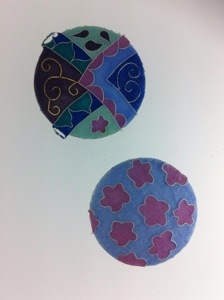
    Here you can see a few of the layers of enamel before they were fired. There were about six layers of colour in all as enamel needs to be built up in very thin layers. Each time it is fired for around 90 seconds at around 830 degrees C. Before the final firings the surface is rubbed down with diamond pads so all the wires and enamel are at the same level. Then enamel is placed only in the resulting recesses to bring it all up to the same level. Any imperfections or bubbles are corrected at this point. Finally when all is level it will have the final firing before more diamond polishing to bring it to a perfect flat, shiny surface.
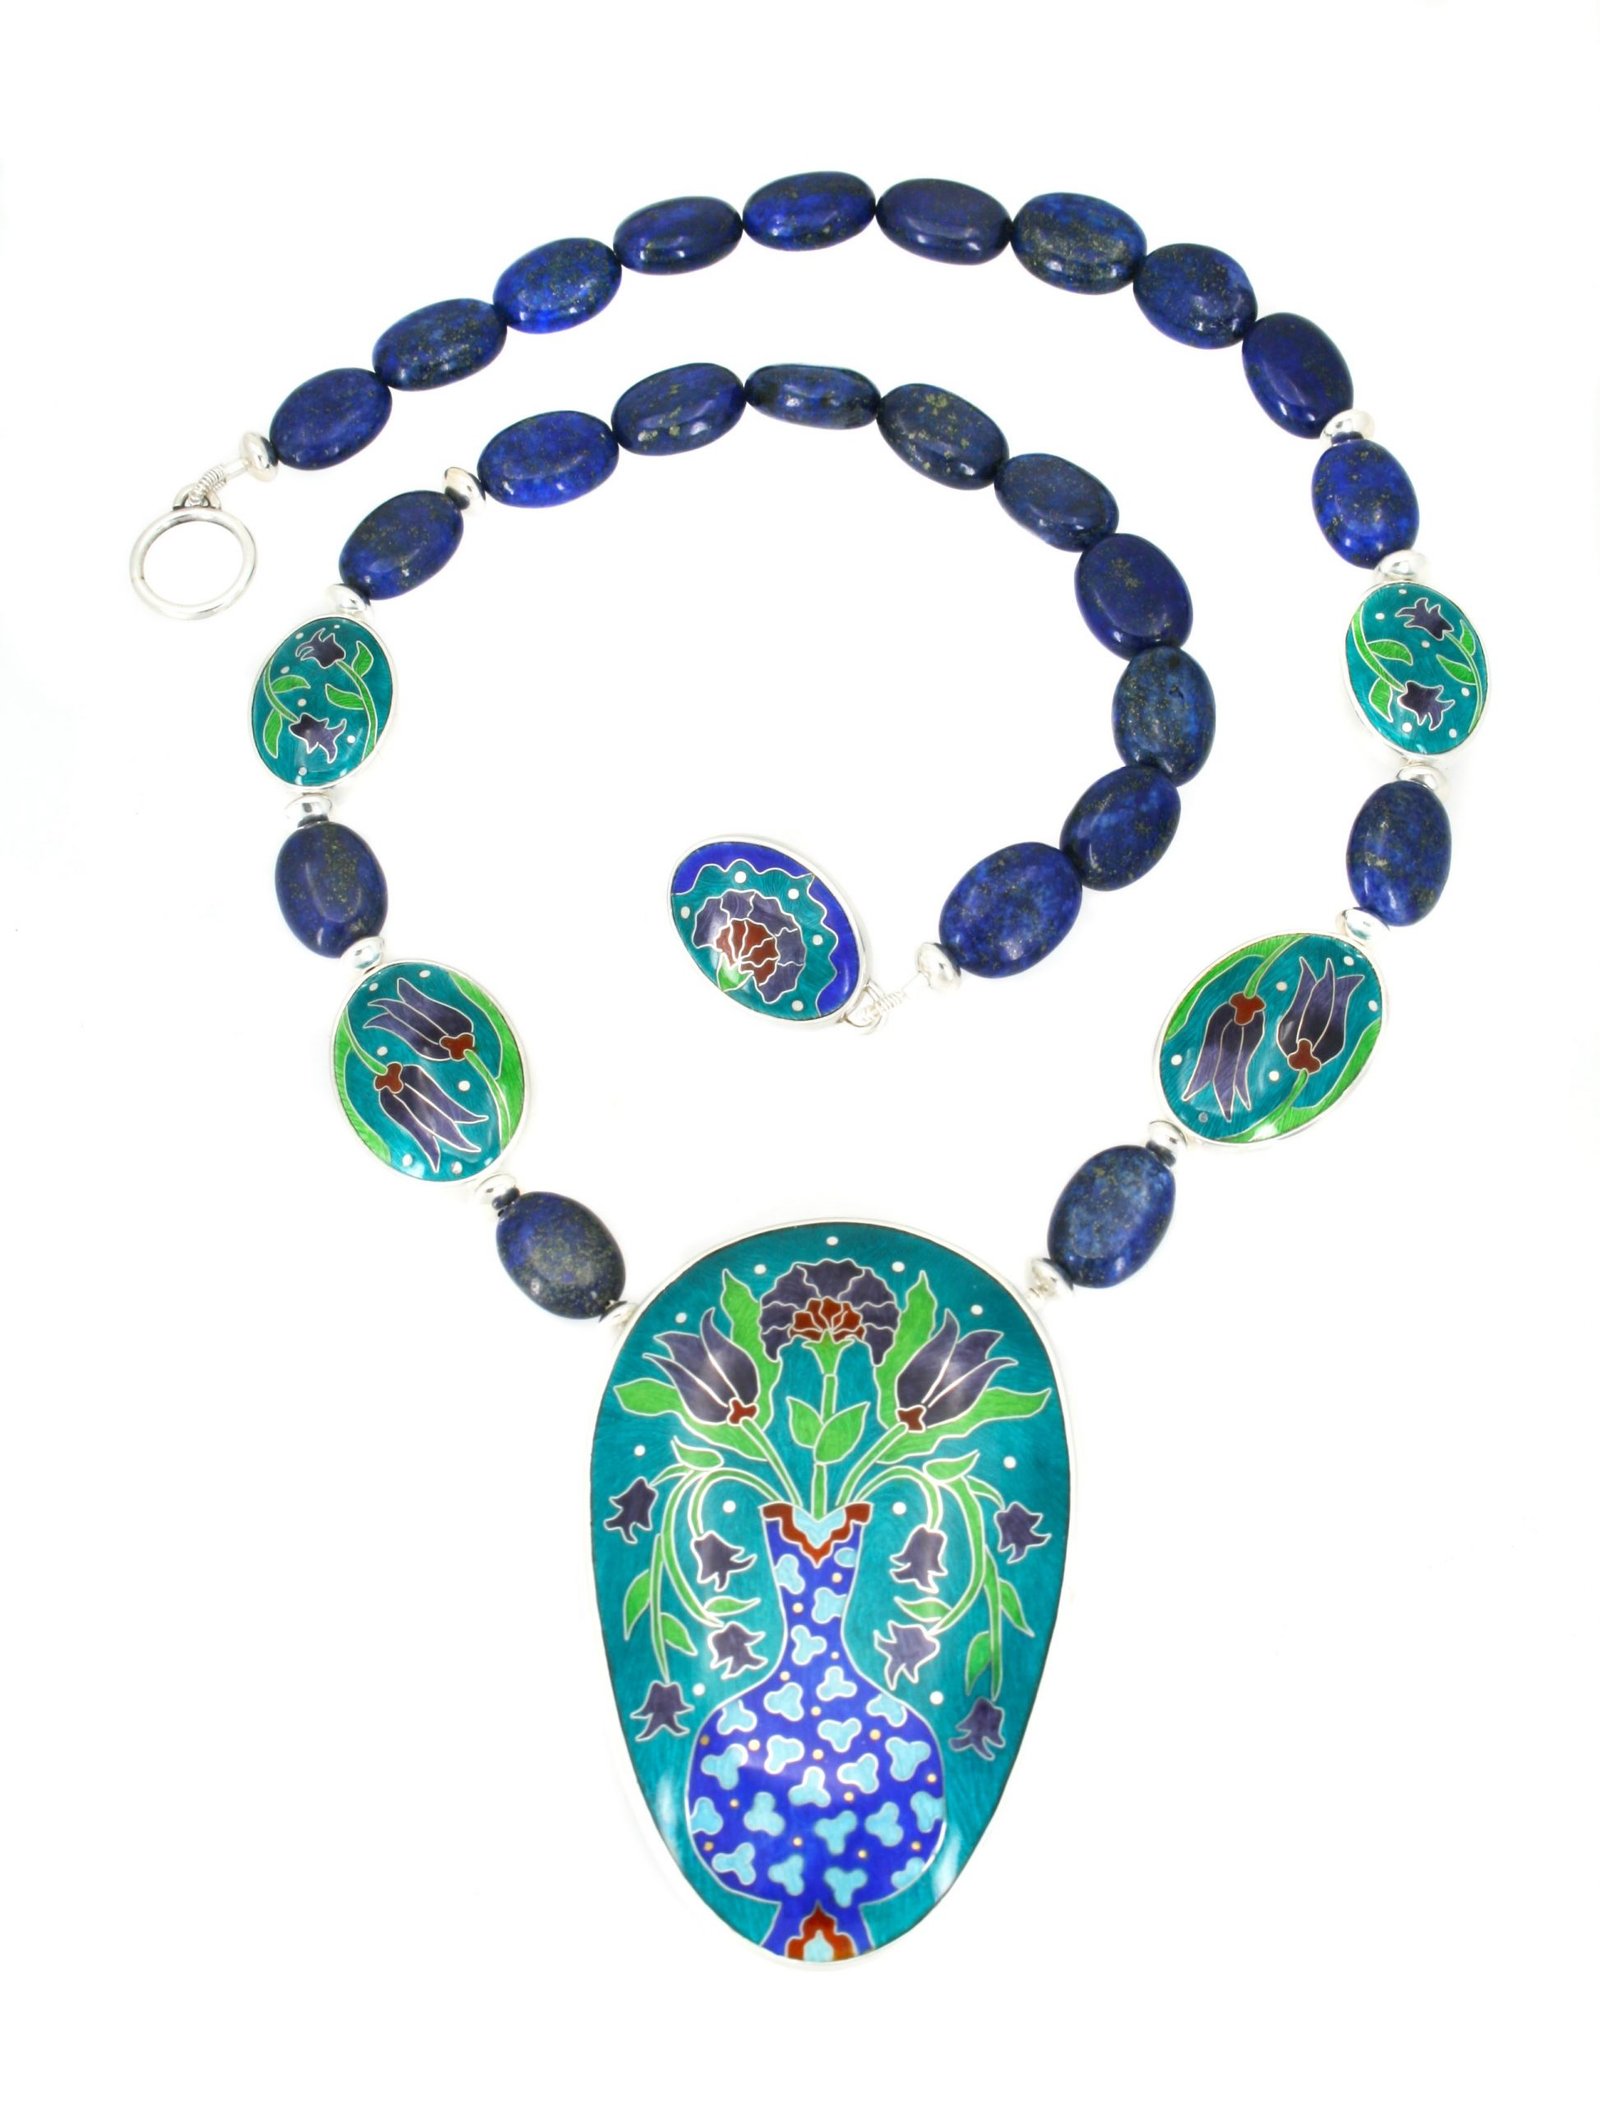
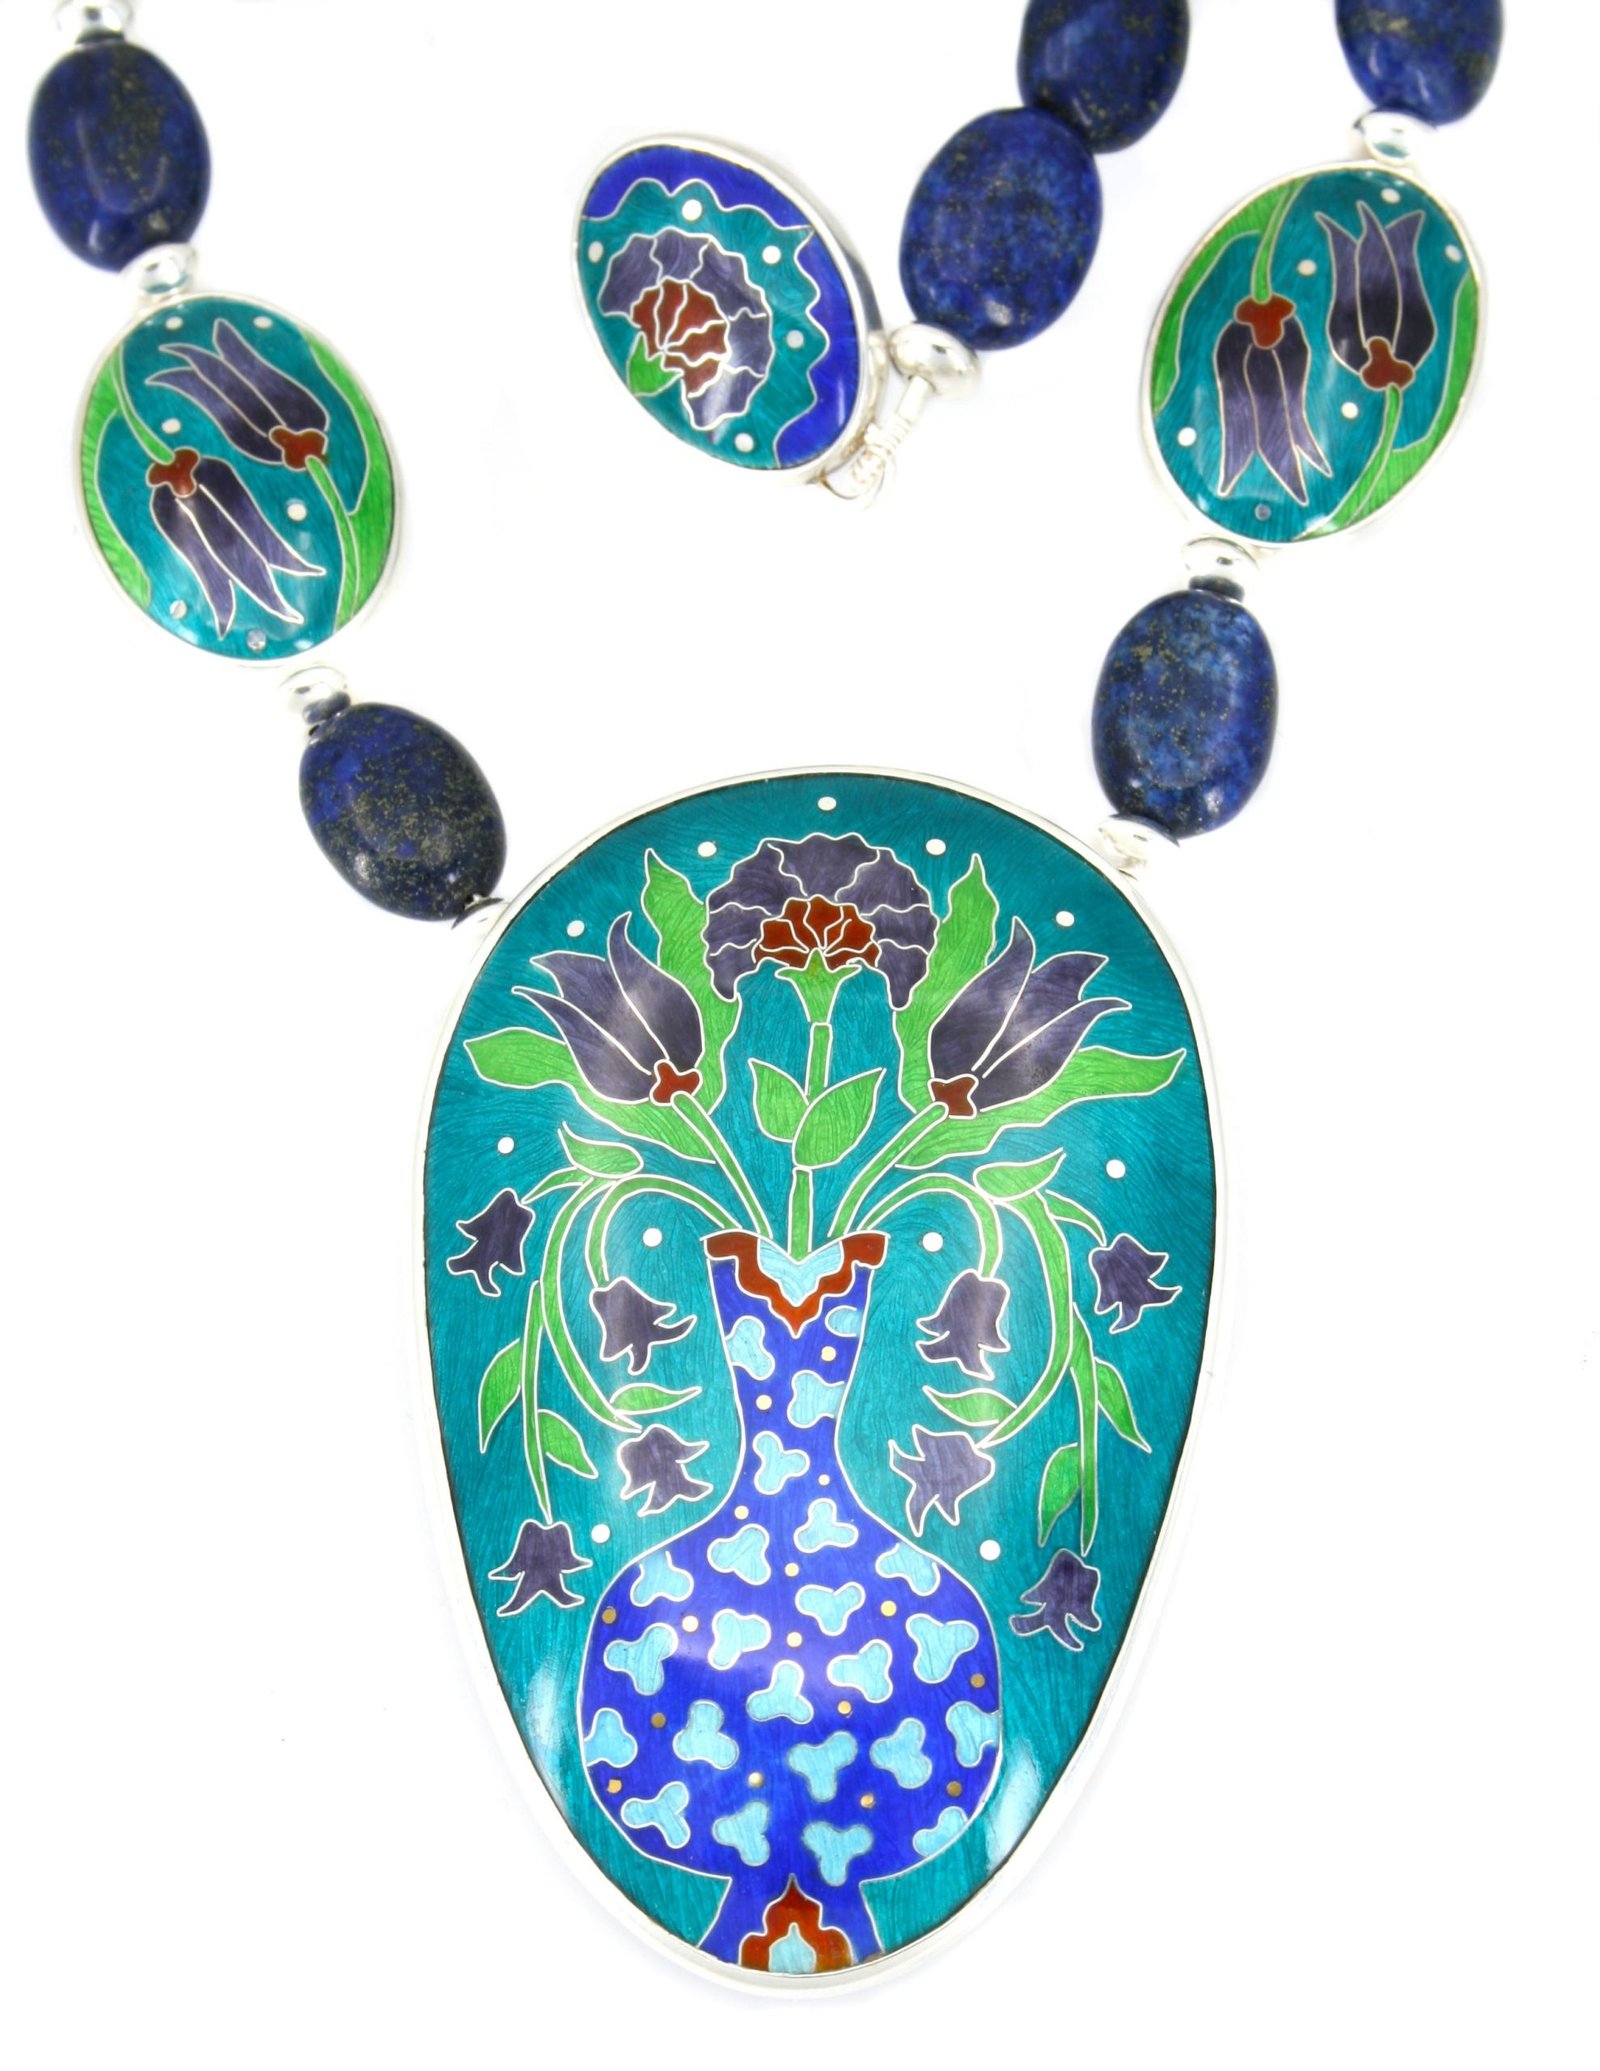
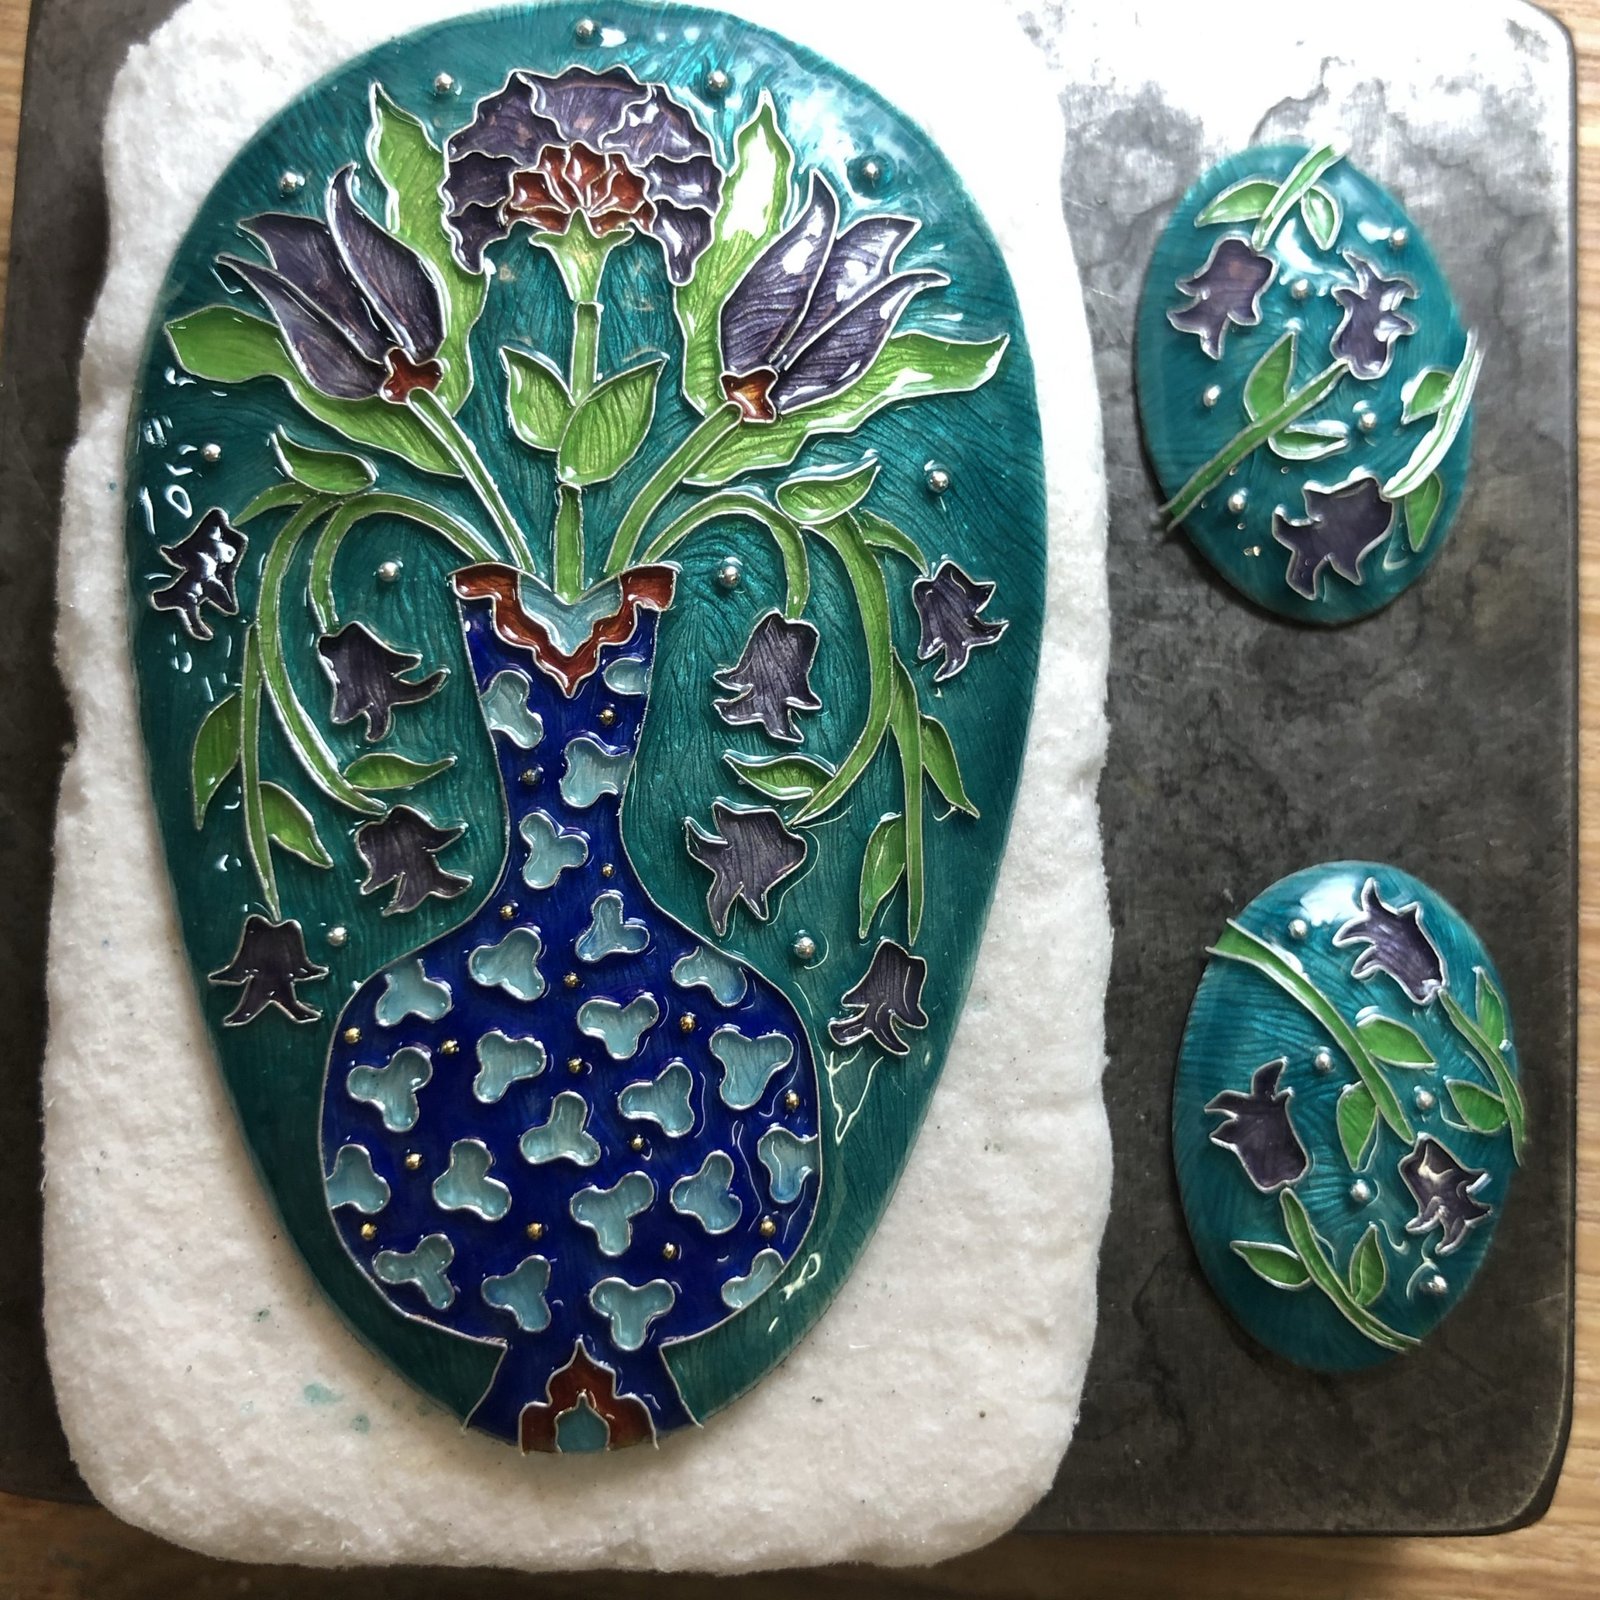
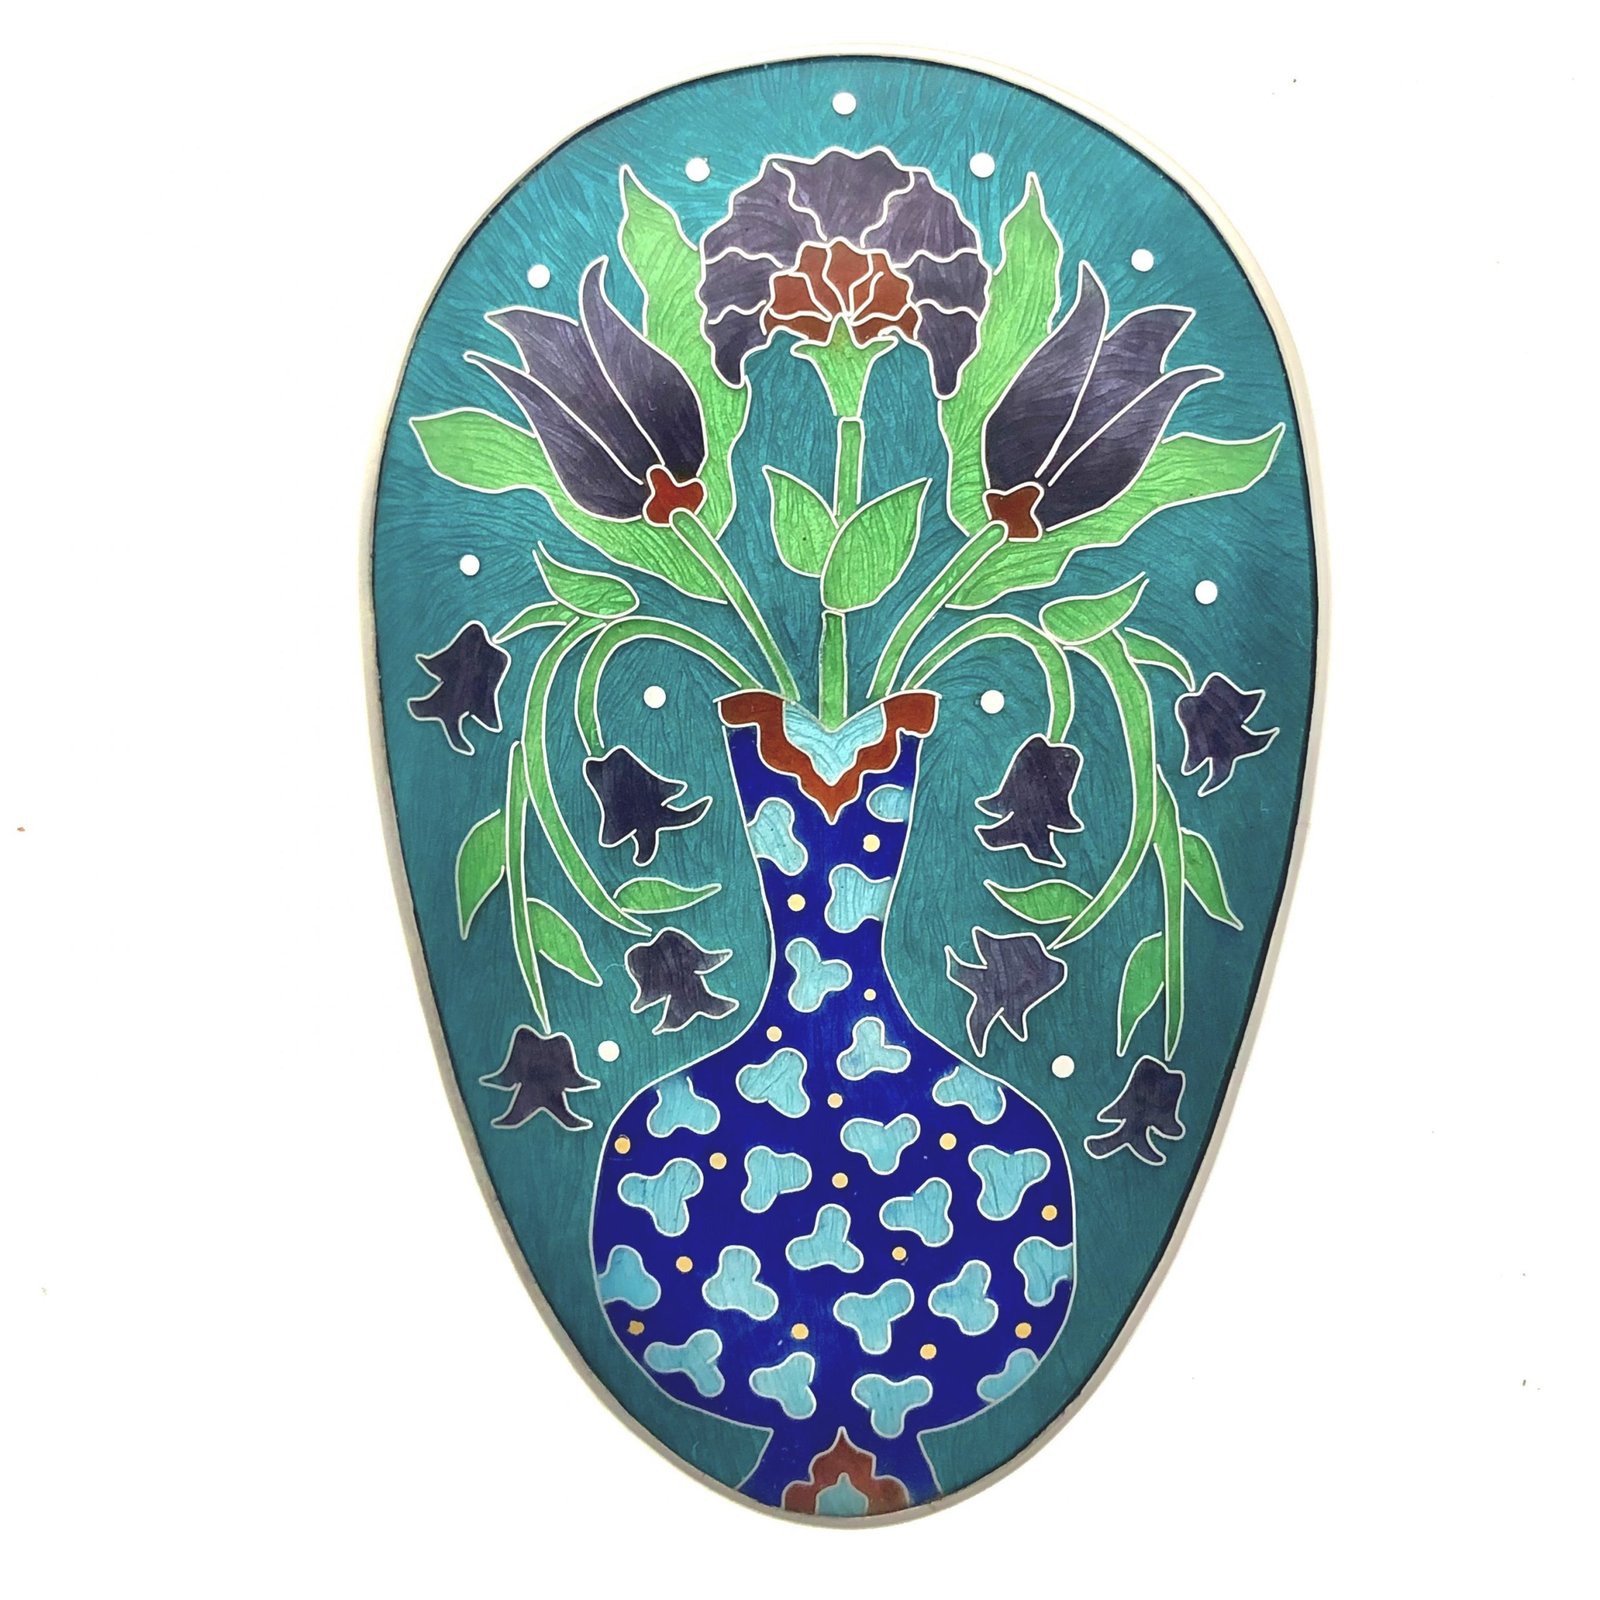
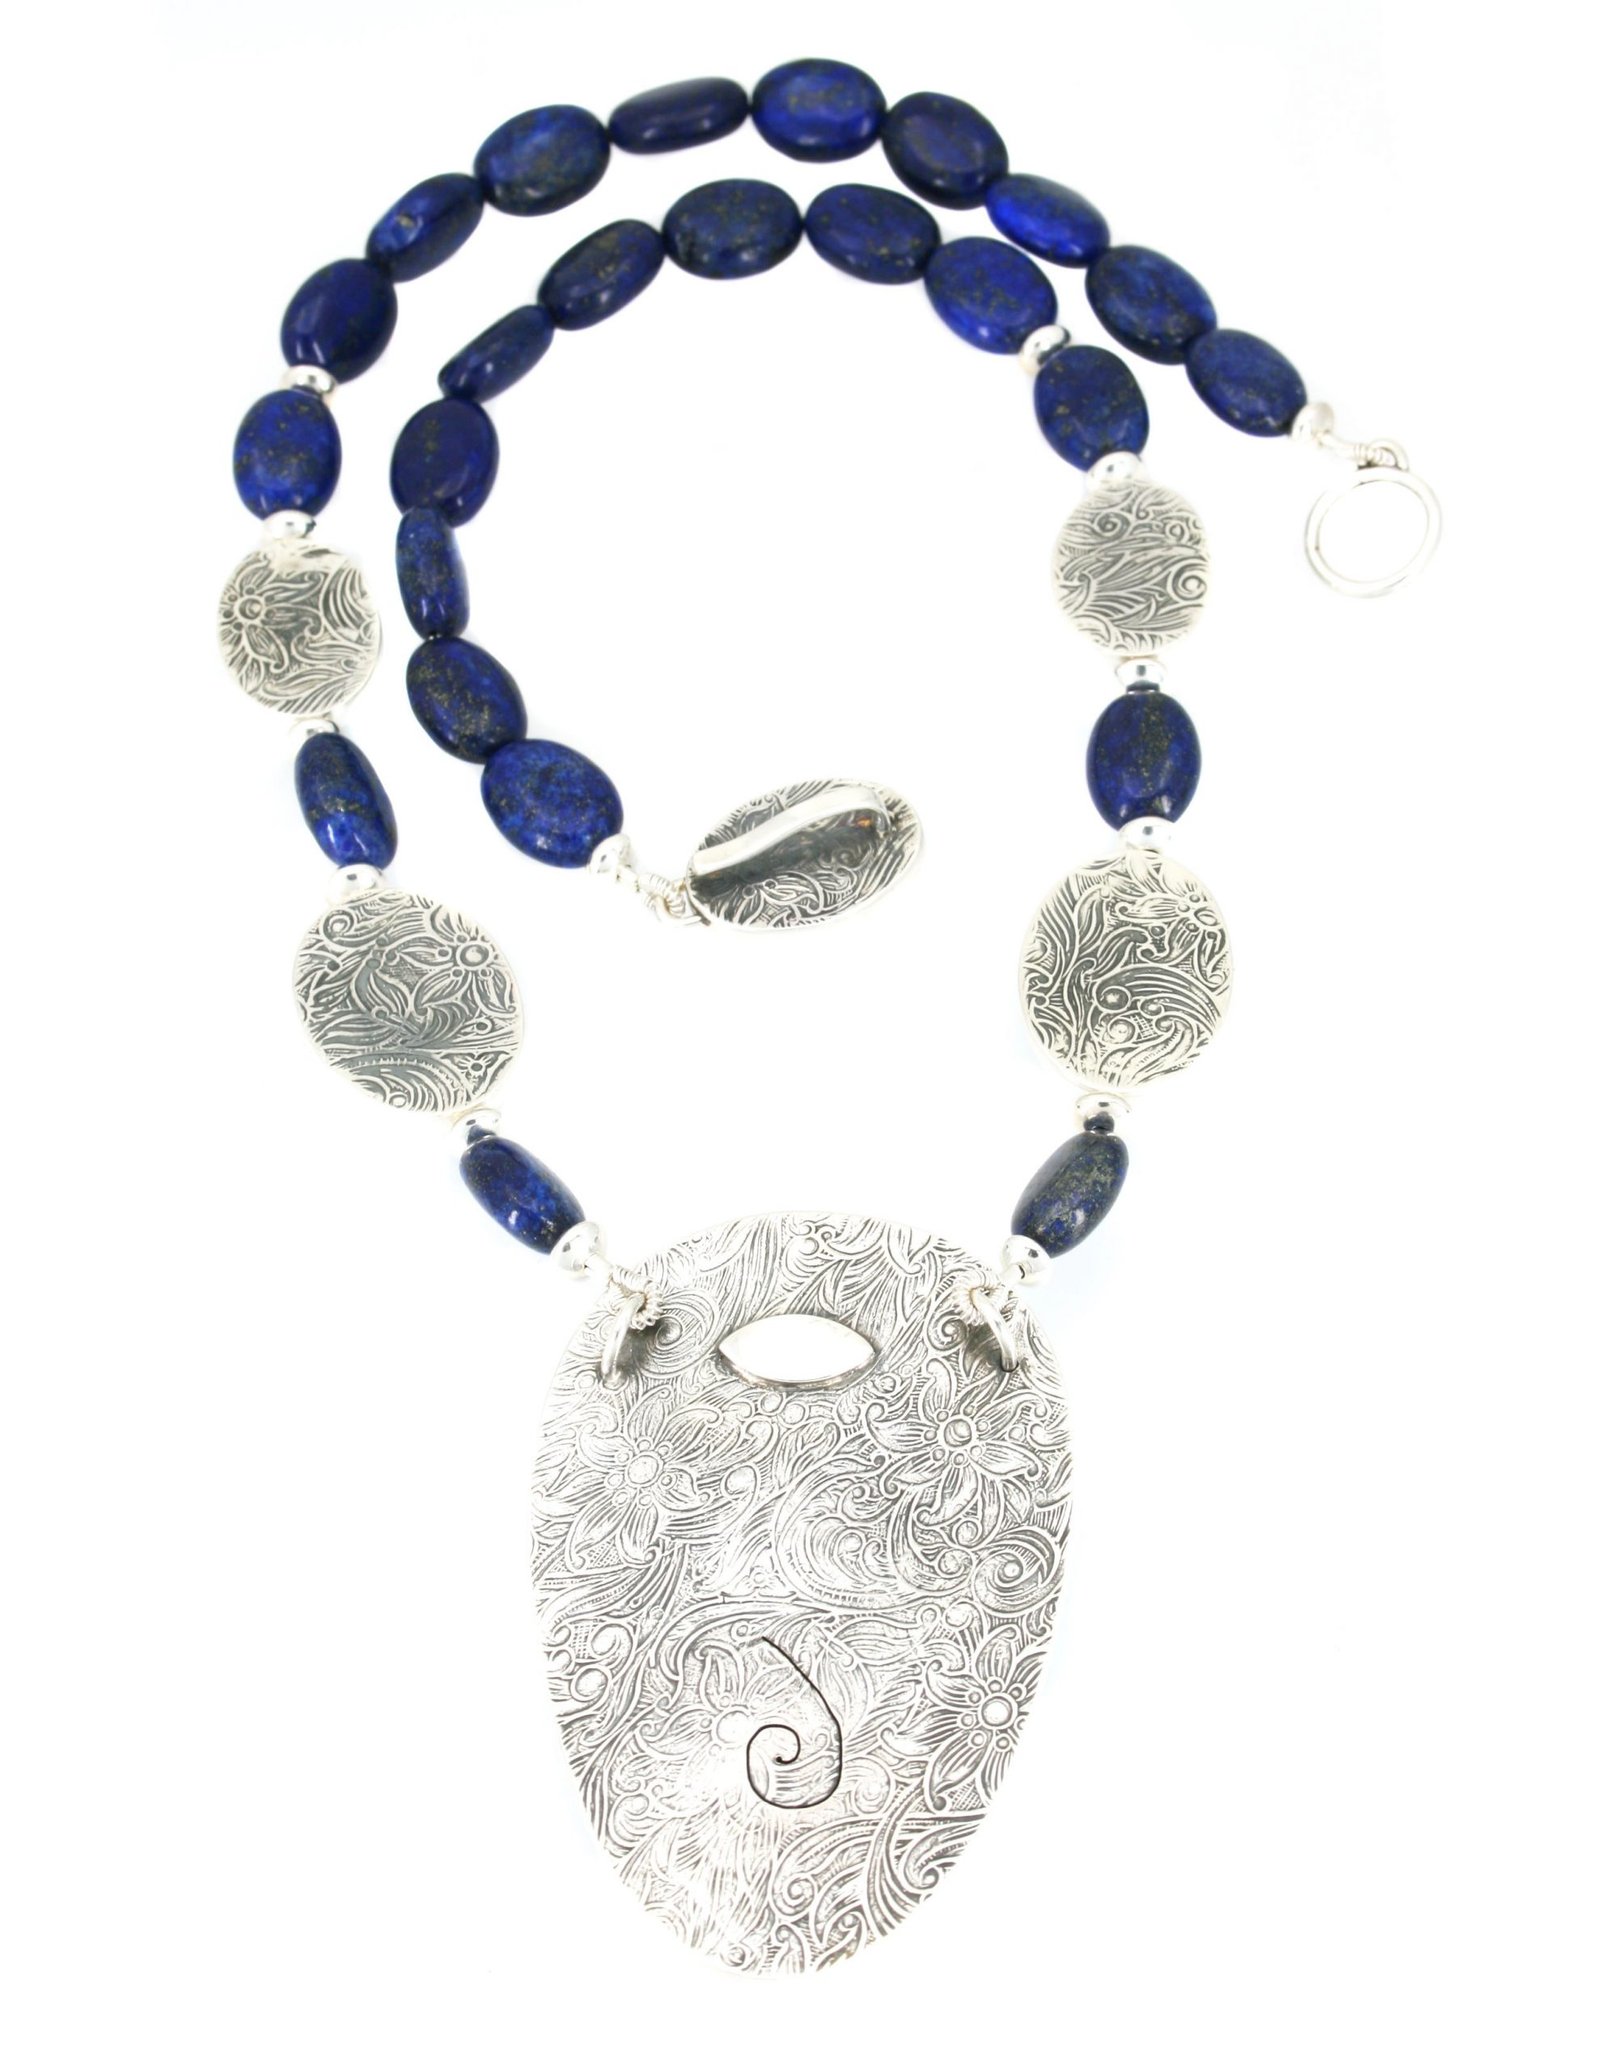
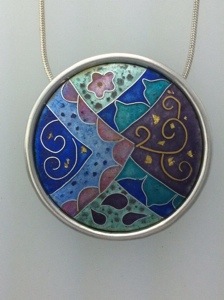
    This is the completed necklace. It has fine gold and fine silver dots which add sparkle to the final piece and each piece is set in a silver bezel setting I have made for it. If you want to know more about finishing enamel or the setting process then you may like to see some of the videos I have made that can be accessed from my website.
  • “For the Love of an Elephant“ new cloisonné enamel necklace

    “For the Love of an Elephant“ new cloisonné enamel necklace

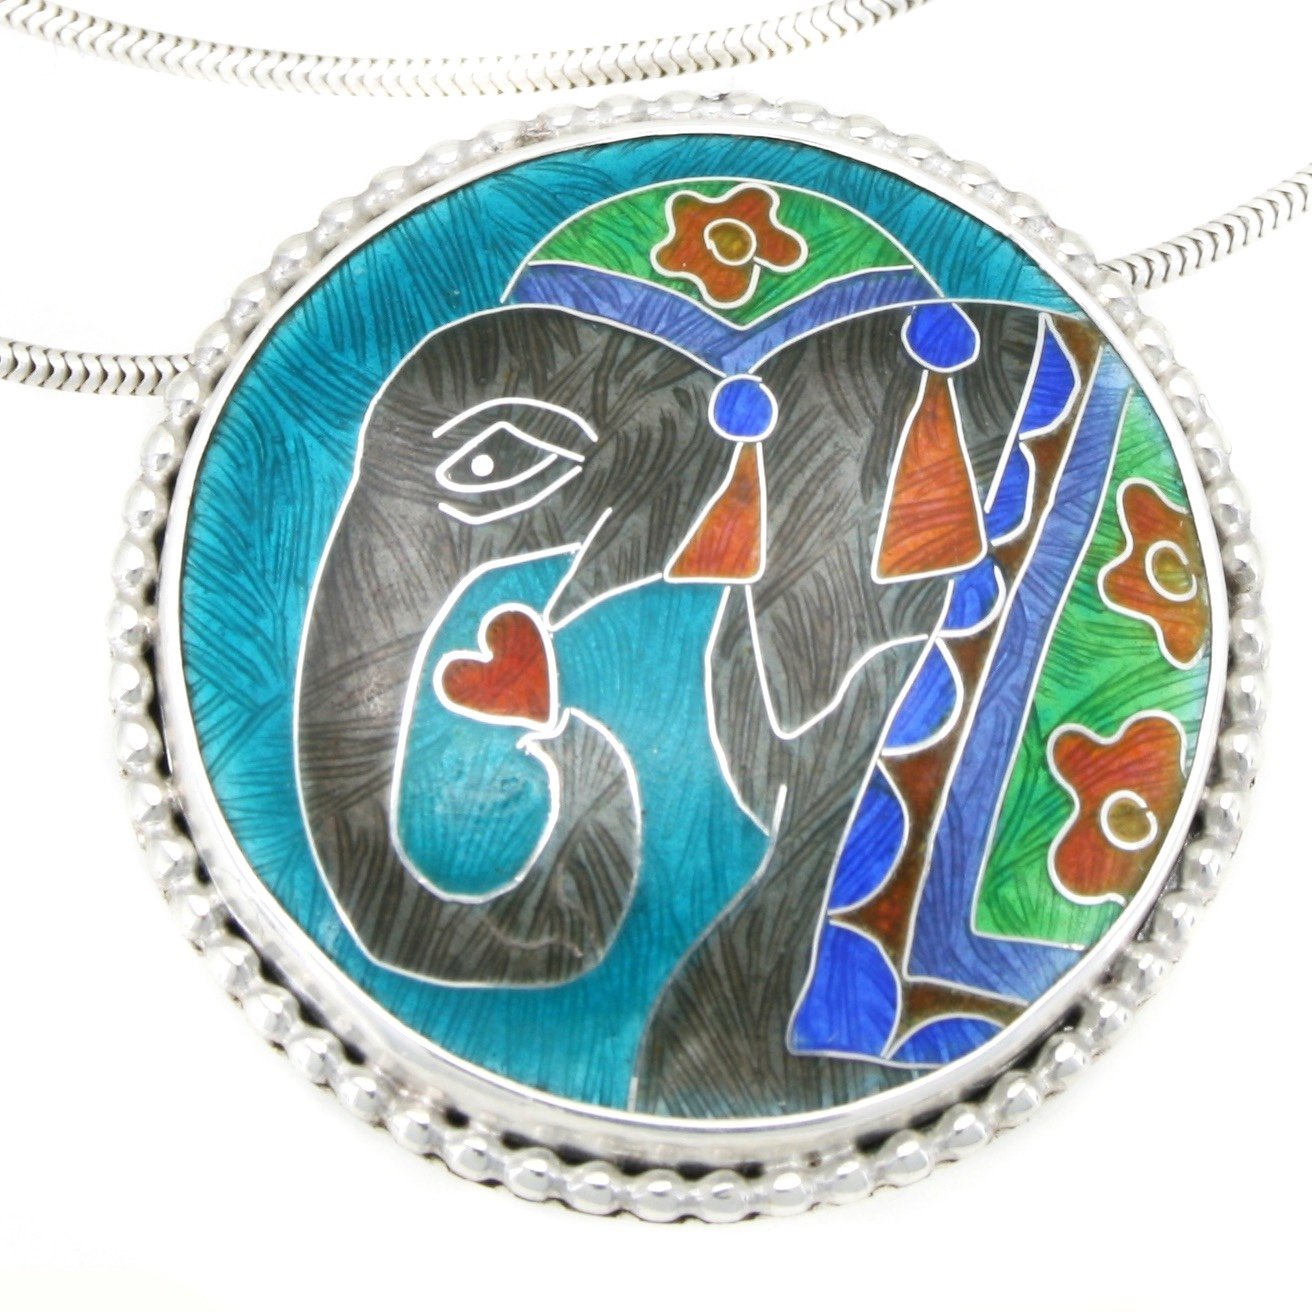
    For the Love of an Elephant cloisonné enamel necklace

    I made this necklace for the Cookson Gold February Design of the Month competition. The theme was Love and I immediately thought of this title and wanted to make a piece for it.

    The piece is cloisonné enamel on a hand engraved silver base in a silver setting. He is joyful and colourful and I wanted to make something uplifting for these challenging times. He is all dressed up for a festival or a party. He carries a heart in his upturned trunk. In the Hindu tradition an upward pointed trunk dispenses energy, luck and kindness. Elephants do this to greet friends and to express happiness. I hope he will bring happiness to the wearer and spread joy wherever he ends up!

    I was very excited when I heard he was the winning piece. They said ‘The judges chose this piece because they felt the piece was beautifully done and finished to perfection. They also liked the way the theme of love was shown in an non conventional way’. I won £100 to spend which should be quite easy  He has just gone to be hallmarked and then he will be available to purchase. He will cost £230 plus postage. Let me know if you want to reserve him to bring some happiness and joy to your life.

    Update. Buy him here in my Shop!

  • New ‘Memories’ Silver and Enamel Jewellery

    New ‘Memories’ Silver and Enamel Jewellery

    When  I first heard the theme of ‘Maps’ for this year’s Guild of Enamellers’ conference, I wasn’t sure it was for me! Maps and I do not have a happy relationship. All this squiggly lines that jiggle when I am anxious or stressed! Default emotions for me when I come to use one it has to be said. How my husband and I have stayed together when driving anywhere is a total mystery. Actually it isn’t because I used to drive whilst he navigated. I have only let him drive us places since Sat Navs came into being! These ideas have evolved during many sleepless nighttime design sessions. My best ideas come at about 3am! My recent jewellery has increasingly come to contain memories and emotions; hopes and dreams. These new pieces have continued to develop this theme. Jewellery with meaning in celebration or remembrance, to inspire and define you.

    Map of Memories Necklace - Brighton

    Map of Memories Necklace – Brighton

    Champleve enamel on sterling silver. Silver, Champleve enamel. SOJE 238,51,61,101,604,161B

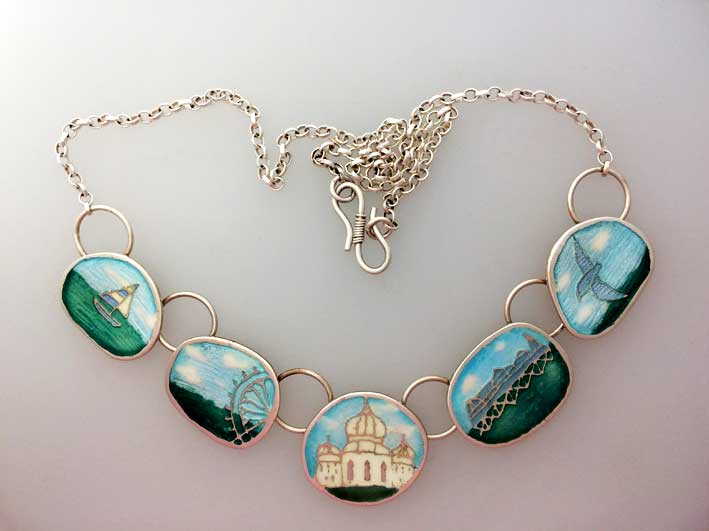
    Brighton is a very special place to my family and I. This Map of Memories necklace recalls many visits over the years, parking in Madeira Drive, walking along by the Wheel, up to the Brighton Pavilion in its green park, (one of my favourite places in the world,) and then back down to the sea to walk on the pier. I often seem to have been blessed with beautiful sunshine and a blue sky, even in winter so my Map of Memories Necklace symbolises the very best of days out in Brighton.

    Map of Memories Necklace - London

    Map of Memories Necklace – London

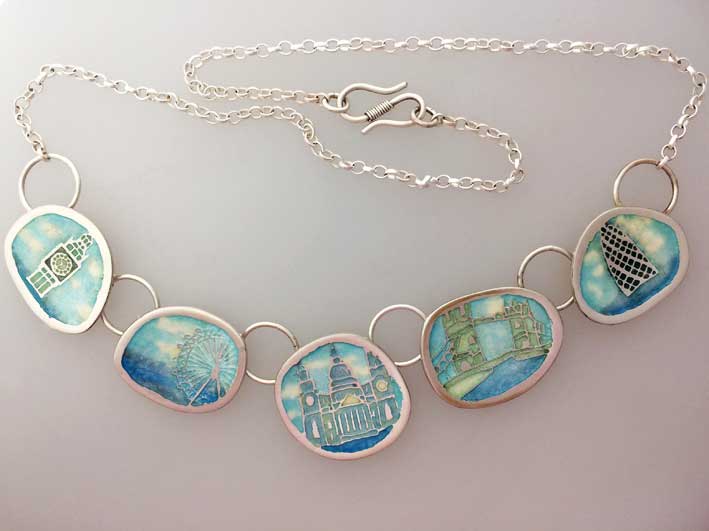
    Champleve enamel on silver. SOJE604,101,238 and BJG V23. All other colours are shaded with one over the other. The colours have been left pale to recall misty wintery days on the Thames.

    This Map of Memories necklace holds memories of many visits to London and trips down the river. Here we have embarked at Embankment and we travel down the river past Big Ben, the London Eye, St Paul’s cathedral, Tower Bridge and then the Gherkin Building. 

    The edges of both these necklaces are irregular because memory is never perfect and the silver is shaped like pebbles to hold the fragments of special memories.

    Precious Places Bracelet - Belfast

    Precious Places Belfast Bracelet

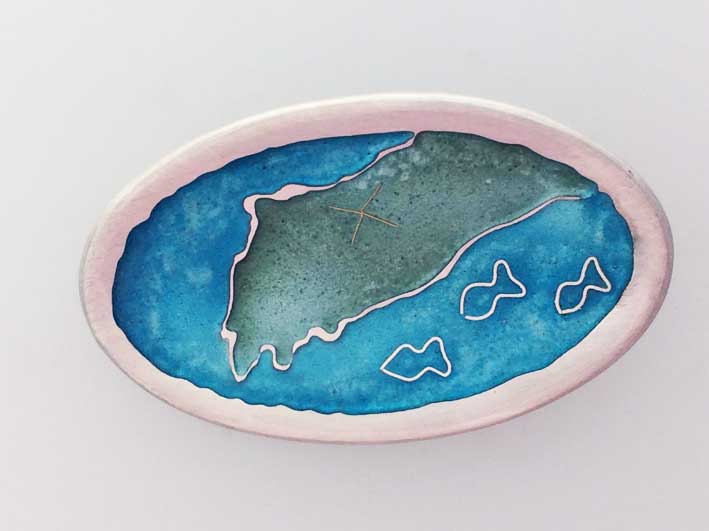
    I like the idea of a piece of jewellery holding memories of people and places. This is a map of the Northern Ireland coastline. A gold X marks where Belfast is. My son Kieran is at University here and I like to wear this bracelet and think of him.

    Silver, 18ct gold, SOJE45, SOJE161B

    Precious Places Brooch - Sorrento

    Precious Places Sorrento Brooch

    A map of the Italian coastline. A gold X marks Sorrento. This is a place which holds lots of happy memories for my family and I. The concave shape holds the memory as a secret, thus it appears decorative with only selected people understanding the meaning.

    Silver, 18ct gold, SOJE45, SOJE161B

  • Jyp’s Jewels – Ladybird Magic Carpet Pendant

    Jyp’s Jewels – Ladybird Magic Carpet Pendant

    Jyp DogIntroducing Jyp the dog, my faithful Workshop Apprentice and Chief Watch Dog. This year, following on from my occasional Blog Post series, ‘Jyp’s Jewels’ I have decided to make him a monthly feature. Every month, Jyp will present to you his favourite piece. I have insisted that he only chooses jewellery and not bones or balls!

    Ladybird Magic Carpet Pendant

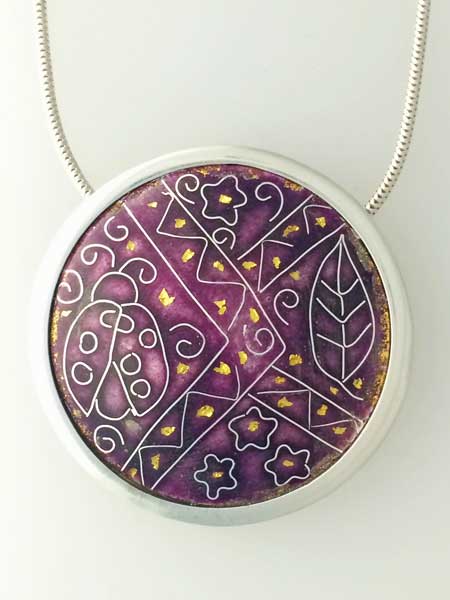
    The first piece for 2016, is a custom ‘Magic Carpet’ pendant in one of my hand made silver moon settings. This was commission for a client who was giving it as a special birthday gift to a lady who loved Ladybirds.

    magic carpet pendant ladybird

    I had lots of fun designing it and you can see I have included flowers and leaves too. The piece is cloisonne enamel on fine silver, in a sterling silver silver moon setting. We decided to do just one colour and let the silver wire delineate the design, making it a more sophisticated piece than having it bright colours. The design has been highlighted with flecks of pure gold before rubbing down and finely polishing.

  • Pets on Jewellery

    Pets on Jewellery

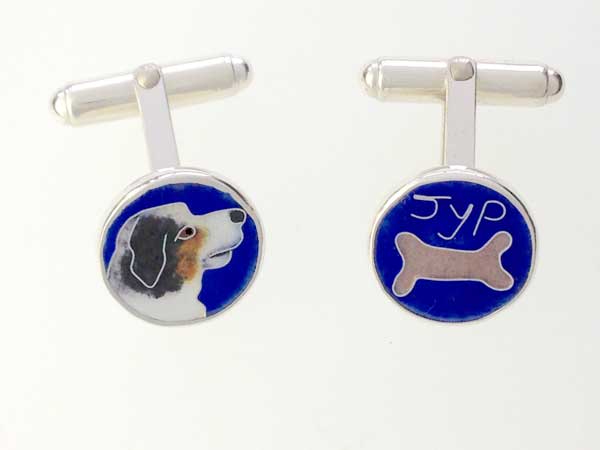
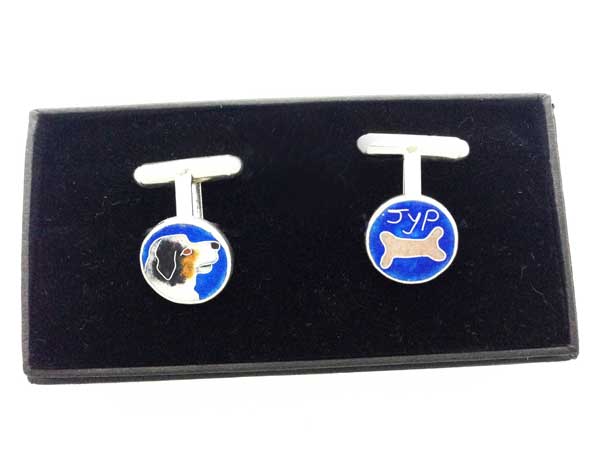
    I have been working on a new idea. Cufflinks for my husband with our dog Jyp on. They are cloisonne enamel on fine silver, set in hallmarked sterling silver cufflinks and they measure 14 mm in diameter. The idea would also work well as earrings or as a pendant too. Each side could have a different pet on or as here, a motif with the pet’s name. I plan to offer them as a commission piece.

    Jyp-Cufflinks

    Jyp-cufflinks-box

    Jyp-dog

  • April ‘Critter of the Month’ 2015

    April ‘Critter of the Month’ 2015

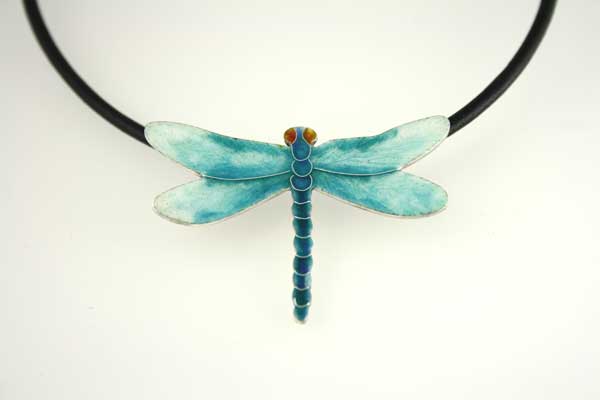
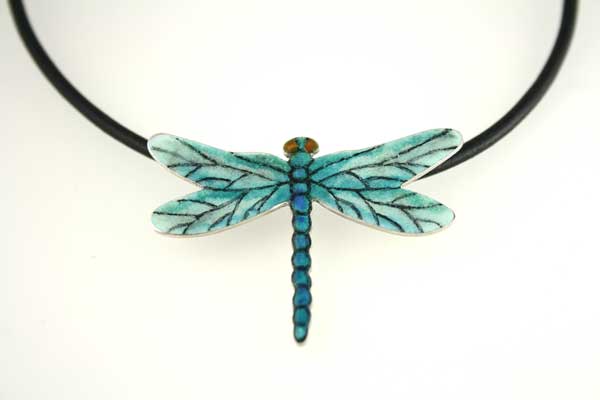
    Two new Dragonfly pendants for this month. They are both enamel on silver and hang on a leather thong. One is cloisonné enamel and the other has painted under-glaze details. Hope you like them.

    Dragonfly-Pendant-cloisonne Dragonfly-Pendant-Silver

  • Getting Started and the Design Process

    Getting Started and the Design Process

    This morning’s blog post by Grace Marshall http://grace-marshall.com/starting-badly/ really resonated with me and I have to share it because it is a problem familiar to most artists and designers. I had a design to do for a client that was a little out of my comfort zone. I did some preparatory sketches some time ago and it has been sitting waiting for me to get back to it. A few weeks ago I spent some time on Pinterest making a board to help whilst I was sitting watching telly one evening. I was ready to start but whenever I have some time, somehow I always found something else to do, like actually making something in my studio. Mother’s Day afternoon was a perfect opportunity. It was wet and dismal so husband and I divided the dining room table in half. He did what he wanted to do on one half, and I set myself up with pens, pencils and the chocolates my son had bought me. As I always tell my students, starting is the hardest thing. It is so true. I had been putting it off until I could see the finished design in my mind but it wasn’t happening. I needed to actually work through things with paper and pens to get to where I wanted to be.

    To start with, I sketched elements that were troubling me from the inspiration board on Pinterest that I had made. I did this from my iPad. Then I incorporated elements into drawings I had already made. When I work on designs I repeatedly trace them, incorporating changes each time. This time I used the scanner on my printer which saved a lot of time as I just needed to draw on top of the last print and then trace that and repeat the process. Over the course of the afternoon the design evolved into something I am really pleased with. I also used the scanner on my printer to change the size. Eventually I was pleased with my design and I could add colour. I feel such a sense of achievement! I can’t wait to show my client. Hope she likes it. Let me know how you get over the problem when you are stuck. I would love to know and perhaps we can learn from each other.

  • New Ammonite ‘Fossil’ Pendants

    New Ammonite ‘Fossil’ Pendants

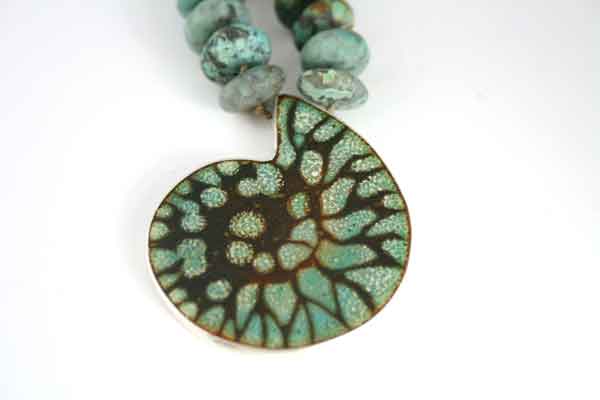
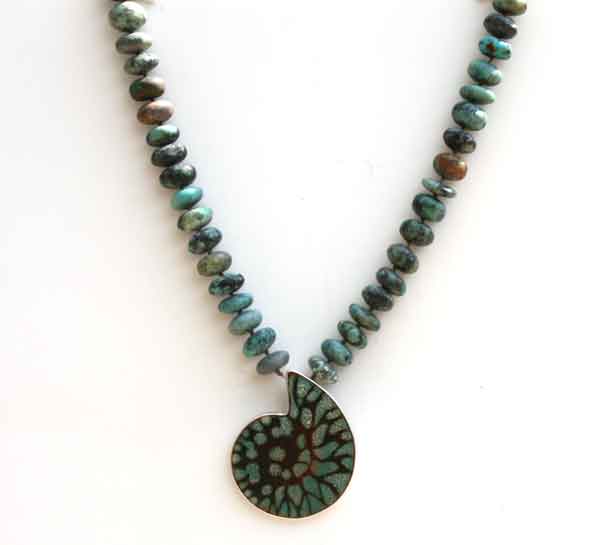
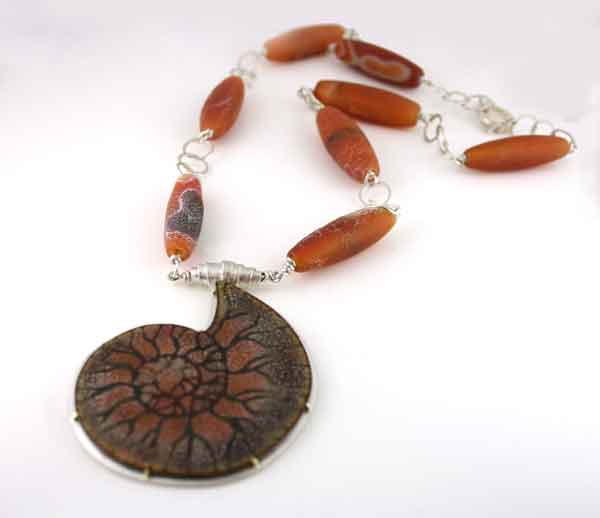
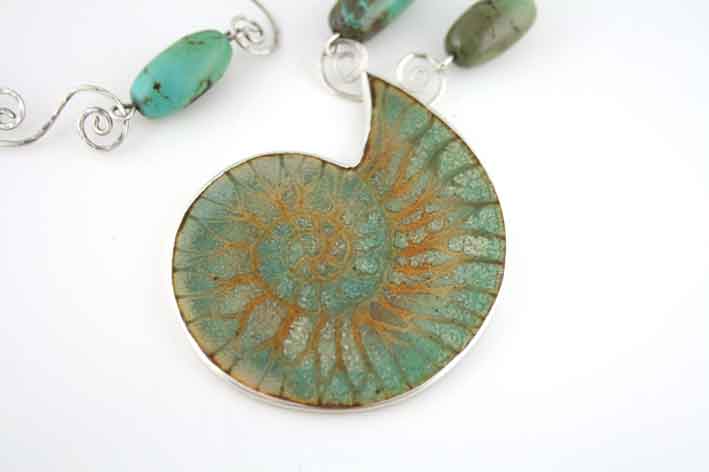
    I have been working on some new ‘statement’ Ammonite ‘Fossil’ necklaces that I would like to share with you. The enamels have been created using Sgraffitto techniques. They are all on copper and I have set them in silver, sometimes with the addition of 18ct gold prongs.  Hope you like them.

    Small Turquoise Enamel ‘Fossil’ set in Silver bezel

    • Hand-made silver clasp
    • Matt Turquoise Beads on hand knotted silk
    • Enamel is approximately 45mm x 40mm
    • Length of necklace is approximately 48 cm

    Turquoise Enamel Ammonite Fossil with Turquoise Beads
    Turquoise Enamel Ammonite Fossil with Turquoise Beads

    Turquoise-Fossil-with-Knotted-Turquoise-beads-2 Turquoise-Fossil-with-Knotted-Turquoise-beads-3


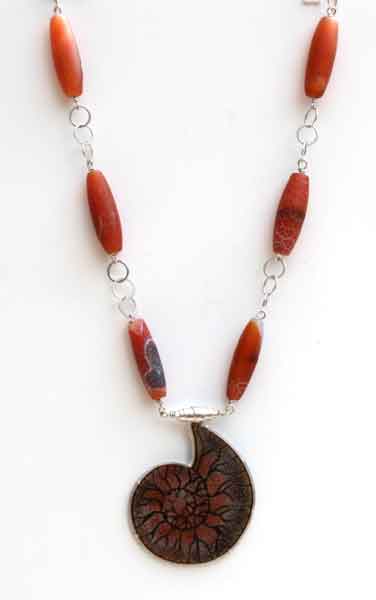
    Large Orange Enamel’ Fossil’ with 18ct gold prong setting on sterling silver

    • Hand-made silver clasp, bail and chain
    • Matt ‘Dragon Skin’ beads
    • Enamel is approximately 65mm x 55mm
    • Length of necklace is approximately 68mm

    Orange Ammonite Fossil Necklace with Dragon Skin Beads
    Orange Ammonite Fossil Necklace with Dragon Skin Beads

    Orange-Fossil-with-Dragon-Skin-Beads-and-chain-2 Orange-Fossil-with-Dragon-Skin-Beads-and-chain-3

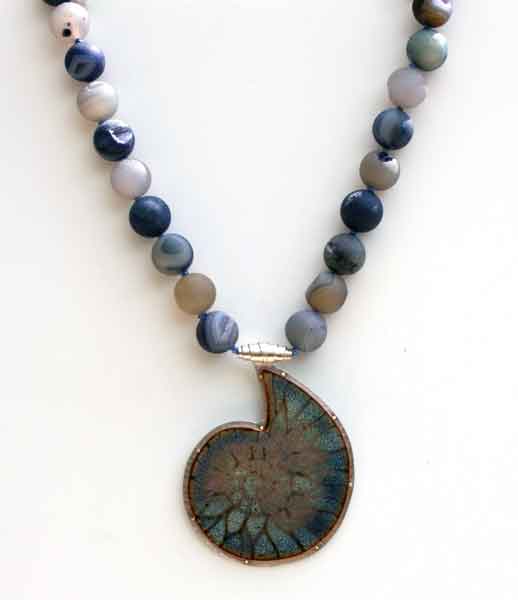
    Large Blue Enamel ‘Fossil’ with 18ct gold prong setting on sterling silver

    • Hand-made silver clasp and bail
    • Matt Agate beads on hand knotted silk
    • Enamel is approximately 65mm x 55mm
    • Length of necklace is approximately 50mm

    Blue Ammonite Fossil Necklace with Agate Beads
    Blue Ammonite Fossil Necklace with Agate Beads

    Blue-Fossil-with-Knotted-Agate-Beads-2 Blue-Fossil-with-Knotted-Agate-Beads-3

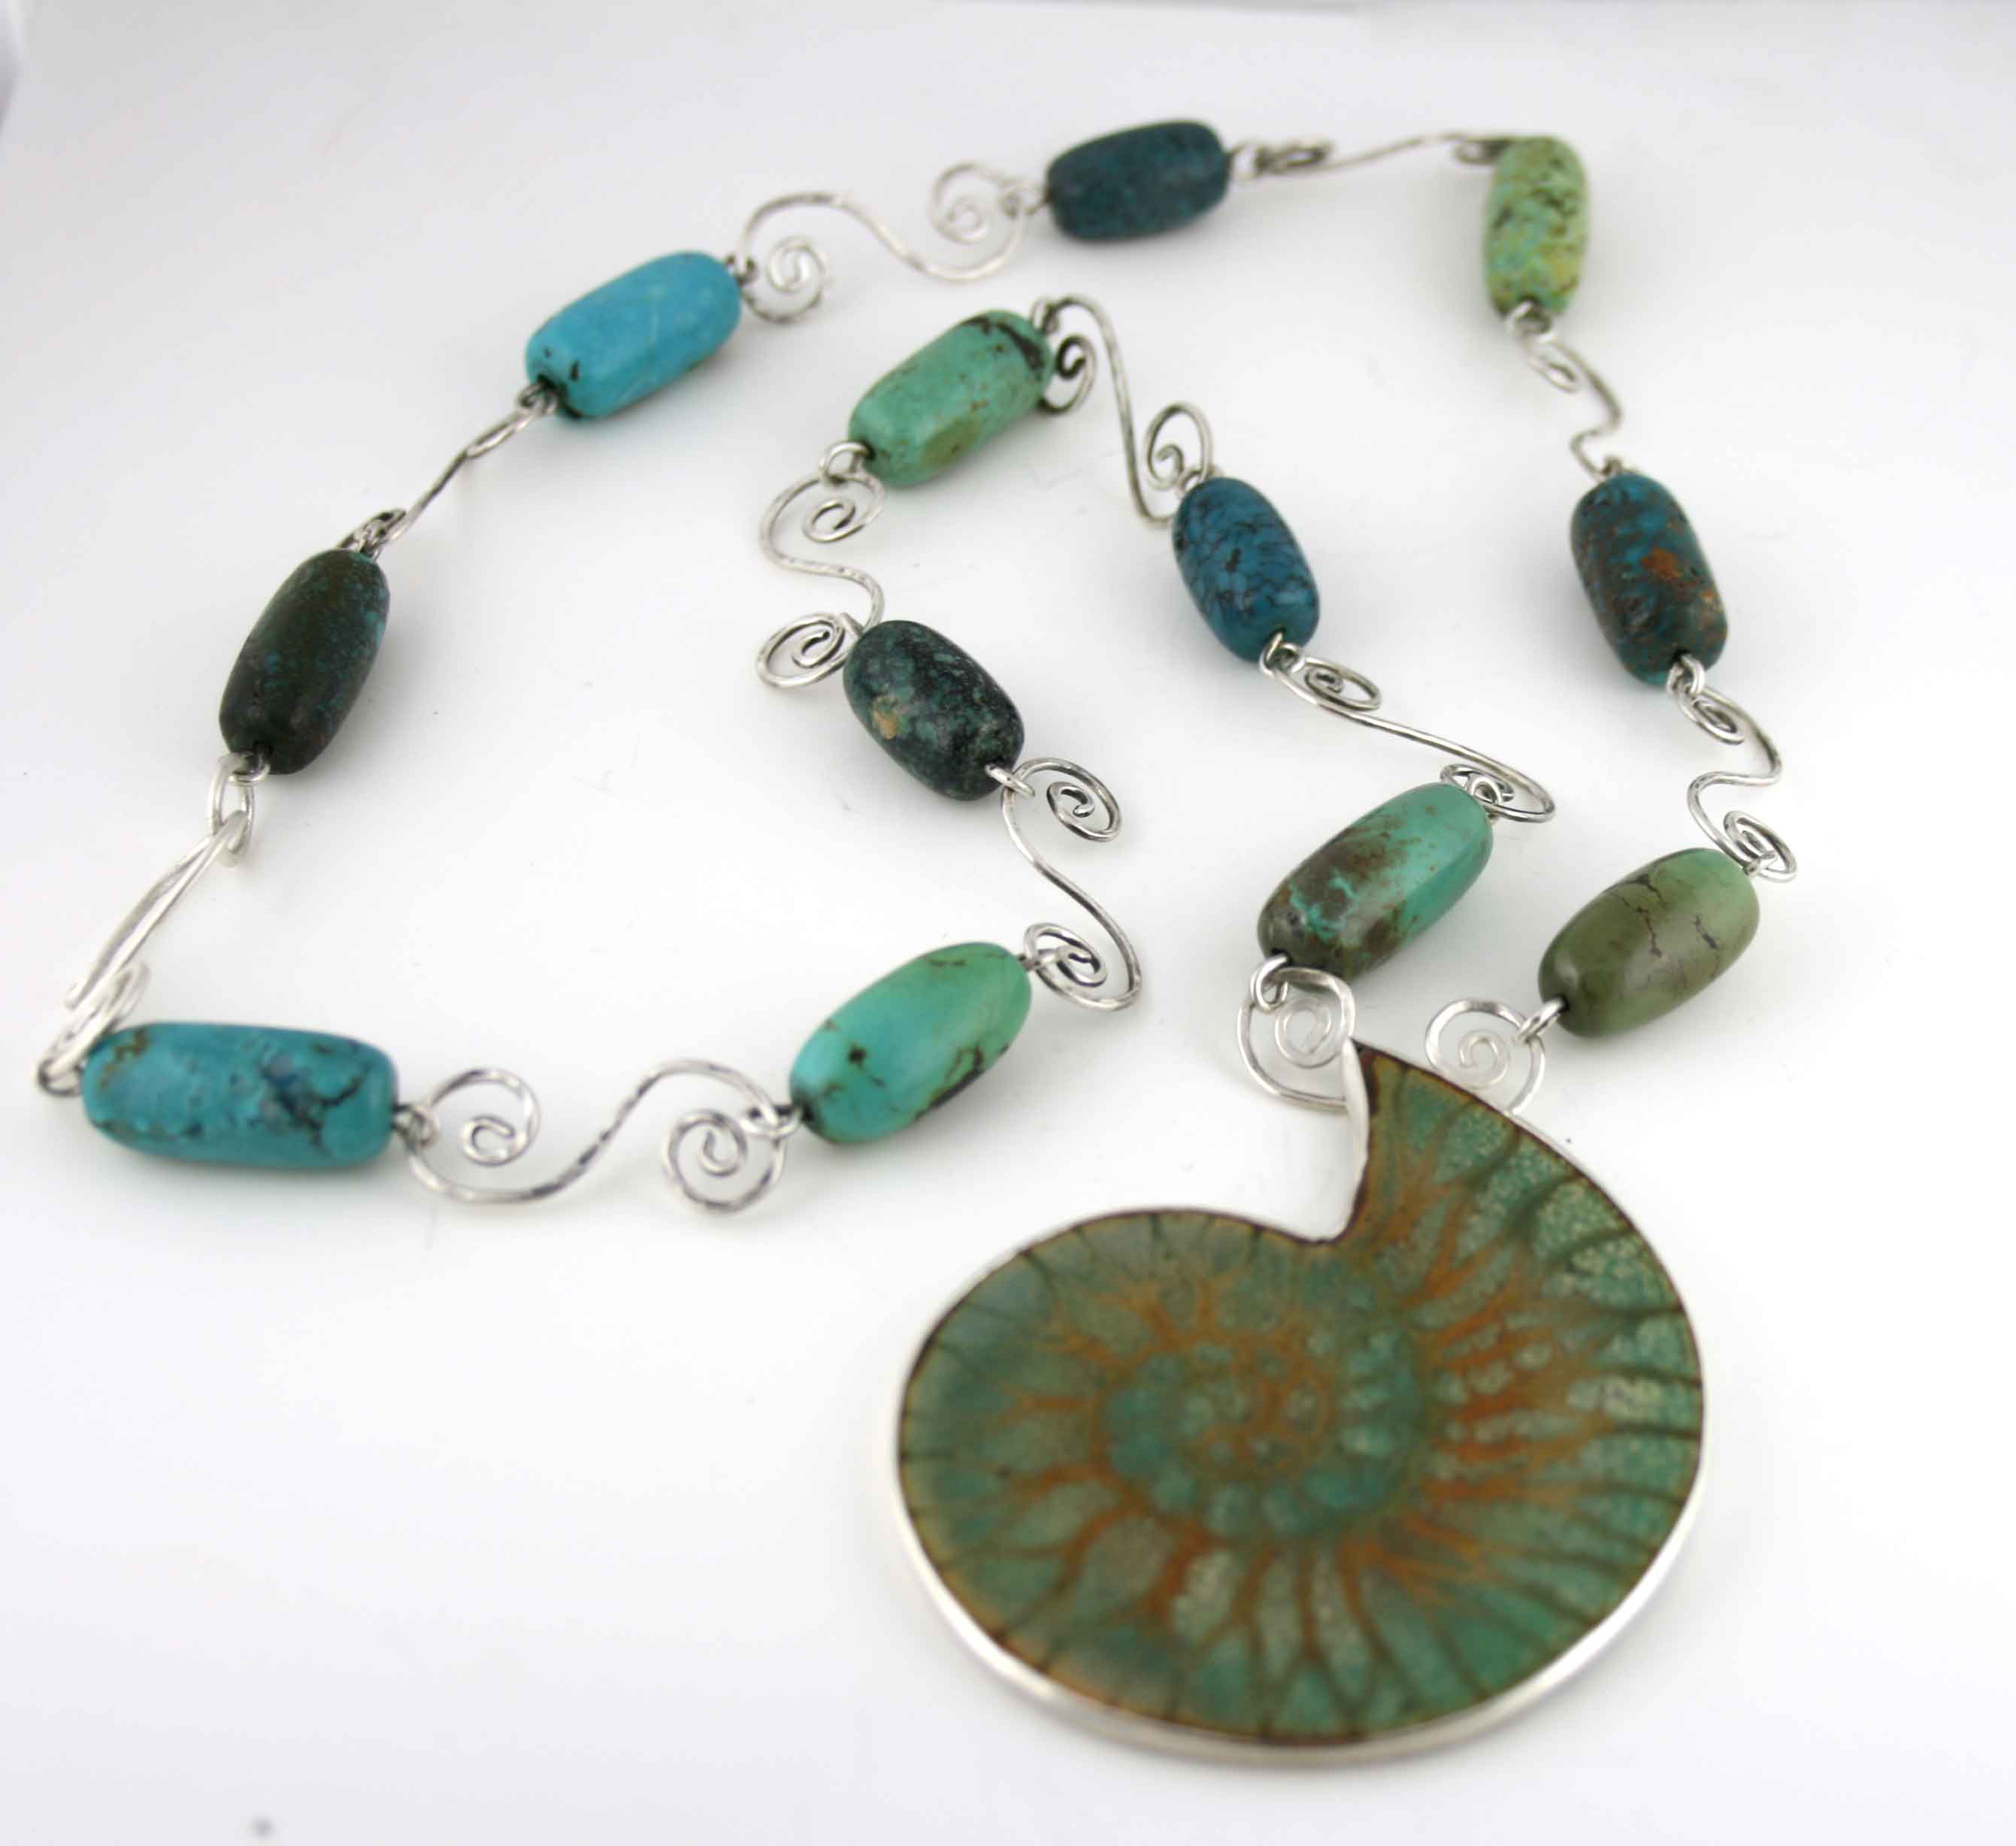
    Large Turquoise Enamel ‘Fossil’ set in silver bezel

    • Hand-made silver clasp and chain
    • Turquoise beads
    • Enamel is approximately 65mm x 55mm
    • Length of necklace is approximately 68mm

    Large Turquoise Ammonite Fossil with Turquoise Beads
    Large Turquoise Ammonite Fossil with Turquoise Beads

    Turquoise-Fossil-with-Turquoise-beads-and-Coil-Links Turquoise-Fossil-with-Turquoise-beads-and-Coil-Links-2

  • Cloisonné Enamel – The Making of my New Magic Carpet Pendant

    Cloisonné Enamel – The Making of my New Magic Carpet Pendant

    Cloisonné Enamel – The Making of my New Magic Carpet Pendant

    Cloisonné enamel is where fine wires are embedded in the enamel to create the design. There are a lot of different stages involved in making a piece using this technique and I decided to use my new Nimbus Cloud Dome to take pictures of the making of my new ‘Magic Carpet’ inspired Cloisonné enamel piece.

    20140207-165052.jpg
    This shows the wires laid onto the base. In this case I am using fine silver foil on a copper base. I have used Soyer Silver flux over the foil and fired that before starting to add the wires. I have used fine silver and fine gold wires. They were fired into place in two separate firings as the design was too complicated to do all in one. I use Kyre-fire to hold the wires in place to go into the kiln.

    20140207-165743.jpg
    This shows the first layer of colour fired into place. I have used a light blue under where the pink will go. I find that this helps the pink to fire a better colour.

    20140207-165924.jpg
    This shows the second layer of colour that has been wet laid into the cells before it is fired. It is quite tricky where the design is complex to keep the colours separate. A good light and  the right glasses are essential!

    20140207-170135.jpg
    Here the second layer has been fired. I am really pleased with the pink particularly.

    20140207-170348.jpg
    Here I have added fine gold foils and painted oxides to the design. After firing I will then complete the enamelling with two layers of Blythes Medium flux. The two layers will be fired separately. If you apply it too thick it tends to go cloudy and obscure the colours. After the last firing I use a fine diagrit to rub all over the enamel to remove any excess. The aim is to achieve a level surface with no high spots or depressions. The latter show up as a shiny patch amid an otherwise matte surface. If necessary, I add more medium flux and refine and then repeat this stage. When all is flat and perfect I use a succession of wet and dry paper with lots of water to achieve a soft eggshell finish. I use Renaissance Wax to seal the surface and to protect it.

    20140207-170619.jpg
    This is the finished piece before setting. There are hours of work involved to get to this stage.

    20140207-171142.jpg

    The completed Cloisonné Enamel ‘Magic Carpet’ inspired enamel set in a sterling silver surround.

  • Thursday Tip – Carefree Lustre Part 1

    Thursday Tip

    Welcome to the latest in a series of articles to do with enamelling and making jewellery. I hope you find them useful. I am writing about issues and problems I have experienced (and hopefully overcome), and tips and shortcuts concerning enamelling and making jewellery that I have come across in the course of the past twenty years or so. In this post I am going to tell you one of the ways I use Carefree Lustre in my enamelling.

    Carefree Lustre

    I like to add touches of gold to a lot of my enamels, just to add a little ‘twinkle’. I used to use precious metal essence. This is  very expensive and also very tricky to use. Recently I have been using Carefree Lustres and have been very pleased with the results. I buy mine from Enamelsupply.com. For those members of Guild of Enamellers who are coming to conference in April, Tom Lumsden will be attending and will bring small orders with him so saving on postage!

    Using Gold Carefree Lustre – Part 1

    Enamel on copper badge with gold Carefree Lustre detail
    Enamel on copper badge with gold Carefree Lustre detail


    I often like to add painted line detail using this. I take a little in a tiny pallet and using an eye dropper I add a drop of Klyre Fire and mix it. Using a fine brush I paint it on quite thickly. The surface needs to be free from grease and if it is ‘balling up’, I clean the surface with a cotton bud dipped in methylated spirit. The Carefree Lustre dries very quickly. When dry you can neaten lines by scratching back with a cocktail stick and blowing away the dust. I fire in a very hot kiln, around 950 – 1000 for 30 seconds. I then check it. There will probably be some dust still on the surface that will rub off but underneath should be fired. If necessary I return it to the kiln for another 20 seconds. It is very easy to over-fire and for it to burn out. Applying it in a thick layer gives you a little leeway. I keep the pallet in a resealable plastic bag and reconstitute it as required with a little more Carefree lustre and Kyre fire. If it is very hot where I am working, sometimes I might add a drop or two of water.

    Note: After I wrote this I acquired a Digital kiln. I have just tried firing for 1 minute at 900 and this worked well. I may try shortening the period to say 50 seconds another time.

    This is one way I use Carefree Lustre. I hope you find it useful and will have a go adding  Carefree Lustre detail to your enamels.