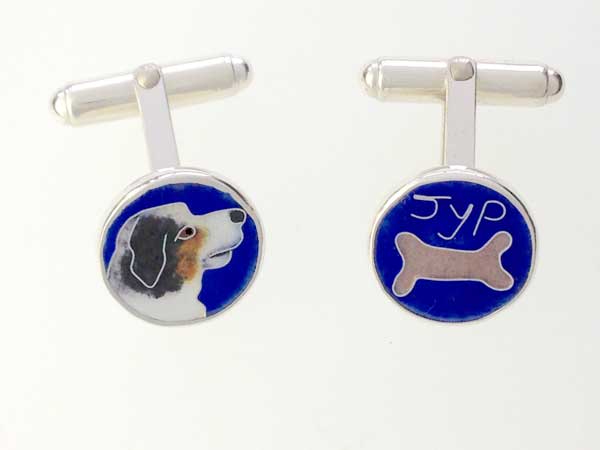
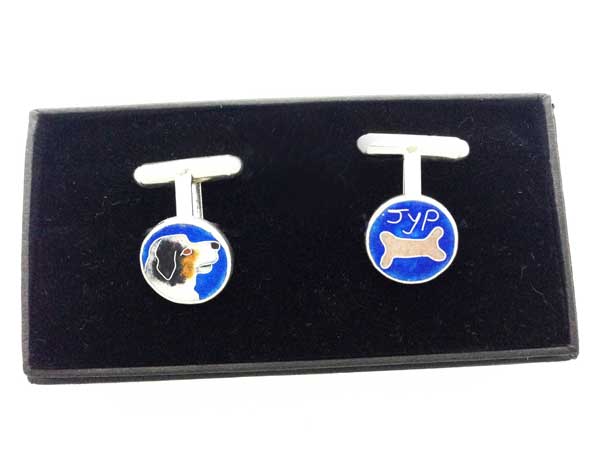
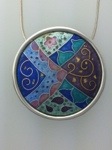
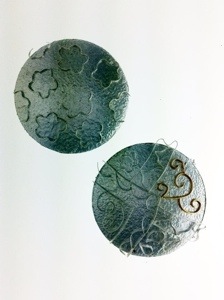
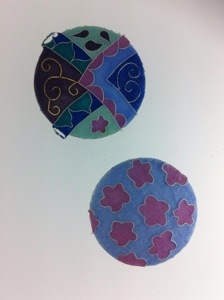
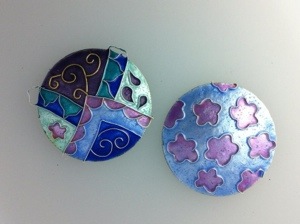
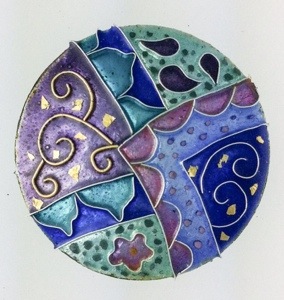
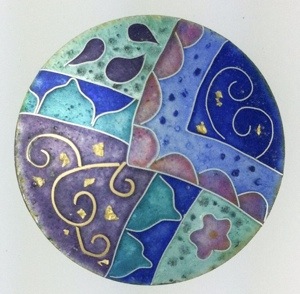
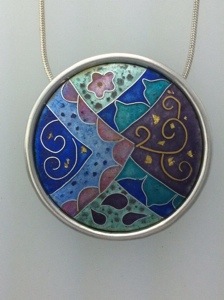
I have been working on a new idea. Cufflinks for my husband with our dog Jyp on. They are cloisonne enamel on fine silver, set in hallmarked sterling silver cufflinks and they measure 14 mm in diameter. The idea would also work well as earrings or as a pendant too. Each side could have a different pet on or as here, a motif with the pet’s name. I plan to offer them as a commission piece.
Tag: enamelling
-

April ‘Critter of the Month’ 2015
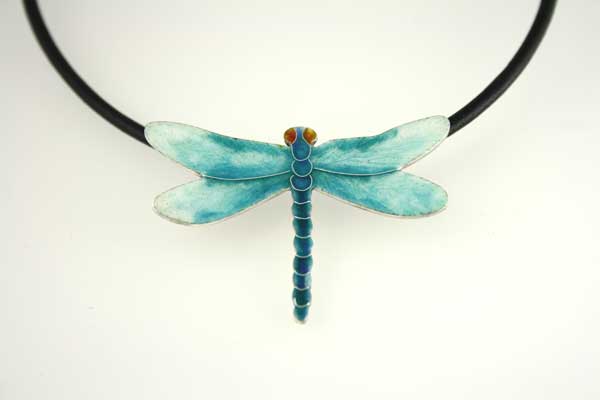
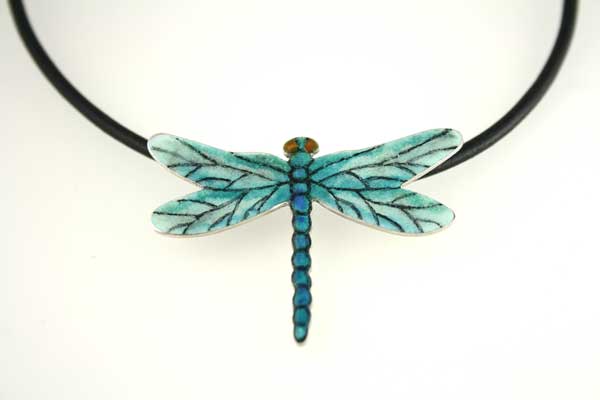
Two new Dragonfly pendants for this month. They are both enamel on silver and hang on a leather thong. One is cloisonné enamel and the other has painted under-glaze details. Hope you like them.
-

Getting Started and the Design Process
This morning’s blog post by Grace Marshall http://grace-marshall.com/starting-badly/ really resonated with me and I have to share it because it is a problem familiar to most artists and designers. I had a design to do for a client that was a little out of my comfort zone. I did some preparatory sketches some time ago and it has been sitting waiting for me to get back to it. A few weeks ago I spent some time on Pinterest making a board to help whilst I was sitting watching telly one evening. I was ready to start but whenever I have some time, somehow I always found something else to do, like actually making something in my studio. Mother’s Day afternoon was a perfect opportunity. It was wet and dismal so husband and I divided the dining room table in half. He did what he wanted to do on one half, and I set myself up with pens, pencils and the chocolates my son had bought me. As I always tell my students, starting is the hardest thing. It is so true. I had been putting it off until I could see the finished design in my mind but it wasn’t happening. I needed to actually work through things with paper and pens to get to where I wanted to be.
To start with, I sketched elements that were troubling me from the inspiration board on Pinterest that I had made. I did this from my iPad. Then I incorporated elements into drawings I had already made. When I work on designs I repeatedly trace them, incorporating changes each time. This time I used the scanner on my printer which saved a lot of time as I just needed to draw on top of the last print and then trace that and repeat the process. Over the course of the afternoon the design evolved into something I am really pleased with. I also used the scanner on my printer to change the size. Eventually I was pleased with my design and I could add colour. I feel such a sense of achievement! I can’t wait to show my client. Hope she likes it. Let me know how you get over the problem when you are stuck. I would love to know and perhaps we can learn from each other.
-

New Ammonite ‘Fossil’ Pendants
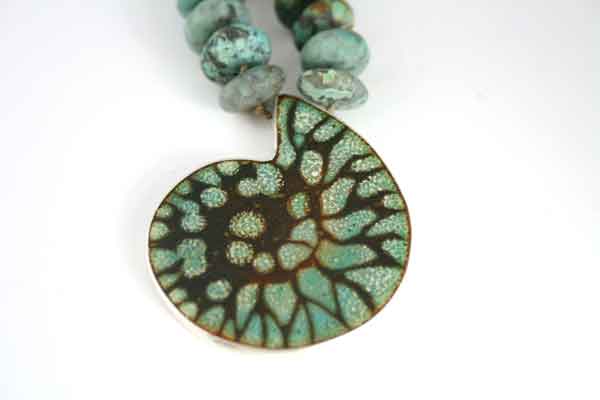
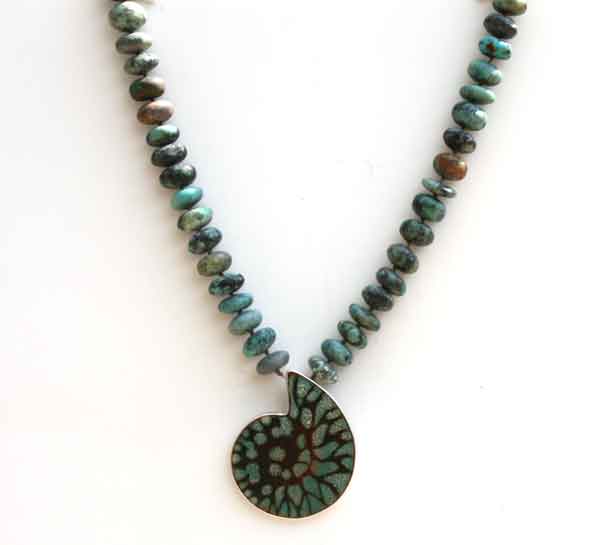
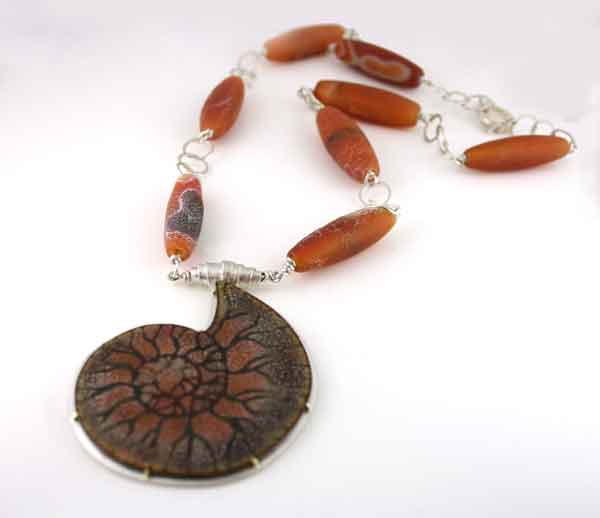
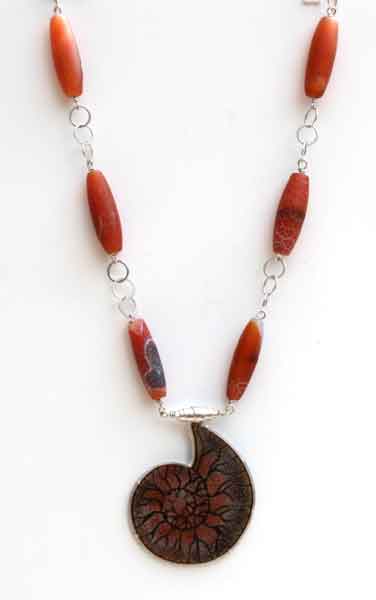
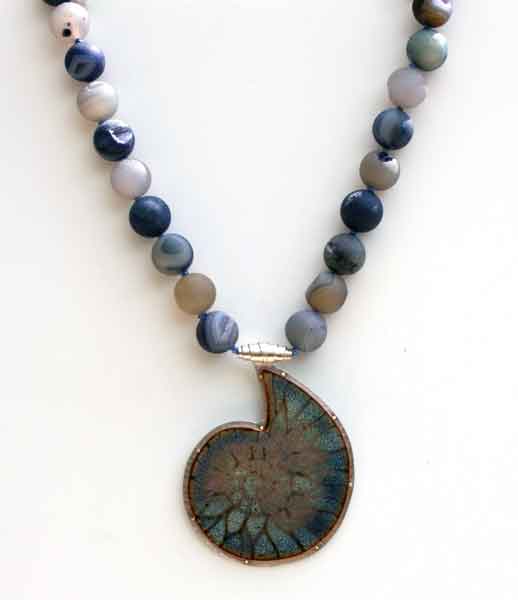
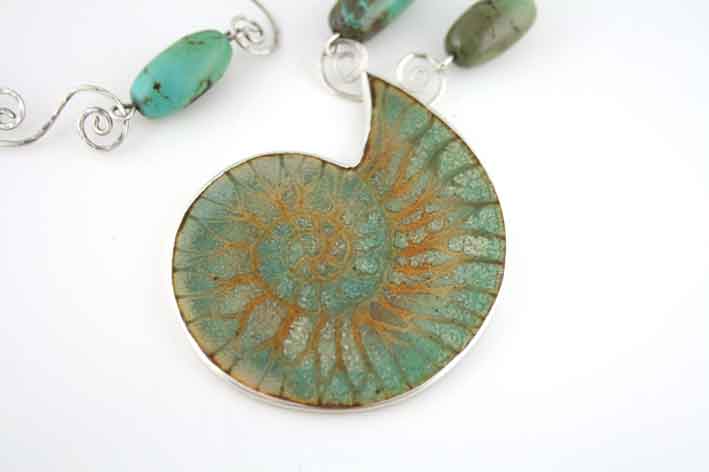
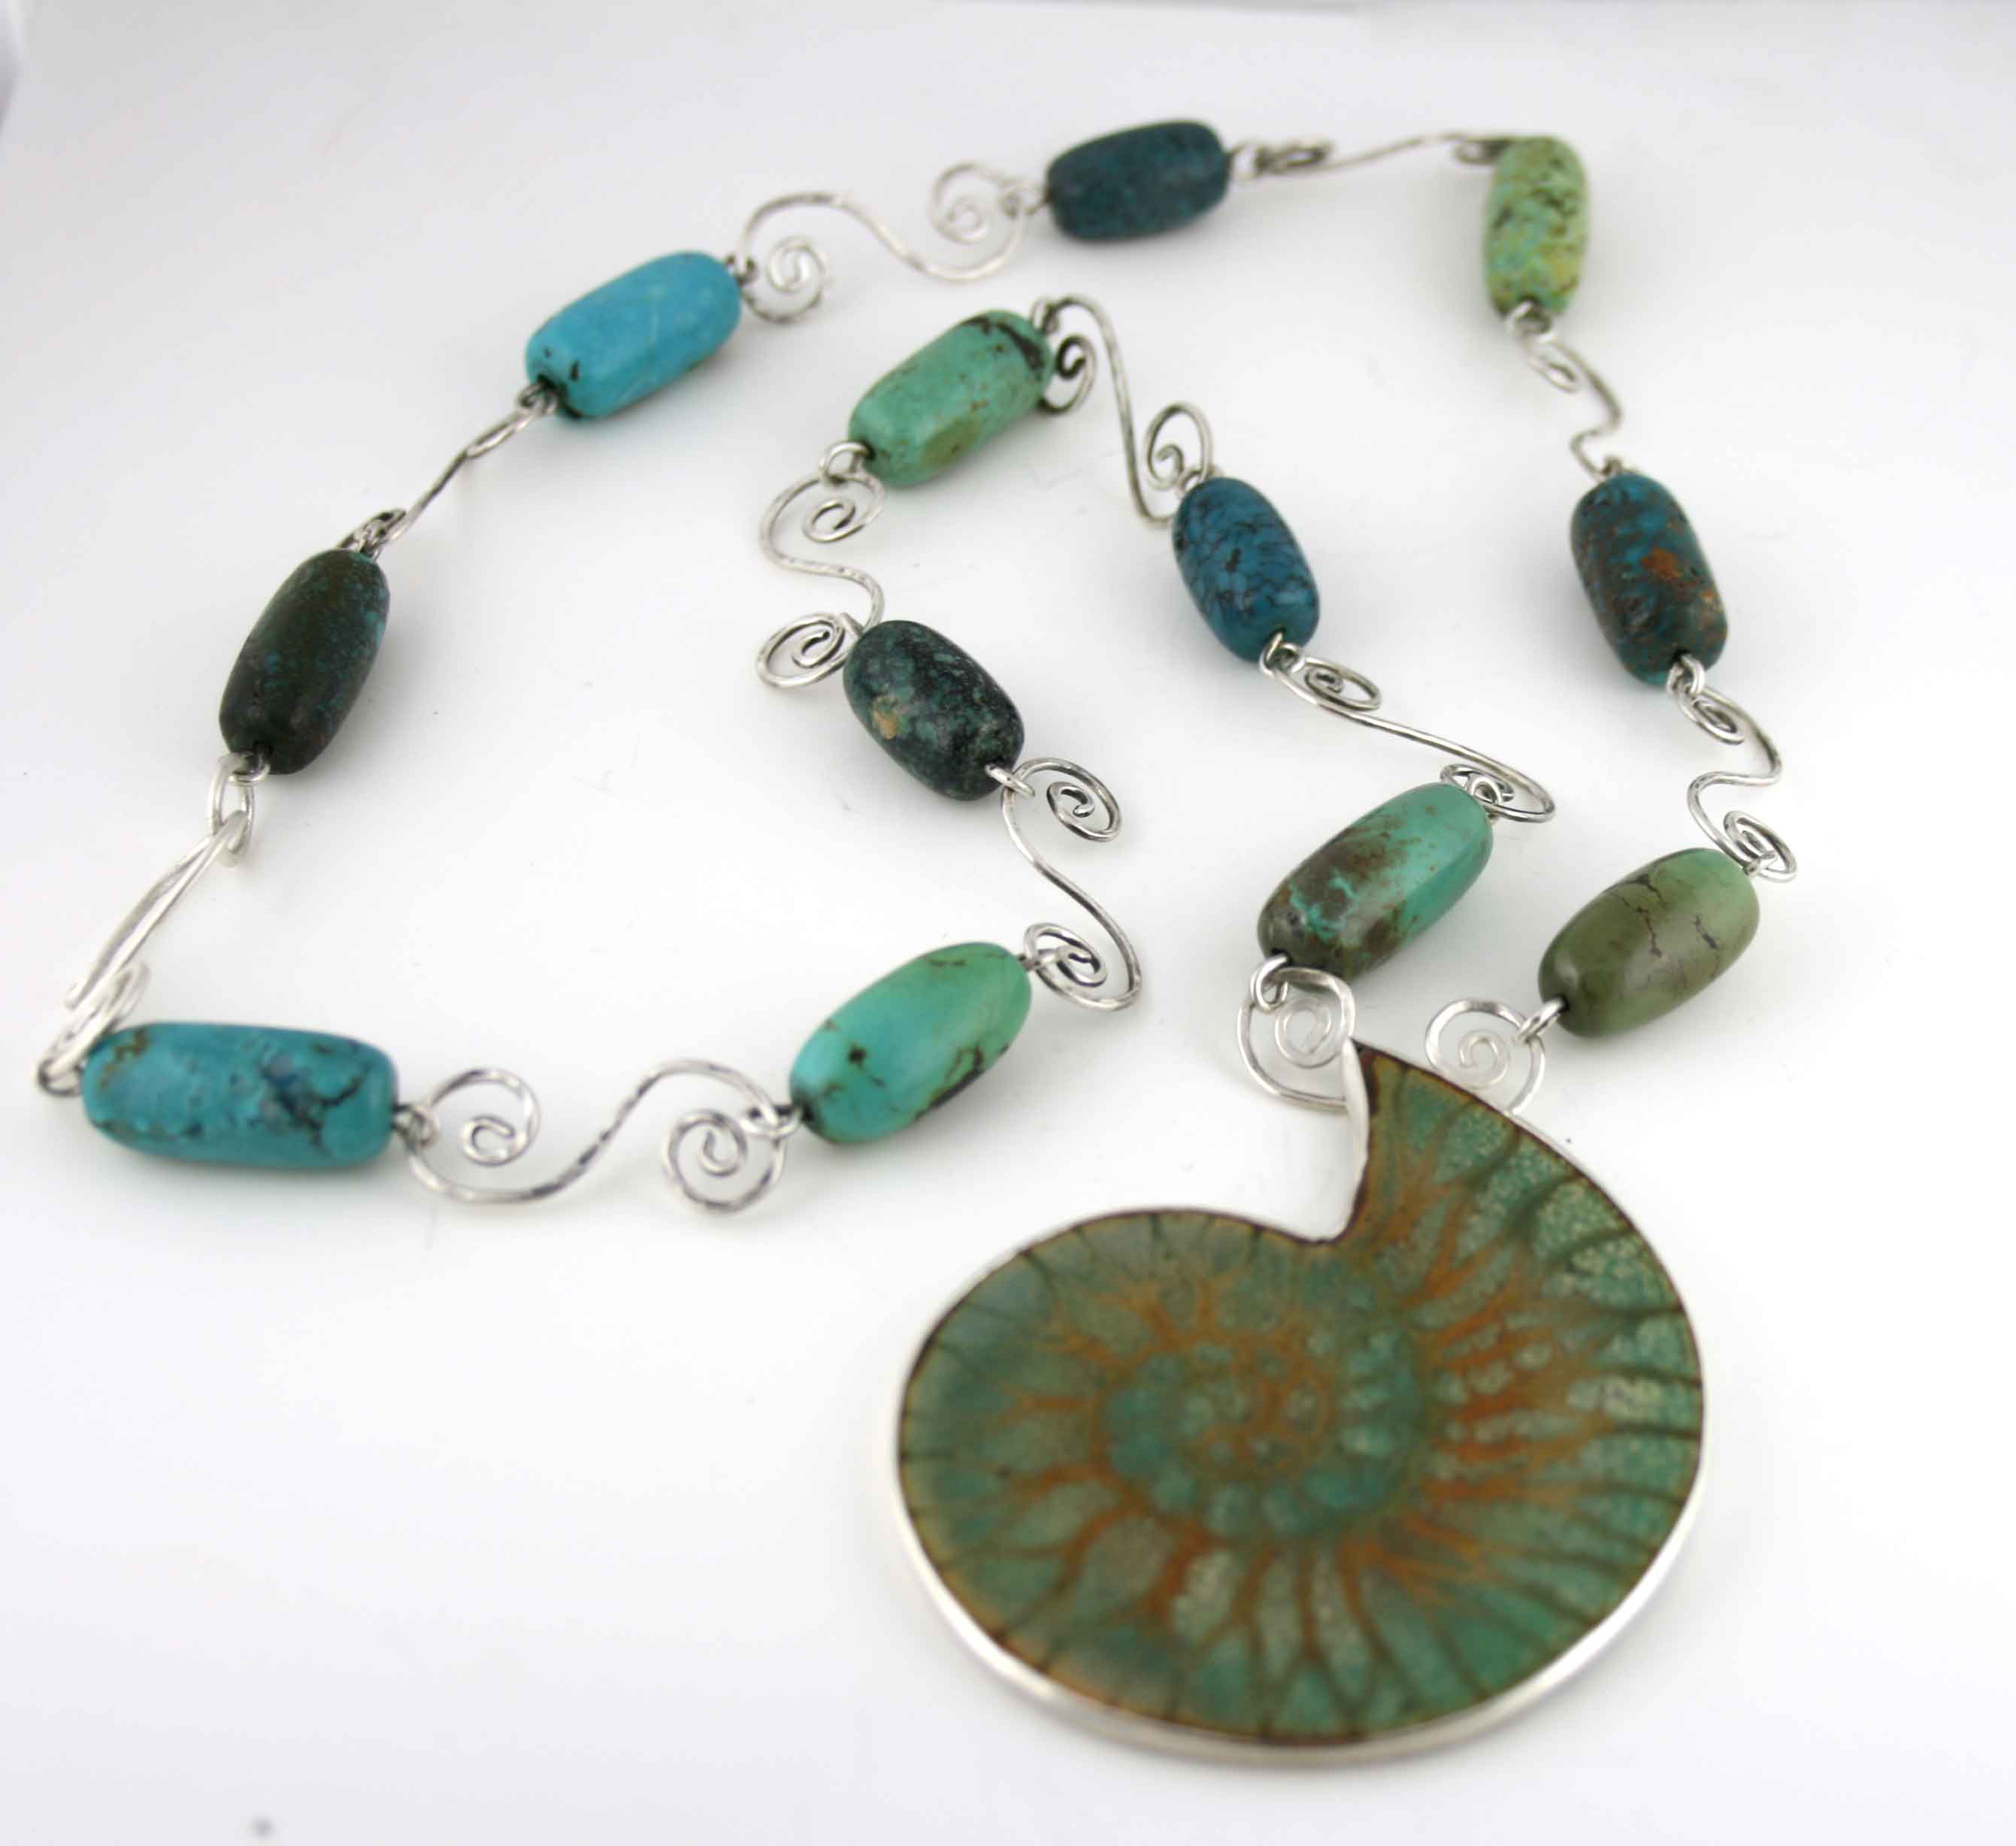
I have been working on some new ‘statement’ Ammonite ‘Fossil’ necklaces that I would like to share with you. The enamels have been created using Sgraffitto techniques. They are all on copper and I have set them in silver, sometimes with the addition of 18ct gold prongs. Hope you like them.
Small Turquoise Enamel ‘Fossil’ set in Silver bezel
- Hand-made silver clasp
- Matt Turquoise Beads on hand knotted silk
- Enamel is approximately 45mm x 40mm
- Length of necklace is approximately 48 cm

Turquoise Enamel Ammonite Fossil with Turquoise Beads Large Orange Enamel’ Fossil’ with 18ct gold prong setting on sterling silver
- Hand-made silver clasp, bail and chain
- Matt ‘Dragon Skin’ beads
- Enamel is approximately 65mm x 55mm
- Length of necklace is approximately 68mm

Orange Ammonite Fossil Necklace with Dragon Skin Beads Large Blue Enamel ‘Fossil’ with 18ct gold prong setting on sterling silver
- Hand-made silver clasp and bail
- Matt Agate beads on hand knotted silk
- Enamel is approximately 65mm x 55mm
- Length of necklace is approximately 50mm

Blue Ammonite Fossil Necklace with Agate Beads Large Turquoise Enamel ‘Fossil’ set in silver bezel
- Hand-made silver clasp and chain
- Turquoise beads
- Enamel is approximately 65mm x 55mm
- Length of necklace is approximately 68mm

Large Turquoise Ammonite Fossil with Turquoise Beads -
Thursday Tip – Carefree Lustre Part 1
Thursday Tip
Welcome to the latest in a series of articles to do with enamelling and making jewellery. I hope you find them useful. I am writing about issues and problems I have experienced (and hopefully overcome), and tips and shortcuts concerning enamelling and making jewellery that I have come across in the course of the past twenty years or so. In this post I am going to tell you one of the ways I use Carefree Lustre in my enamelling.
Carefree Lustre
I like to add touches of gold to a lot of my enamels, just to add a little ‘twinkle’. I used to use precious metal essence. This is very expensive and also very tricky to use. Recently I have been using Carefree Lustres and have been very pleased with the results. I buy mine from Enamelsupply.com. For those members of Guild of Enamellers who are coming to conference in April, Tom Lumsden will be attending and will bring small orders with him so saving on postage!
Using Gold Carefree Lustre – Part 1

Enamel on copper badge with gold Carefree Lustre detail
I often like to add painted line detail using this. I take a little in a tiny pallet and using an eye dropper I add a drop of Klyre Fire and mix it. Using a fine brush I paint it on quite thickly. The surface needs to be free from grease and if it is ‘balling up’, I clean the surface with a cotton bud dipped in methylated spirit. The Carefree Lustre dries very quickly. When dry you can neaten lines by scratching back with a cocktail stick and blowing away the dust. I fire in a very hot kiln, around 950 – 1000 for 30 seconds. I then check it. There will probably be some dust still on the surface that will rub off but underneath should be fired. If necessary I return it to the kiln for another 20 seconds. It is very easy to over-fire and for it to burn out. Applying it in a thick layer gives you a little leeway. I keep the pallet in a resealable plastic bag and reconstitute it as required with a little more Carefree lustre and Kyre fire. If it is very hot where I am working, sometimes I might add a drop or two of water.
Note: After I wrote this I acquired a Digital kiln. I have just tried firing for 1 minute at 900 and this worked well. I may try shortening the period to say 50 seconds another time.
This is one way I use Carefree Lustre. I hope you find it useful and will have a go adding Carefree Lustre detail to your enamels.
-

Reuseable Stencils for Enamelling
Thursday Tip
Welcome to the latest in a series of articles to do with enamelling and making jewellery. I hope you find them useful. I am writing about issues and problems I have experienced (and hopefully overcome), and tips and shortcuts concerning enamelling and making jewellery that I have come across in the course of the past twenty years or so. In this post I am going to tell you about how I make reusable stencils for use in my enamelling.
Reusable Stencils for Enamelling
There are many different materials you can make stencils from. My favourite is to use Transparent Film similar to that used for OHP slides. They are perfect as they are not too thick and are perfectly flat. Sometimes though I use the transparent windows you get on packaging. The main advantage of this material is that it is reusable an infinite number of times and is of course waterproof.
Making Reusable Stencils
I trace my design onto tracing paper with a fine pen. I then stick this tracing onto my transparent film. Then I cut out the shapes with either fine decoupage scissors of a scalpel and a cutting mat. You finish up with both positive and negative shapes that you can use at different stages. I make little tabs of sellotape to make them easier to pick up cleanly. If there are a lot of very similar pieces like the windows on my Brighton Pavilion Clock, I number them.
[singlepic id=8 w=320 h=240 mode=watermark float=center]
Using Reuseable Stencils
I spray the surface with a very fine spray of water. Not too much as you don’t want to flood it. Then I place my stencils carefully into position. The thin film of water hold them in place. Then I sift my chosen colours into place. With very fine point tweezers, carefully lift your stencils. With the larger ones it often helps to hold the piece at an angle so any stray enamel doesn’t fall in the wrong place. Dry carefully and fire. I put the tiny stencils into glass pots to dry so all the enamel falls off. they can then be reused. I hope you find this Tip useful to enable you to make reusable stencils for enamelling. Let me know how you get on.
-

Tip For Annealing Metal
Thursday Tip
Welcome to the latest in a series of articles to do with enamelling and making jewellery. I hope you find them useful. I am writing about issues and problems I have experienced (and hopefully overcome), and tips and shortcuts concerning enamelling and making jewellery that I have come across in the course of the past twenty years or so. In this post I am going to tell you an easy way to tell when your metal has reached to correct temperature for annealing.
Annealing Metal
What is annealing and why do we need to anneal metal? Annealing is the process of heating metal in order to soften it and make it pliable and able to take on shape and form. After annealing the metal can be worked and shaped. When it starts to harden it must be annealed again. When enamelling, you of course need to shape the metal prior to beginning to enamel.
How Do We Anneal Metal
You can choose to anneal in the kiln, however I usually prefer to use a gas torch as it is easier to see when the correct temperature has been reached. You need to heat it to a dull red colour and hold it for a few seconds at that temperature. Depending on the light levels where you are working, it is very difficult to see when the correct temperature has been reached and easy to overdo. I read a wonderful tip in the Guild of Enamellers Journal a few months ago that I have found absolutely brilliant. Draw on your metal in a permanent marker prior to heating. When the metal reaches the correct annealing temperature, the line will disappear. Stop heating at this point and quench in water. I usually like to quickly check with my fingers to see if the metal flexes before I pickle it. I have used this technique quite a bit now and have found it to be successful in both silver and copper. Recently I have been working on copper shim. I draw my design on it before I emboss it. This is an example of a trial piece for my new Magic Carpet Wall Panels I am planning.
[singlepic id=111 w=320 h=240 mode=watermark float=center]
I anneal the worked copper shim after embossing with the added bonus that my marker lines disappear. I have been using a Staedtler Permanent Lumocolor pen that has a nice thin nib. Take care not to use a pigment ink pen as although they will mark the metal, the line doesn’t disappear when it is heated. See here for my Handbag Vessels that I also created using this technique. Have a go and let me know how you get on. I think it makes annealing much easier.
-

Wolf Tools Belt Sander
Welcome to the latest in a series of articles to do with enamelling and making jewellery. I hope you find them useful. I am writing about issues and problems I have experienced (and hopefully overcome), and tips and shortcuts concerning enamelling and making jewellery that I have come across in the course of the past twenty years or so.
Wolf Tools Belt Sander
[singlepic id=35 w=320 h=240 mode=watermark float=center]
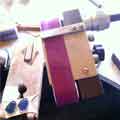
This was delivered by Father Christmas and is proving to be a wonderful addition to my tools. it connects to my Foredom Pendant Motor. It comes with a selection of belts and I am currently using it to sand the bottoms of silver bezels I am making prior to soldering them to a base plate. It is much quicker than sanding them be hand, and they seem to stay in shape much better. It will also be invaluable when I want to solder press-formed shapes together. I always found sanding their bottoms very tedious and I think this will really speed things up. Sutton Tools are the stockist for the UK. What is really interesting is that you can purchase Diamond Belts which I think will be ideal for finishing enamels on a small scale. With the foot control you have a lot of control over speed and of course the necessary water would be well away from the motor. Unfortunately they are not available in the UK, but RioGrande in the States do stock them and a friend who is on holiday there is going to bring some back for me. Can’t wait to have a go. If you have any experience of using this tool, I would love to hear from you.
-

Using Liquid Enamel
Welcome to the latest in a series of articles to do with enamelling and making jewellery. I hope you find them useful. I am writing about issues and problems I have experienced (and hopefully overcome), and tips and shortcuts concerning enamelling and making jewellery that I have come across in the course of the past twenty years or so.
An Easy Way to Prepare Liquid Enamel for Use
I use Liquid Enamel from WG Ball. It comes in tubs in a good variety of colours, ready mixed in water. It is of course unleaded as are all liquid enamels. Although it is very convenient being ready mixed, it still always needs a good stir as all the enamel sinks to the bottom very quickly. It needs to be well mixed before every use, even if in the same session. If it is very solid, I start off with a stainless steel stirrer. Then I use a battery operated whisk that they sell in cook shops for whisking milk for milk shakes. It works brilliantly and is much quicker to do a thorough job. After use I just plunge it in a tub of clean water and whisk again to remove all the enamel and leave it clean for the next use. I find this saves me lots of time. I hope you find it useful too.