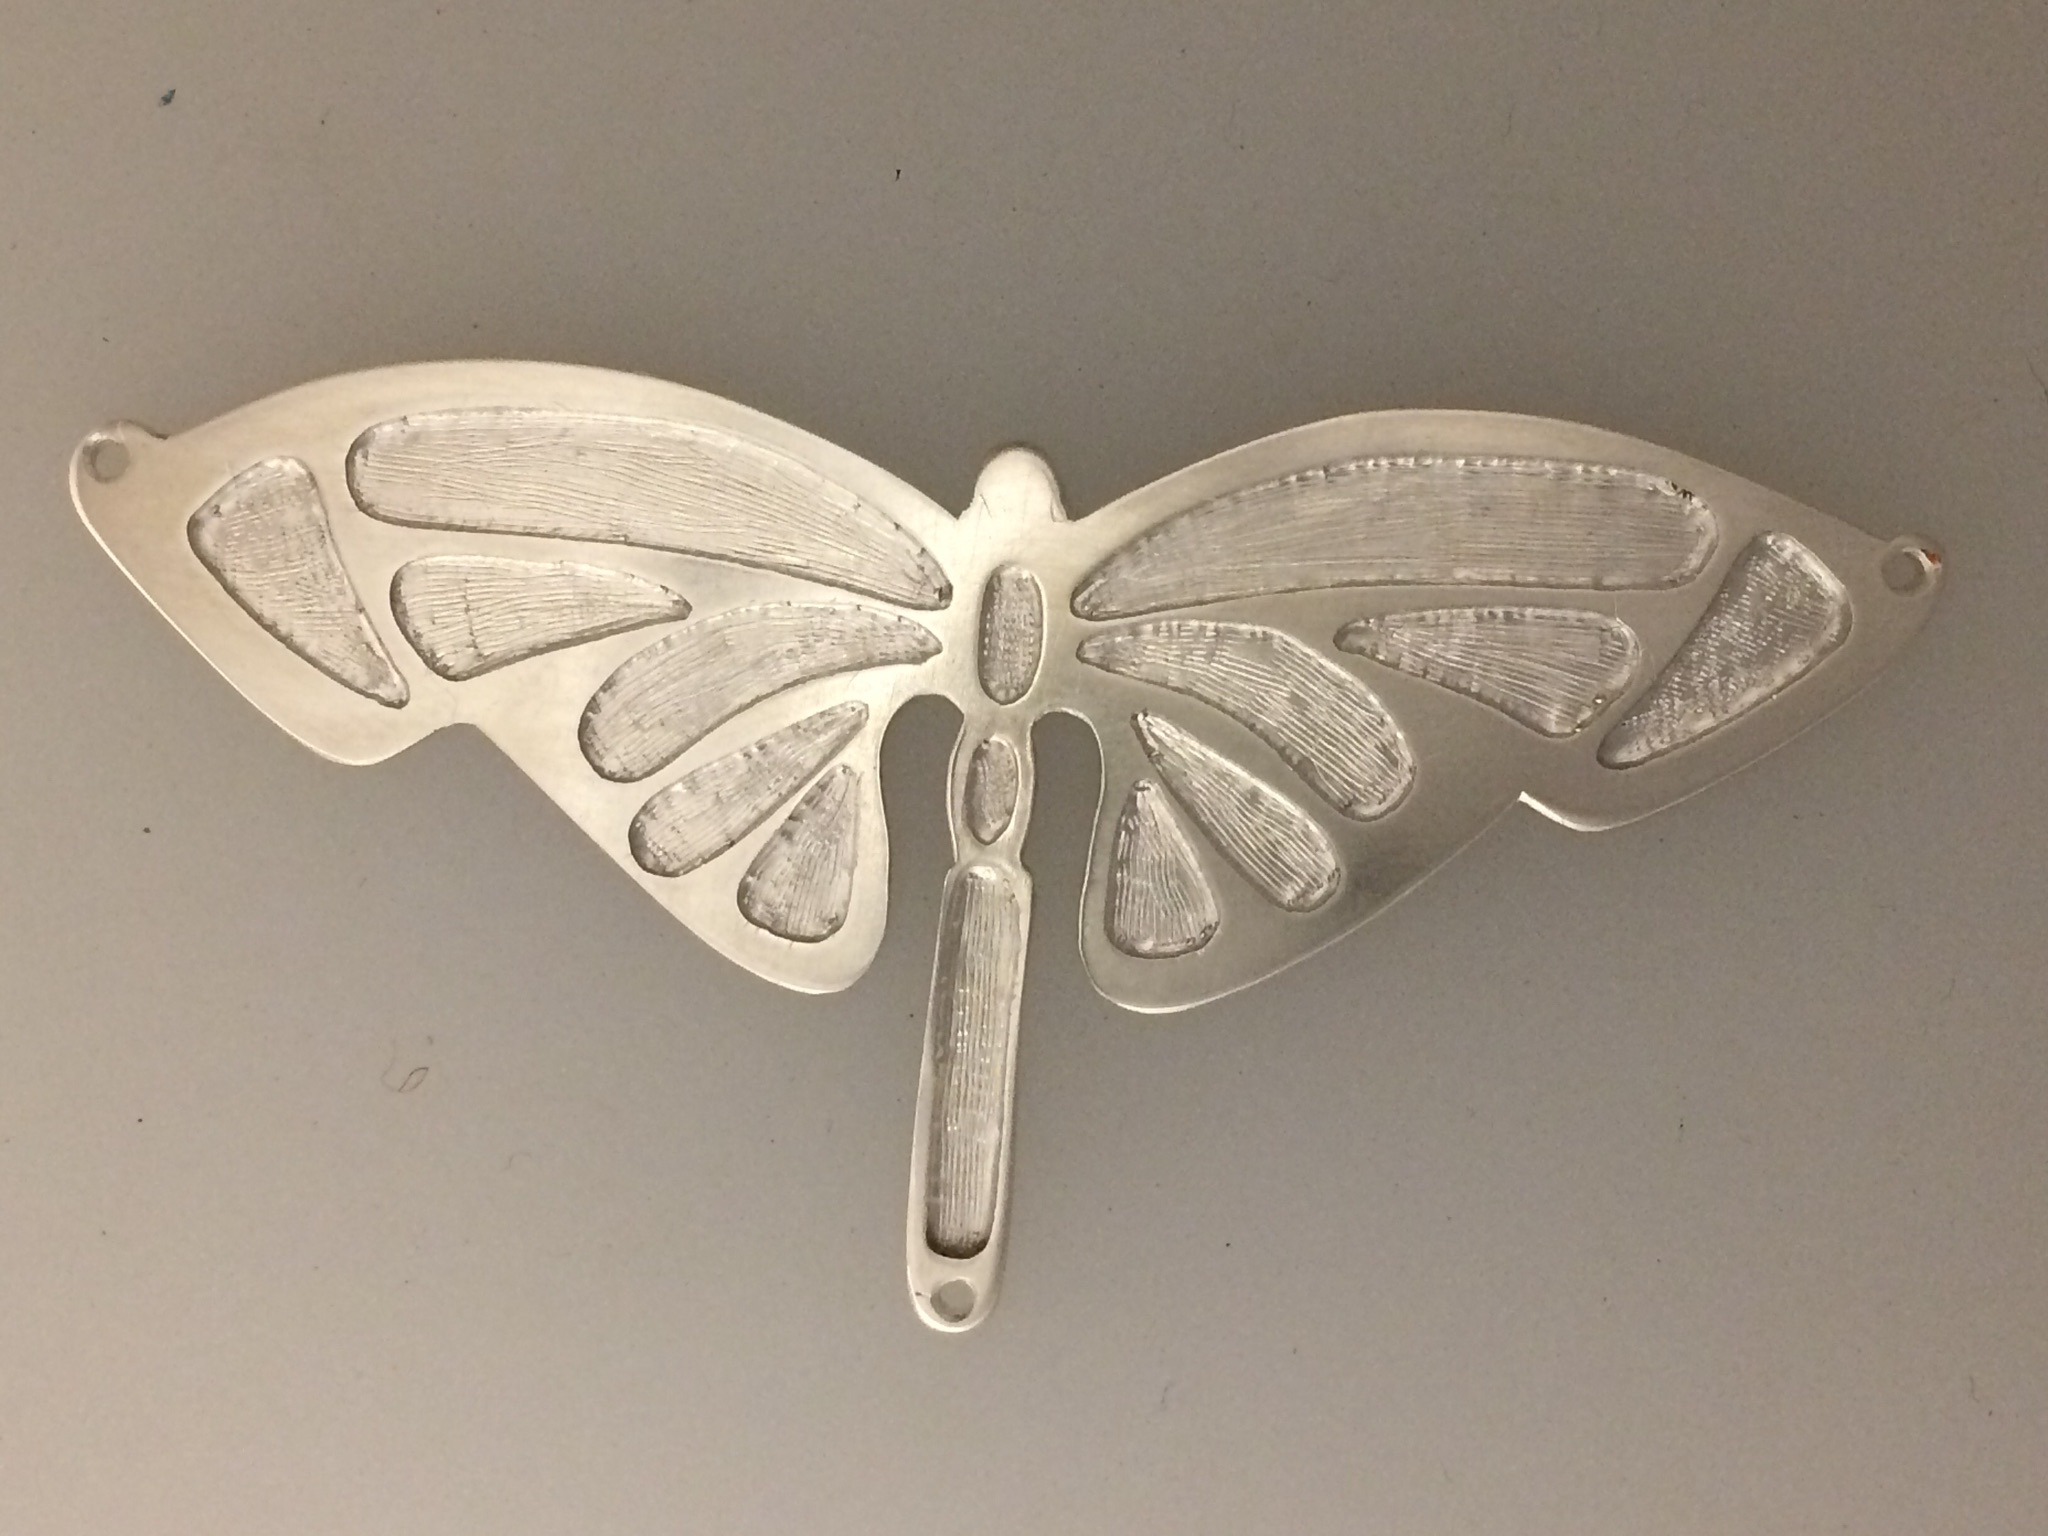
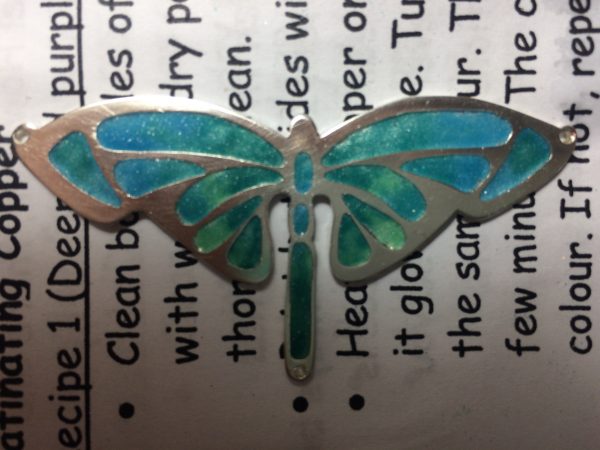
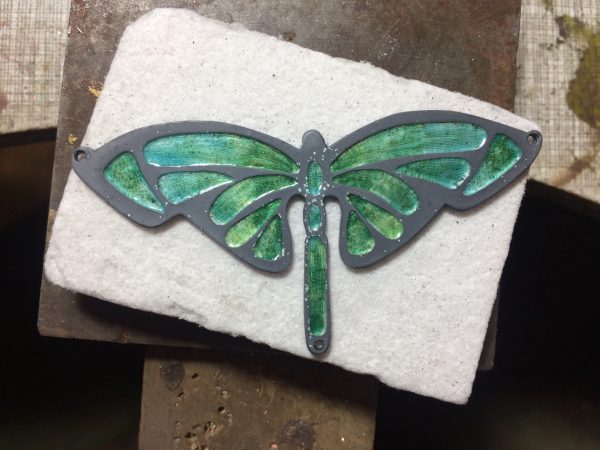
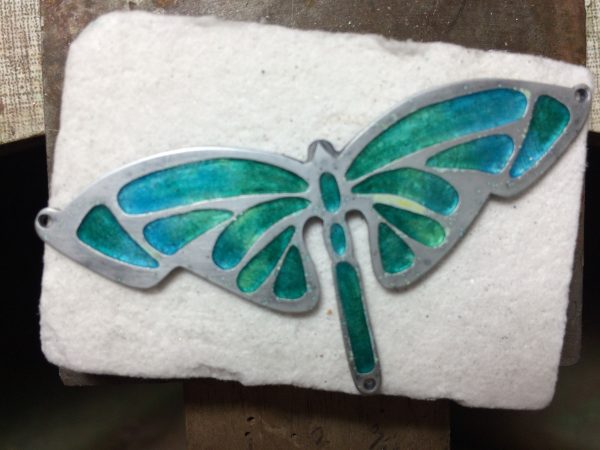
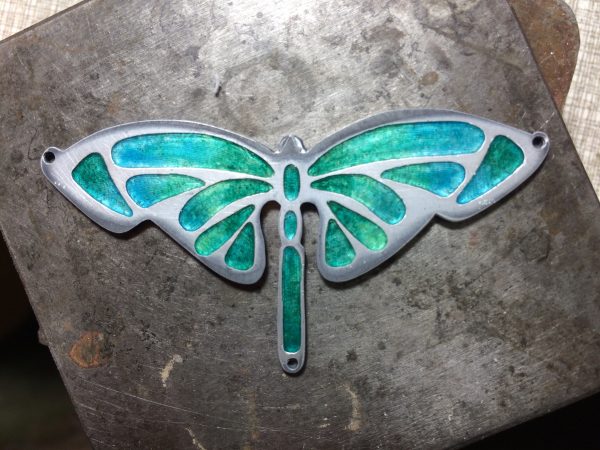
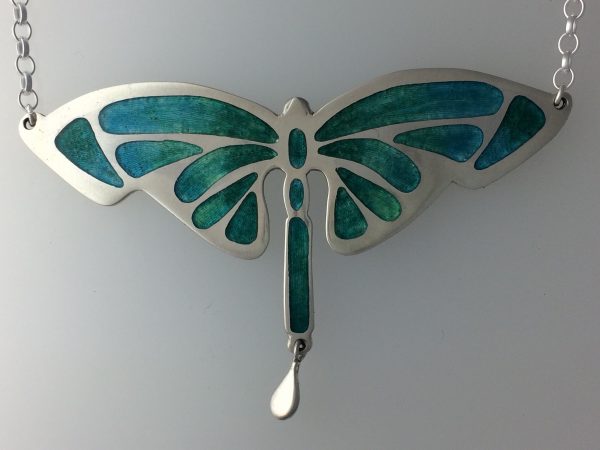
Before Christmas I was very excited to be asked to design and make a silver and enamel Dragonfly Pendant. I worked with the client over several months to produce the eventual design. It is always a huge honour to be asked to make something special like this which hopefully will become a family heirloom of the future. Here are some photos of the work in progress.
Pierced, etched and engraved silver ready for enamellingFirst layer of enamel has been carefully wet laid in place and is ready for firingFirst layer of enamel has been fired to orange peelSecond layer of enamel has been wetlaid and then fired to continue building up shading and depth of colourThe Pendant has had several more layers of enamel and now is ready for the final stages. The surface will be meticulously ground until it is even and Matt, before being polished with diamond pads. In this case I chose to have the enamel surface an eggshell finish.Here the Pendant is complete with the silver polished to a subtle shine.
Gypsy setting or flush setting is something I have been promising my students for ages and have only now got around to. I began by doing some research on my iPad and found this excellent tutorial on the Ganoskin site. https://www.ganoksin.com/article/basic-gypsy-flush-mount-setting/
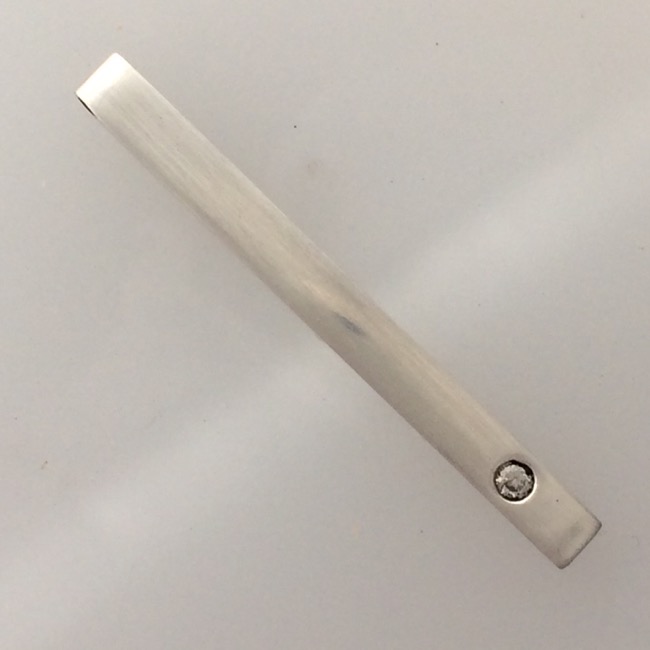
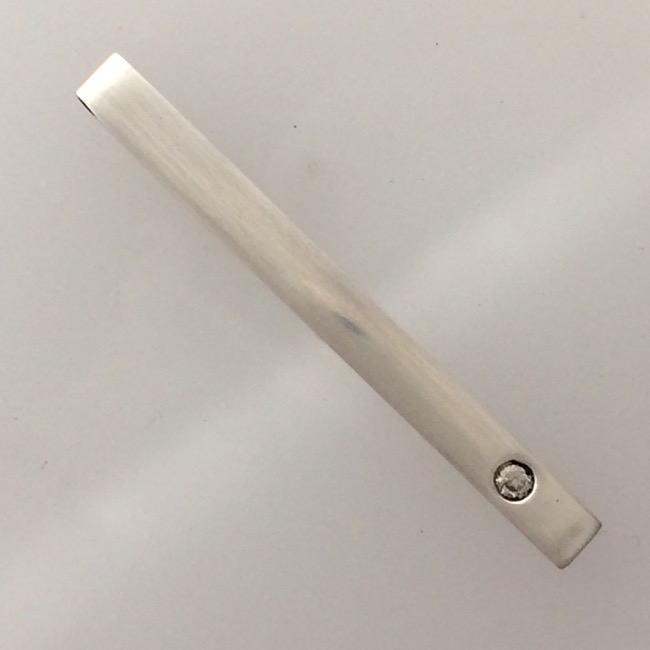
Gypsy Set Pendant Front ViewGypsy Set Pendant Side View
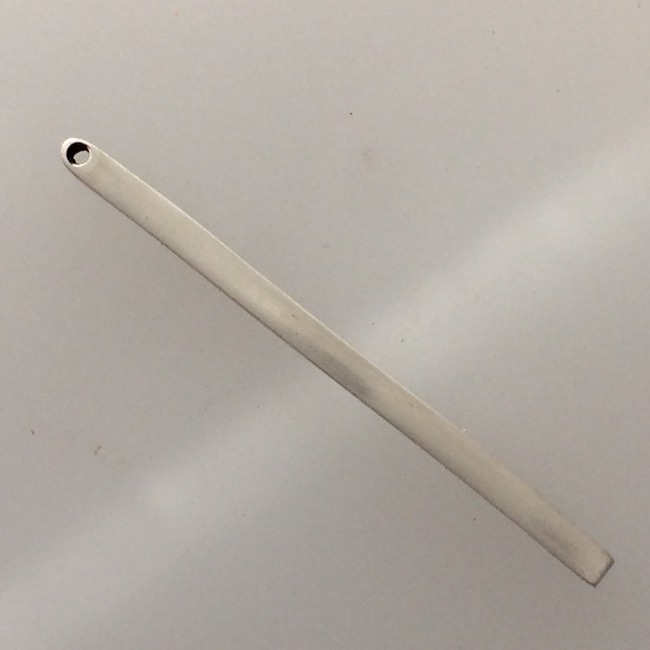
Originally I decided to try it on a silver cuff bangle and found some suitable silver which was 3.3 mm wide and 2 mm deep in my old stock box. Using a jig to ensure a square cut, I carefully sawed off 145 mm to shape into a cuff and set that aside. I was left with a piece which was 35 mm long which I thought was perfect for a pendant or as an example for a pair of earrings. As a pendant I began by considering how it would be worn. Obviously I could drill a hole or solder on a jump ring but something so sleek deserved a more elegant solution. I decided to set a small piece of tubing into the top edge that a thin chain could thread through. Great practice for making hinges too! I used a slitting needle file which has a parallel, diamond shaped profile to file a groove which I could widen to accept a 2mm outside diameter piece of silver tube. I could have used a triangular or a square file instead. When using these though you need to be careful to keep things an even depth. The tapered shape makes this a little harder so you need to do a little from each end and keep checking. After making the groove quite deep I used a diamond cylinder burr the same diameter as my tubing, in my pendant motor, to very slowly drill a groove to accept the tubing. This needs to be about half the diameter of the tubing so the edge of the silver pendant comes to a knife edge front and back. My first attempt wasn’t deep enough and after soldering, I wasn’t able to make the tube ‘vanish’ after sanding. When I was sure the tube was a perfect fit, and even from all sides I was ready to solder.
I stood the silver up almost vertical and used liquid flux under the tube which I then dried very carefully so it didn’t dislodge. Then I added tiny chips of hard solder and soldered it into place. For my first attempt I used solder paste but it is very hard to judge the right amount. Traditional solder worked much better. After pickling and rinsing I was ready for the next stage.
Before doing the setting I wanted to finish the silver from all sides. Rubber wheels worked well to on the front to make the tubing effectively disappear from view and I used normal finishing and polishing method until I had a lovely, shiny well finished piece ready for setting.
Key to the success of this project would be ensuring the stone was central and everything very well finished. I used a vernier to measure the width of the metal, mindful that this would have changed from when I started. I then set a vernier to the size of the central point and used this to help me set my dividers to measure the centre point. I find seeing half millimetres on a ruler a challenge even with glasses! This was much easier and by making a mark from either edge I knew the exact middle was inbetween those two points. I read recently it was better to use a small ball burr to make the initial divot to start drilling. I actually used ball burrs all the way through instead of my usual practice of using a drill because I found it much easier to correct any slight deviations from the centre. I worked up from the tiny one to a one mm and finished with a 1.5 mm which went all the way through. I then used a 2mm ball burr to make the seat for the two mm cz. Take care with this part. It doesn’t need to very deep and it is very quick, even at slow speeds! Next time I may do by hand.
Setting was done using a nice chunky burnished working methodically according to the instructions in the article. Final finishing and polishing and my pendant was complete. It is very different to my usual style but I learnt a lot and it was very satisfying to successfully complete a new technique. I am not sure how or when I will finish my cuff . Another project for another time. Have a go with the Gysy setting and let me know how you get on.
Introducing Jyp the dog, my faithful Workshop Apprentice and Chief Watch Dog. This year, following on from my occasional Blog Post series, ‘Jyp’s Jewels’ I have decided to make him a regular feature. Every month, Jyp will present to you his favourite piece. I have insisted that he only chooses jewellery and not bones or balls!
Ralphs Cross and Roseberry Topping Cufflink Commission
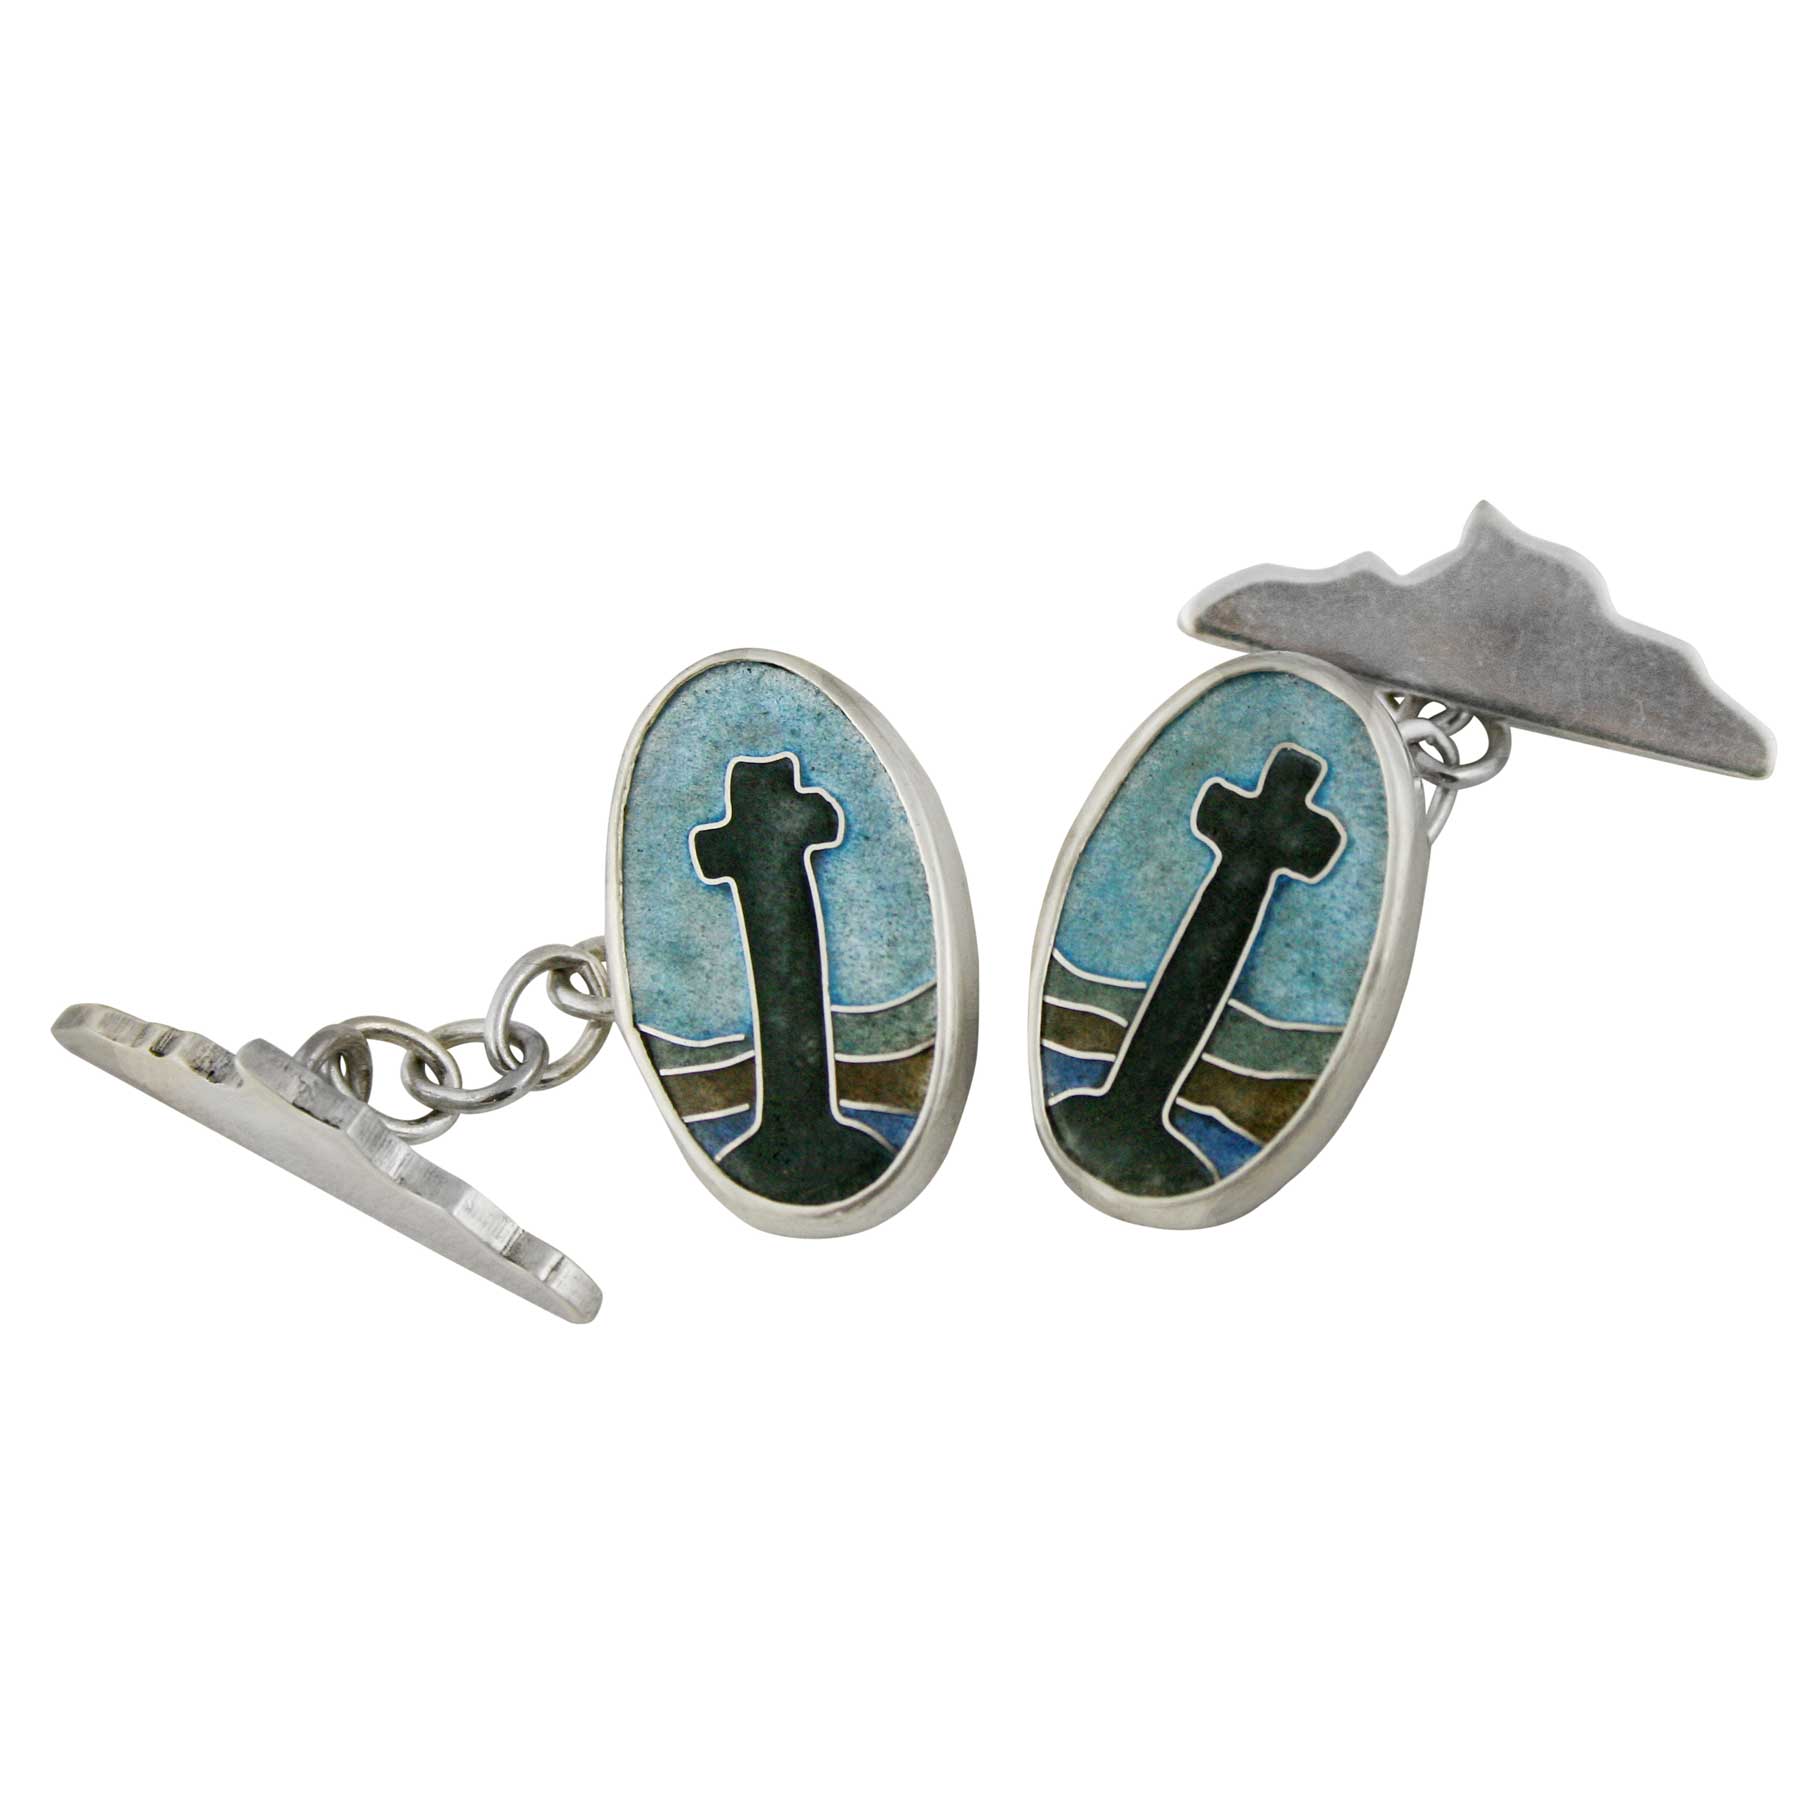
Ralphs Cross and Roseberry Topping Silver and Enamel Cufflinks
Earlier this year I was privileged to be asked to design and make a pair of silver and enamel cufflinks by a lady as a wedding present for her fiancee. Her late Father in law had been an artist who had worked in the North Yorkshire moors and often used Ralphs Cross and the hill, Roseberry Topping in his pictures. I decided to do the cross in cloissonne enamel and to use the distinctive shape of the Roseberry Topping Hill as the fitting for the reverse. I was delighted with how they turned out and so was my client. She said, ‘They are stunning. What a perfect service you have provided. I was very lucky to find you!’ It is always a real thrill when a customer is happy with your work and vision.
Introducing Jyp the dog, my faithful Workshop Apprentice and Chief Watch Dog. This year, following on from my occasional Blog Post series, ‘Jyp’s Jewels’ I have decided to make him a monthly feature. Every month, Jyp will present to you his favourite piece. I have insisted that he only chooses jewellery and not bones or balls!
Ladybird Magic Carpet Pendant
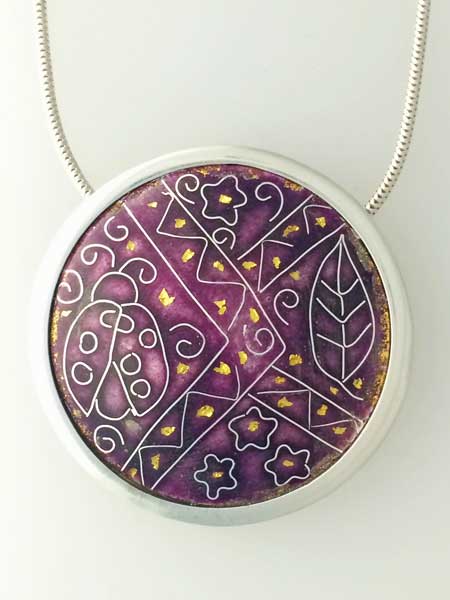
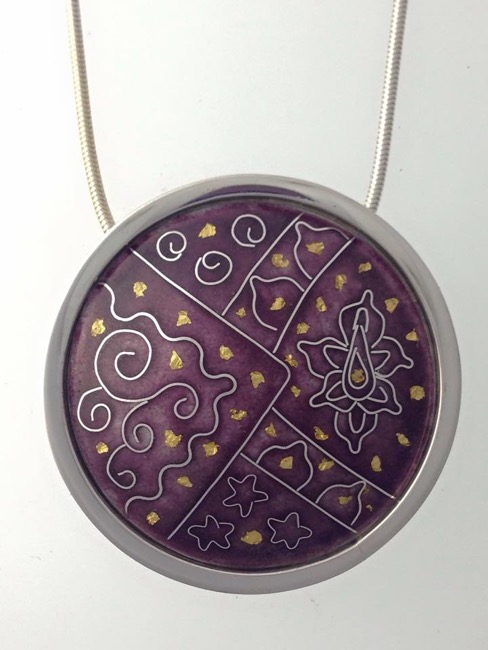
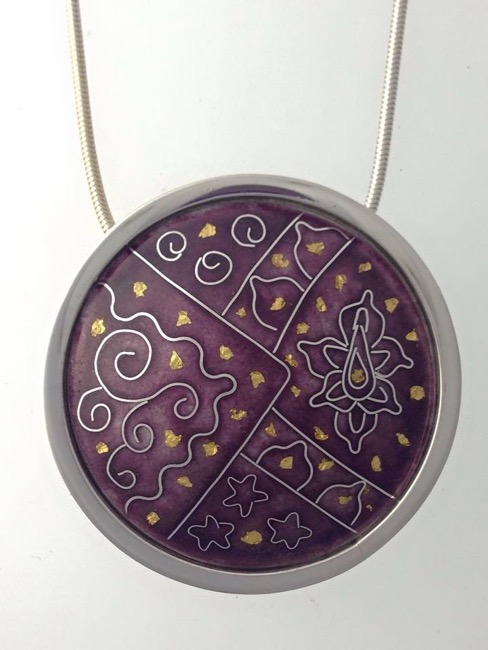
The first piece for 2016, is a custom ‘Magic Carpet’ pendant in one of my hand made silver moon settings. This was commission for a client who was giving it as a special birthday gift to a lady who loved Ladybirds.
I had lots of fun designing it and you can see I have included flowers and leaves too. The piece is cloisonne enamel on fine silver, in a sterling silver silver moon setting. We decided to do just one colour and let the silver wire delineate the design, making it a more sophisticated piece than having it bright colours. The design has been highlighted with flecks of pure gold before rubbing down and finely polishing.
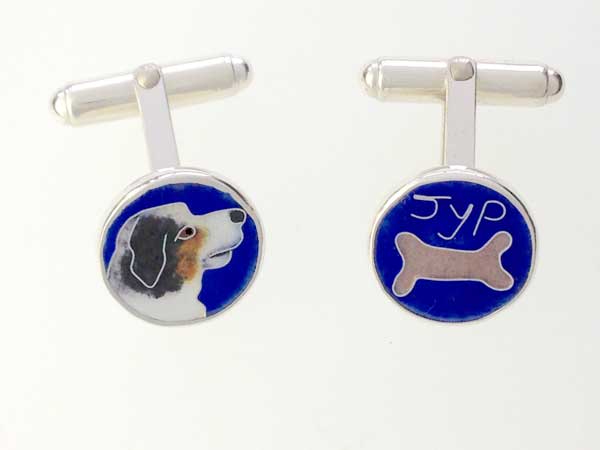
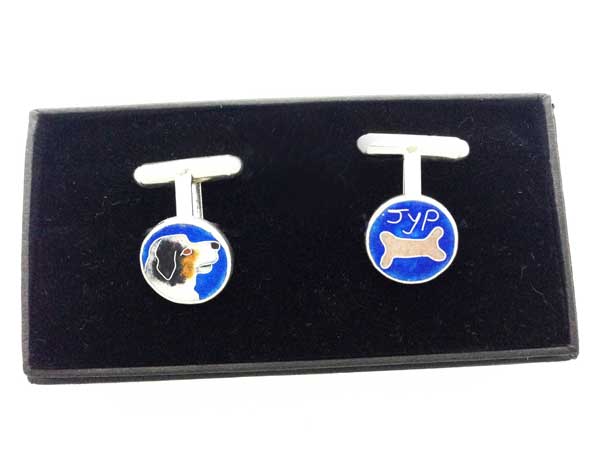
I have been working on a new idea. Cufflinks for my husband with our dog Jyp on. They are cloisonne enamel on fine silver, set in hallmarked sterling silver cufflinks and they measure 14 mm in diameter. The idea would also work well as earrings or as a pendant too. Each side could have a different pet on or as here, a motif with the pet’s name. I plan to offer them as a commission piece.
Silver and Cloisonne Enamel Pendant with glass beads on hand knotted silkSilver and Cloisonne Enamel Pendant
I am really excited to announce that these pieces have been selected to be in the ‘Elements of Architecture’ Exhibition which opens today at Cranleigh Arts Centre, 1 High Street, Cranleigh, Surrey, GU6 8AS. Do let me know what you think if you visit. it is open today until 1st August 2015 and there is a lovely cafe there for tea and cake too.
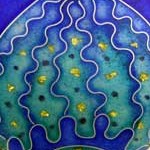
‘Mystical Domes’ arose from drawings I made a number years ago when I was in Rajasthan, India. They are inspired by by love of Moghal architecture and the fantasy world of Arabian Nights.
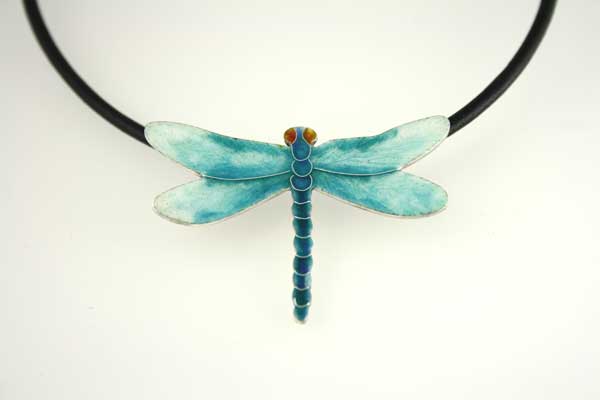
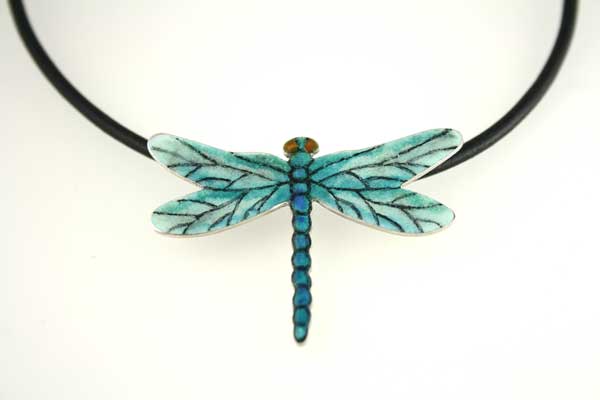
Two new Dragonfly pendants for this month. They are both enamel on silver and hang on a leather thong. One is cloisonné enamel and the other has painted under-glaze details. Hope you like them.
Here is my latest Magic Carpet necklace. I always find the hardest thing is knowing when to stop. Nothing I make is ever perfect in my eyes and so often I have ruined things by not stopping at the right moment. Interestingly both Christian and Islamic traditions both recognise that nothing made by man is ever perfect. Complex woven rugs and the Lindisfarne Gospels to name two examples reputedly have deliberate errors visible only to their creators.
This pendant is inspired by Magic Carpets infused with memories and dreams of places visited and people seen, in the past and in the future. I hope that it’s wearer will infuse it with their own Magical Memories and Dreams.
.
Edit
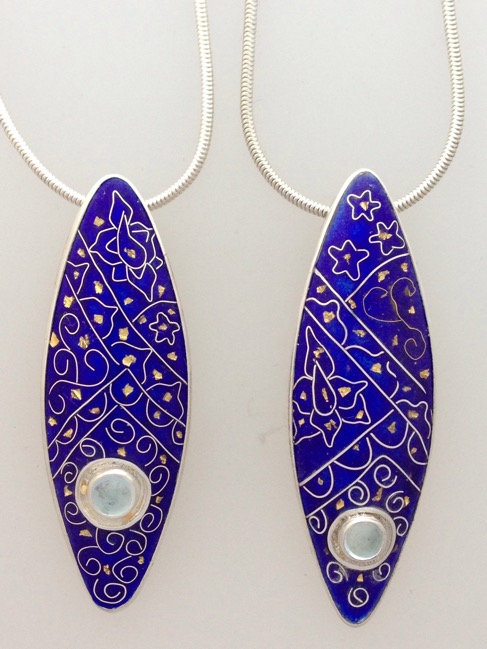
These pendants are all cloisonné enamel on fine silver and set in highly polished sterling silver. Each one is unique. They have flecks of pure gold foil and some are enhanced with set semi precious stones. The two blue ones were a commission as a special birthday present for twins and have been engraved with a dedication on the reverse. Contact me if you are interested in commissioning me to make your own Magic Carpet pendant or earrings.
This morning’s blog post by Grace Marshall http://grace-marshall.com/starting-badly/ really resonated with me and I have to share it because it is a problem familiar to most artists and designers. I had a design to do for a client that was a little out of my comfort zone. I did some preparatory sketches some time ago and it has been sitting waiting for me to get back to it. A few weeks ago I spent some time on Pinterest making a board to help whilst I was sitting watching telly one evening. I was ready to start but whenever I have some time, somehow I always found something else to do, like actually making something in my studio. Mother’s Day afternoon was a perfect opportunity. It was wet and dismal so husband and I divided the dining room table in half. He did what he wanted to do on one half, and I set myself up with pens, pencils and the chocolates my son had bought me. As I always tell my students, starting is the hardest thing. It is so true. I had been putting it off until I could see the finished design in my mind but it wasn’t happening. I needed to actually work through things with paper and pens to get to where I wanted to be.
To start with, I sketched elements that were troubling me from the inspiration board on Pinterest that I had made. I did this from my iPad. Then I incorporated elements into drawings I had already made. When I work on designs I repeatedly trace them, incorporating changes each time. This time I used the scanner on my printer which saved a lot of time as I just needed to draw on top of the last print and then trace that and repeat the process. Over the course of the afternoon the design evolved into something I am really pleased with. I also used the scanner on my printer to change the size. Eventually I was pleased with my design and I could add colour. I feel such a sense of achievement! I can’t wait to show my client. Hope she likes it. Let me know how you get over the problem when you are stuck. I would love to know and perhaps we can learn from each other.
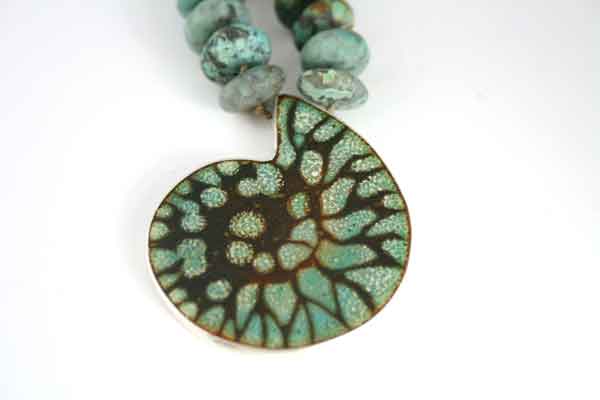
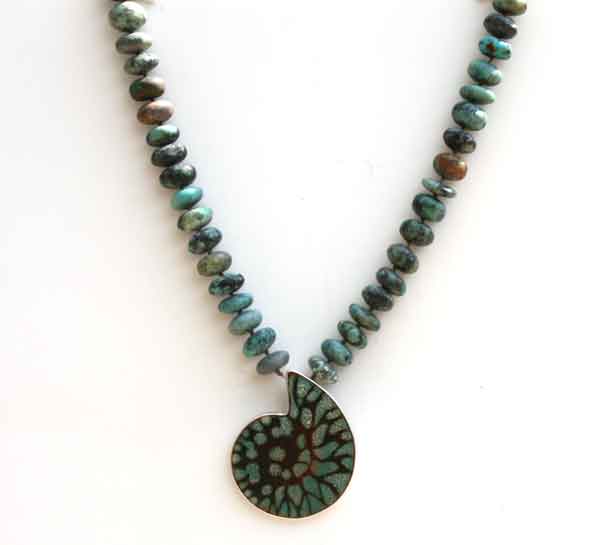
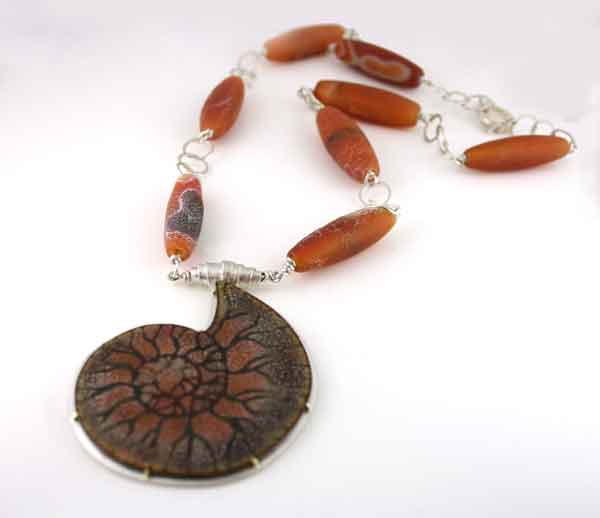
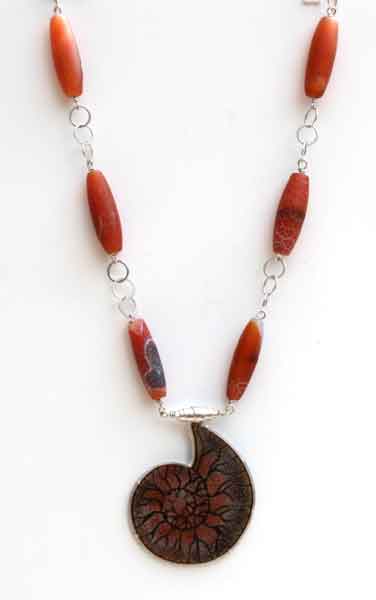
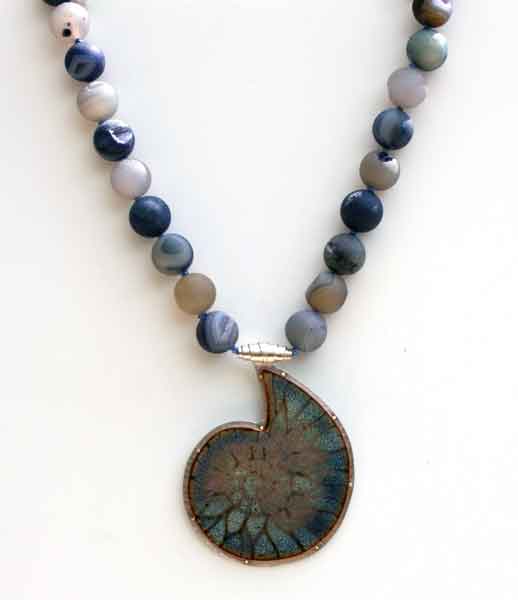
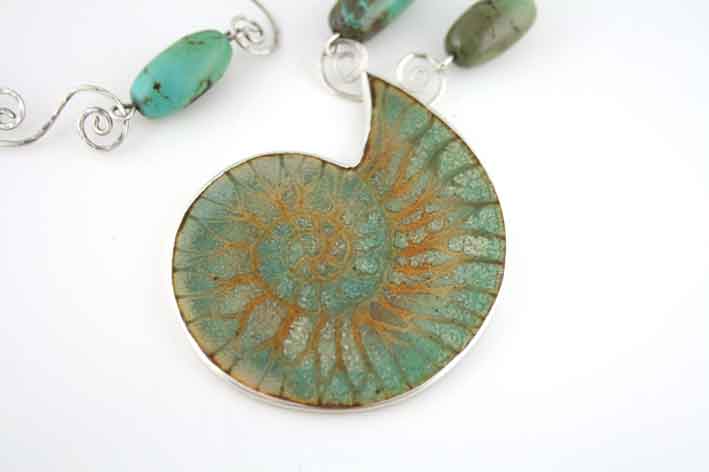
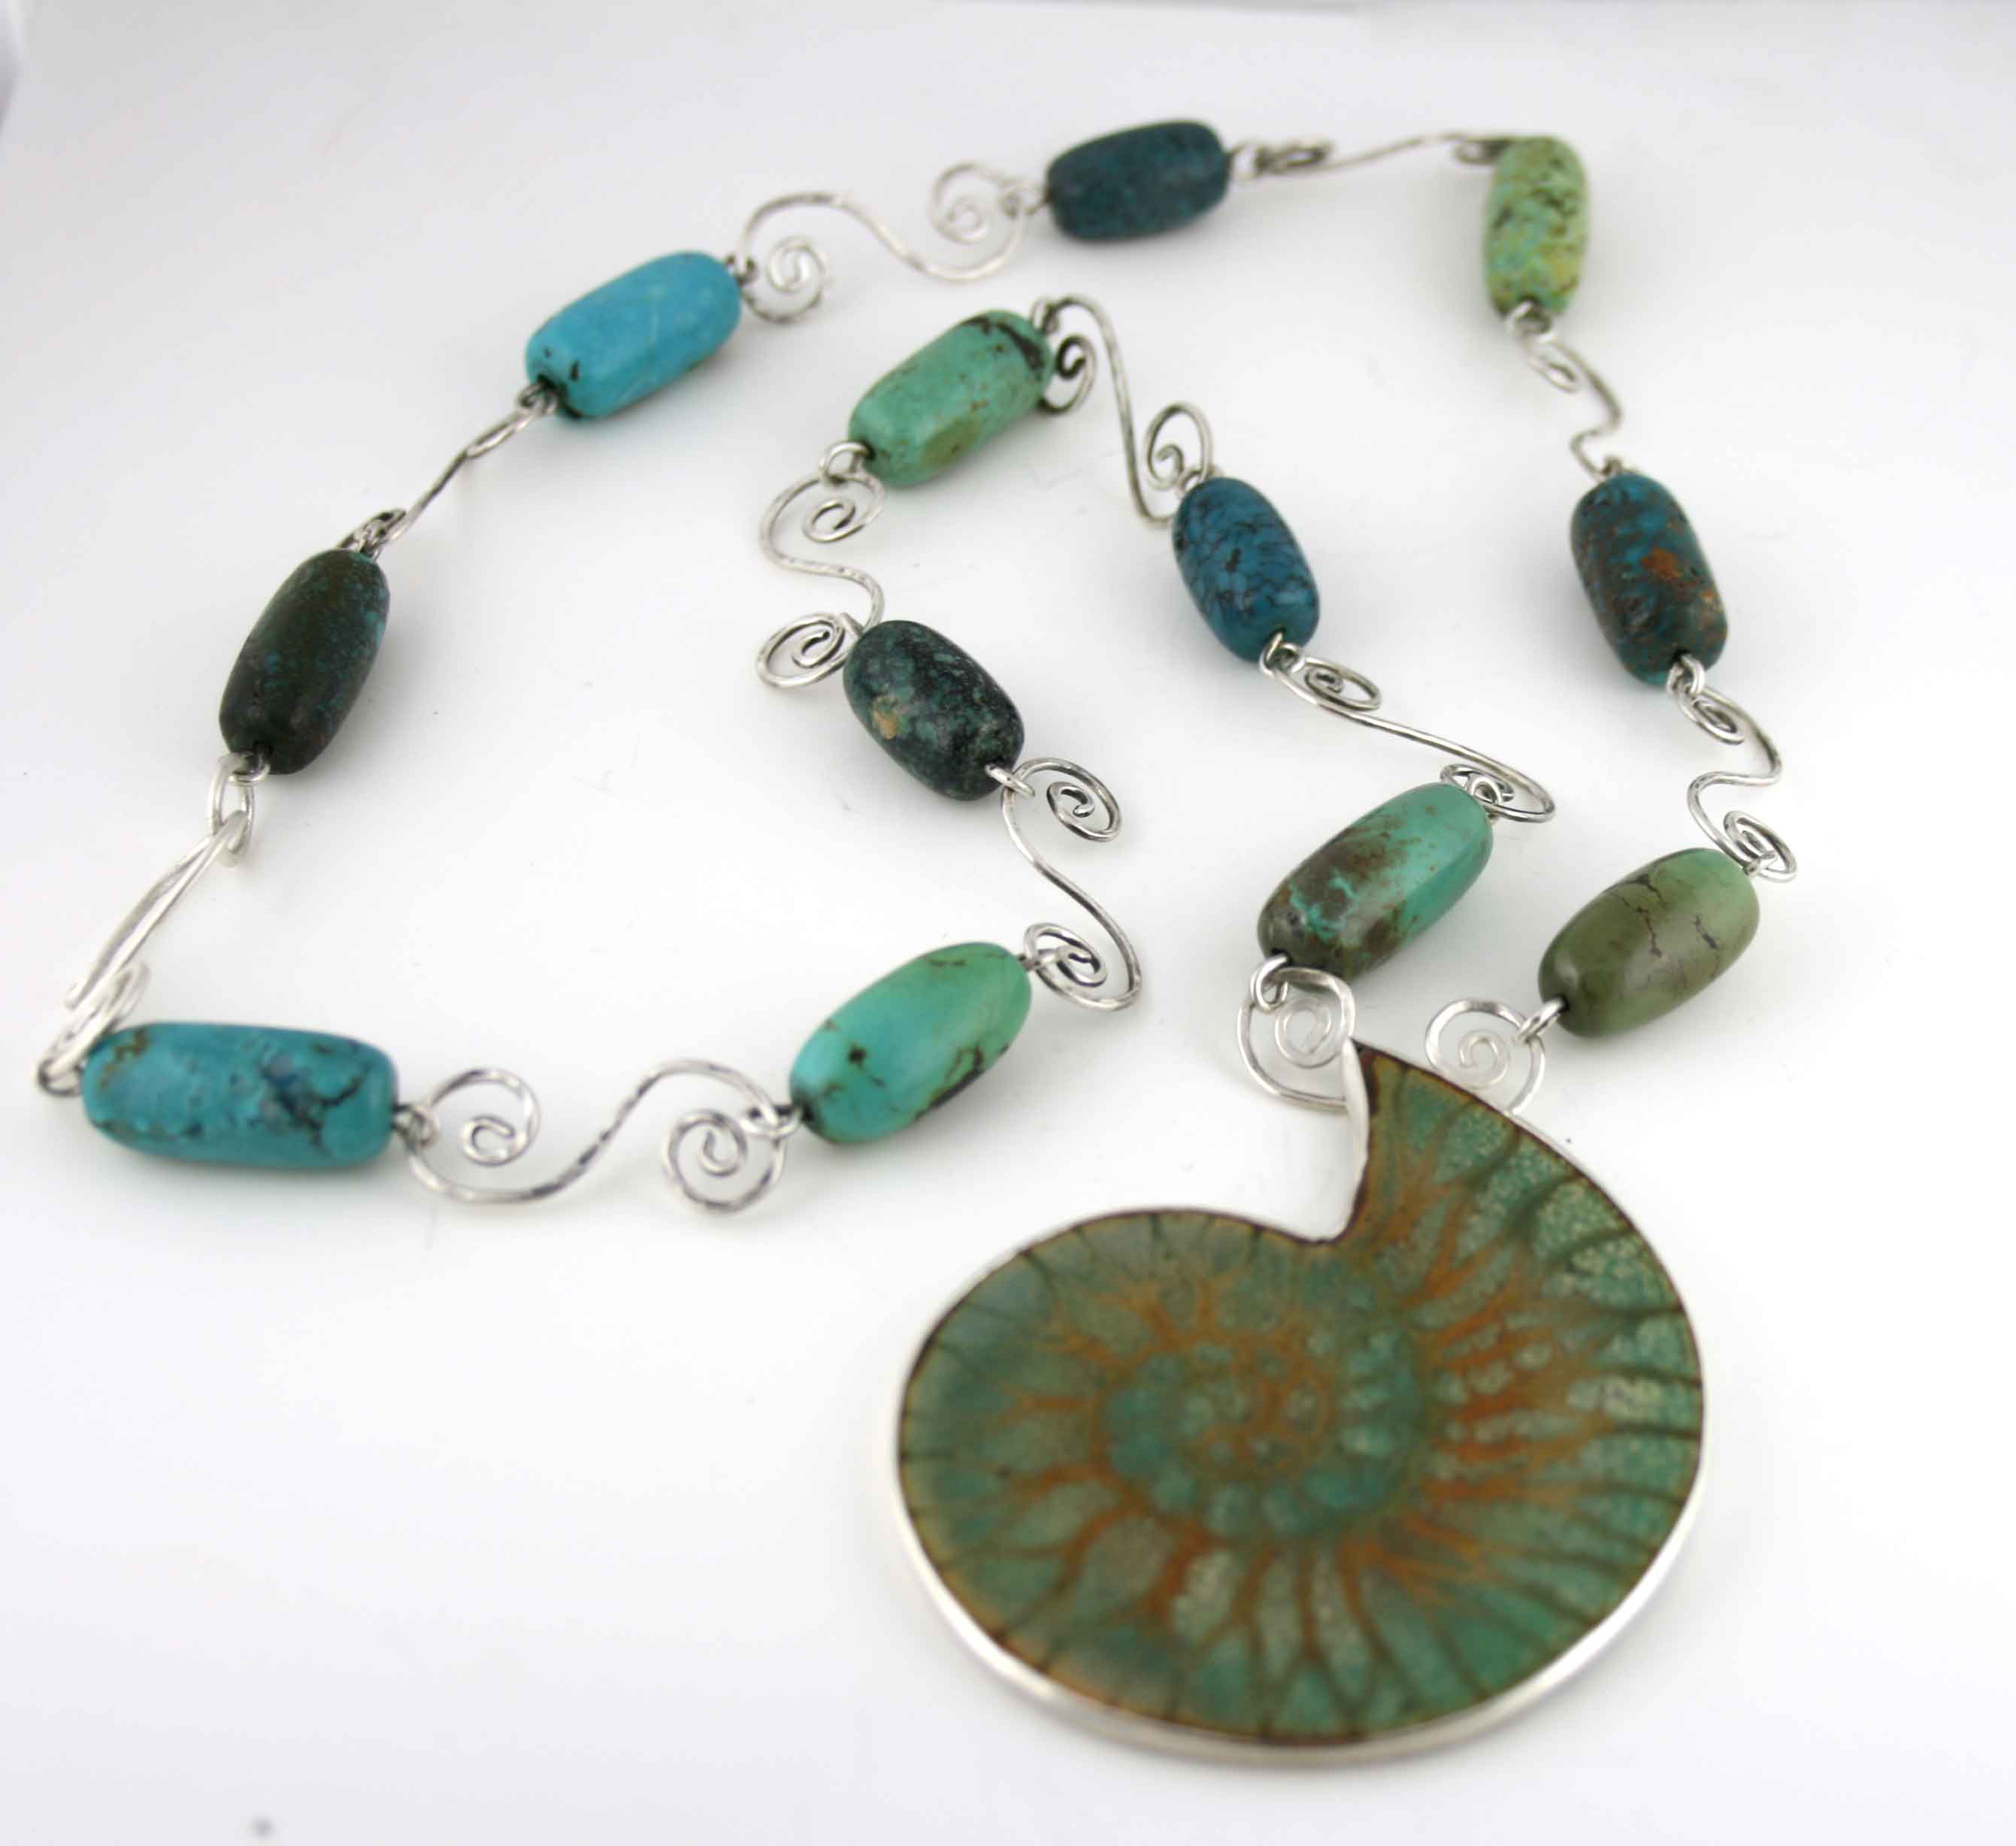
I have been working on some new ‘statement’ Ammonite ‘Fossil’ necklaces that I would like to share with you. The enamels have been created using Sgraffitto techniques. They are all on copper and I have set them in silver, sometimes with the addition of 18ct gold prongs. Hope you like them.
Small Turquoise Enamel ‘Fossil’ set in Silver bezel
Hand-made silver clasp
Matt Turquoise Beads on hand knotted silk
Enamel is approximately 45mm x 40mm
Length of necklace is approximately 48 cm
Turquoise Enamel Ammonite Fossil with Turquoise Beads
Large Orange Enamel’ Fossil’ with 18ct gold prong setting on sterling silver
Hand-made silver clasp, bail and chain
Matt ‘Dragon Skin’ beads
Enamel is approximately 65mm x 55mm
Length of necklace is approximately 68mm
Orange Ammonite Fossil Necklace with Dragon Skin Beads
Large Blue Enamel ‘Fossil’ with 18ct gold prong setting on sterling silver
Hand-made silver clasp and bail
Matt Agate beads on hand knotted silk
Enamel is approximately 65mm x 55mm
Length of necklace is approximately 50mm
Blue Ammonite Fossil Necklace with Agate Beads
Large Turquoise Enamel ‘Fossil’ set in silver bezel
Hand-made silver clasp and chain
Turquoise beads
Enamel is approximately 65mm x 55mm
Length of necklace is approximately 68mm
Large Turquoise Ammonite Fossil with Turquoise Beads
Manage Cookie Consent
To provide the best experiences, we use technologies like cookies to store and/or access device information. Consenting to these technologies will allow us to process data such as browsing behavior or unique IDs on this site. Not consenting or withdrawing consent, may adversely affect certain features and functions.
Functional
Always active
The technical storage or access is strictly necessary for the legitimate purpose of enabling the use of a specific service explicitly requested by the subscriber or user, or for the sole purpose of carrying out the transmission of a communication over an electronic communications network.
Preferences
The technical storage or access is necessary for the legitimate purpose of storing preferences that are not requested by the subscriber or user.
Statistics
The technical storage or access that is used exclusively for statistical purposes.The technical storage or access that is used exclusively for anonymous statistical purposes. Without a subpoena, voluntary compliance on the part of your Internet Service Provider, or additional records from a third party, information stored or retrieved for this purpose alone cannot usually be used to identify you.
Marketing
The technical storage or access is required to create user profiles to send advertising, or to track the user on a website or across several websites for similar marketing purposes.