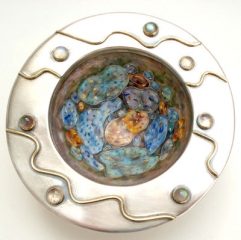
Welcome to a new series of articles to do with enamelling and making jewellery that I intend to publish. I hope you find them useful. I plan to write them weekly, so keep checking to see my latest words of wisdom!! Seriously, I intend to write about issues and problems I have experienced (and hopefully overcome), and tips and shortcuts concerning enamelling and making jewellery that I have come across in the course of the past twenty years or so.
Soldering Findings to Enamelled Pieces
To solder before or after? That is the question. I do both depending on the piece I am making. If it is easy to support the item on a trivet so the enamel doesn’t touch, then I often choose to solder after. The benefits are that you only need to do it once, (it doesn’t have the opportunity to fall off in the kiln). Also, if I am working on silver, it removes the issue of how to deal with the resulting fire stain in the area to be enamelled. The disadvantage is the risk of possible damage to the enamel. However, careful set-up and quick and confident heating minimizes this risk.
In this case I am soldering handmade copper brooch findings to the reverse of one of my fossil brooches. I usually put them on before I enamel and have not had any problems before, but today one fell off. This was probably in part because I forgot to protect the solder joint before I fired. (I use Milk of Magnesia – a tip from a Goldsmith friend.)
Here you can see the piece supported on a trivet so it is held by it’s edges. I have used Milk of Magnesia on the clasp joint to protect it. I have applied borax flux under the copper tube I am using as the brooch joint. I am using hard solder paste and this is in a cushion under the tube. (I am using extra flux because the paste is old and a little dry.)
Essential Points
- Always use hard solder because if you need to re-fire, you can.
- Use a big flame. You need to be quick and confident to avoid damage to the enamel.
- Hold the torch in your non dominant hand so you can hold a poker in the other to prod pieces into position if necessary. Remember, it will take more heat to melt the solder than if it was supported on charcoal. This is because charcoal absorbs and ‘gives back’ the heat.
- Remember the whole piece has to get to the correct temperature, not just the solder joint.


Hi Linda, I’m really enjoying your technical tips. Great tip about the Milk of Magnesia. I didn’t think you couyld still get it. Looking forward to more tips for 2013.
Interesting point. Kieran used to get through bottles of it when he was small and I have a whole bottle left. Probably a lifetimes supply! I also used the water based tipped and that works very well too.
I love it when people come together and share thoughts. Great website,
continue the good work!
Thank you